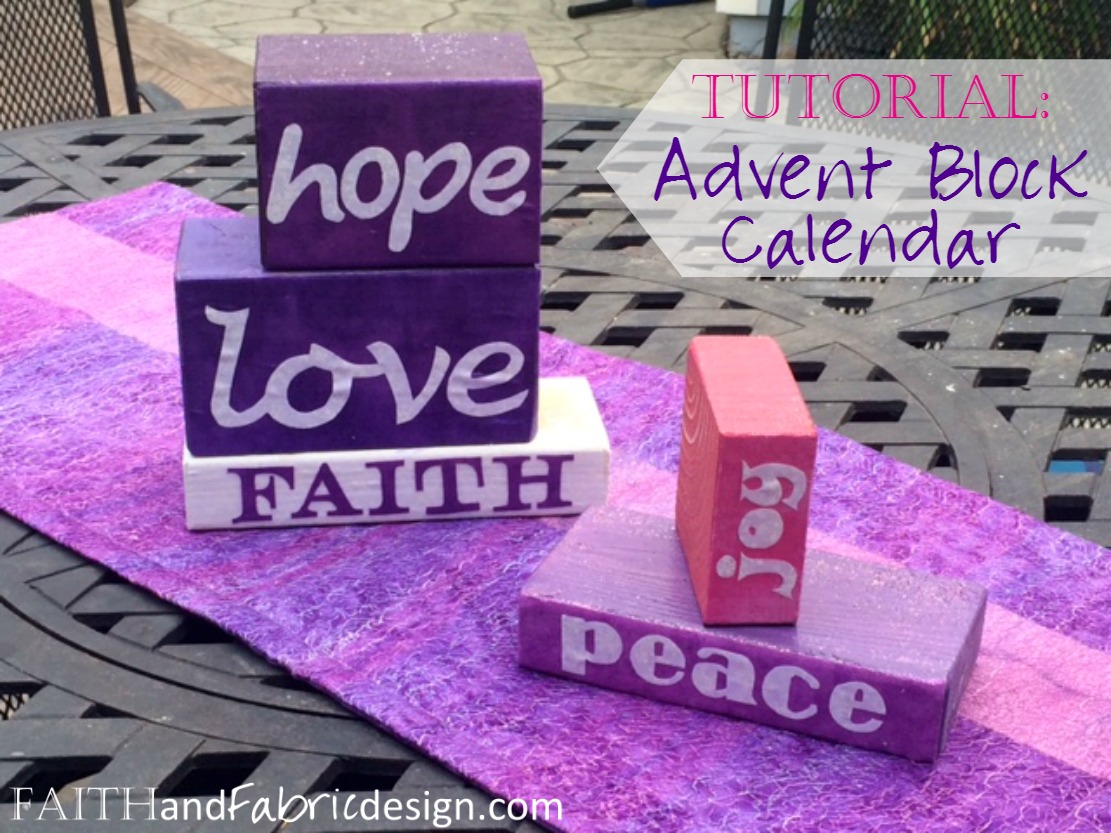
It’s no secret that Advent is one of my favorite times of year. Much like January is the start of the new calendar year, Advent marks the start of the church’s new year. It’s a time to start over, set new faith-inspired goals, and prepare for 12 amazing days of Christmas celebrations. What’s not to love??
These past few years we’ve slowly been creating Advent decorations throughout the home. It’s been a lot of fun adding the purple and rose hues throughout the main living areas, and it’s really brought an entirely different sense to the season as distinct and separate from Christmas.
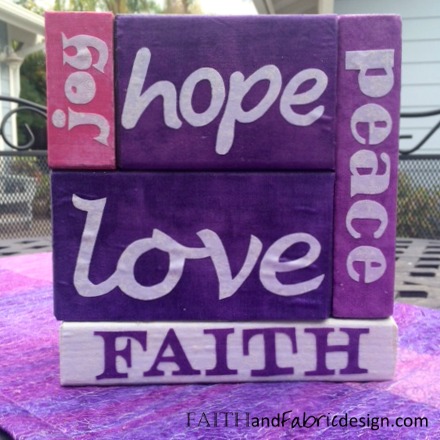
This year, we’ll have our Advent wreath out on the dining table atop the Advent table runner, which pretty much is a wreath in and of itself! New this year will be this set of Advent calendar blocks, which can be assembled one at a time for each week of Advent (similar to a traditional Advent calendar) or all at once. You decide!
My amazing hubby is a general contractor, so scrap wood is something we *always* have laying around. With just a few simple cuts, you can turn scrap wood into this fun set! Here’s how:
WHAT YOU NEED
- 2×4 wood cut into three blocks: 8″, 7″, and 3.5″
- 4×4 wood cut into two blocks: 6.5″ and 5″
- three tubes of paint in white, rose, and dark purple
- mixing tray for the paint
- paint brush
- Advent week word template (downloadable…click link)
- sharp scissors
- Modge Podge
HOW TO MAKE
(A) Painting Your Blocks
- Cut your blocks to the dimensions above. Using sand paper, lightly sand over the blocks, paying special attention to the corners and edges. If the wood is moist, let it dry in a warm area.
- Cover the painting area with old newspaper or disposable plastic table cloth.
- Set your blocks out in order from 1-5 on the covered area.
- OPTIONAL: You can either buy three shades of purple, or mix your own. If you want to mix your own, buy one dark purple paint and lighten 1/3 of the bottle to a medium purple (using the white to lighten) and 1/3 of the bottle to a medium-light purple (using the white to lighten).
- Using the white paint, paint block 1 on all sides except the bottom (longest & widest side). Set to the side to dry. Wash your brush.
- Using the pink paint, paint block 2 on all sides except the bottom (longest & widest side). Set to the side to dry. Wash your brush.
- Using the lightest purple paint, paint block 3 on all sides except the bottom (longest & widest side). Set to the side to dry. Wash your brush.
- Using the medium purple paint, paint block 4 on all sides except the bottom (longest & widest side). Set to the side to dry. Wash your brush.
- Using the dark purple paint, paint block 5 on all sides except the bottom (longest & widest side). Set to the side to dry.
(B) Adding Your Words
- TIP: When you print out the words, you’ll need to print the first page (with the word FAITH) on a dark purple sheet of paper. The words JOY, PEACE, HOPE, and LOVE should be printed on white paper. You’ll notice when you print out the letters that they print in reverse; this is so that the side of the paper with the ink will not be visible and will be the side that is glued onto your blocks, thereby giving you some wiggle room (i.e. room for error) when cutting the letters out.
- Cut out the word FAITH. Using the modge podge, squirt some on the front of your white block (block 1). Place the letters onto the sticky Modge Podge, pressing down to remove all air bubbles. Set aside to dry.
- Cut out the word JOY, and – using the same steps as above – Modge Podge it onto your pink block (block 2).
- Cut out the word PEACE, and – using the same steps as above – Modge Podge it onto your lightest purple block (block 3).
- Cut out the word HOPE, and – using the same steps as above – Modge Podge it onto your medium purple block (block 4).
- Cut out the word LOVE, and – using the same steps as above – Modge Podge it onto your dark purple block (block 5).
- Return to block 1. Apply a layer of Modge Podge GENTLY over the word FAITH to ensure it sticks down to the block. You will be painting directly over the word and sealing it to the block. Repeat with the other blocks, going in order (from blocks 2 through 5). This ensures each block has some time to dry between applications.
- Allow to fully dry and enjoy!
Just for fun…this Advent Calendar post links up at these great Catholic and quilting sites!


This is so cute! I also love the advent quilt. I wish I could sew or quilt to make it.
I love your blog. I knit, but otherwise I’m not that crafty. Still, I think this is inspiring. I am going to share it with my crafty friends. And I’m going to Tweet this post. So cute.
Thanks, Laura – and you should give yourself credit. I’ve tried knitting twice, and been unsuccessful both times. That’s a true talent!
Thanks, Beth Anne! You should give the Advent Placemat set a try. They are a perfect beginner project! Here’s the link: https://faithandfabricdesign.com/2014/11/activity-quilted-advent-placemats-table.html
So cute and clever! Awesome idea for a family project and a non-flamable way littles can get involved!
Thanks, Elizabeth! Little man had a blast making a set for himself, and they’re now a favorite building toy of his.