When I was in school, it was very clear – from the start – that math was never my strong point. My family even jokingly calls my attempts at arriving at a numeric answer “Jen math”, because while I can usually get there, my path to solve is anything but straight.
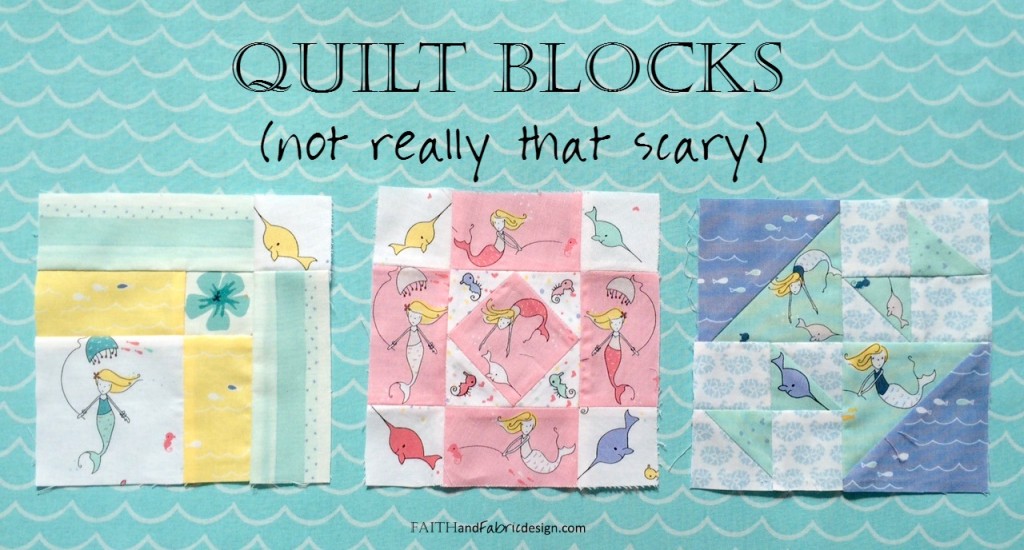
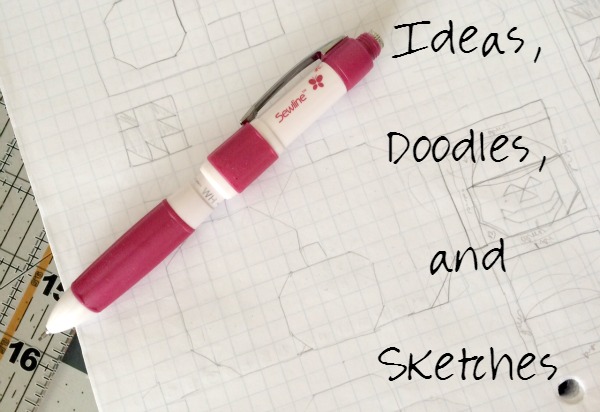
You can appreciate that this math-challenged me naturally gravitated more to quilts that involved, well, little math. But geometric designs? Blocks? No, thank you. Whimsically pieced on the fly? Now you’re talking my language. While I’ve always had a graph paper sketch book to come up with designs (as well as colored pencils, coordinating pencil pouch, nifty eraser, and this rockstar three-in-one quilting pencil – because who doesn’t love office supplies??), my designs have never been blocks by nature.
Until now. (queue show-stopping background music)
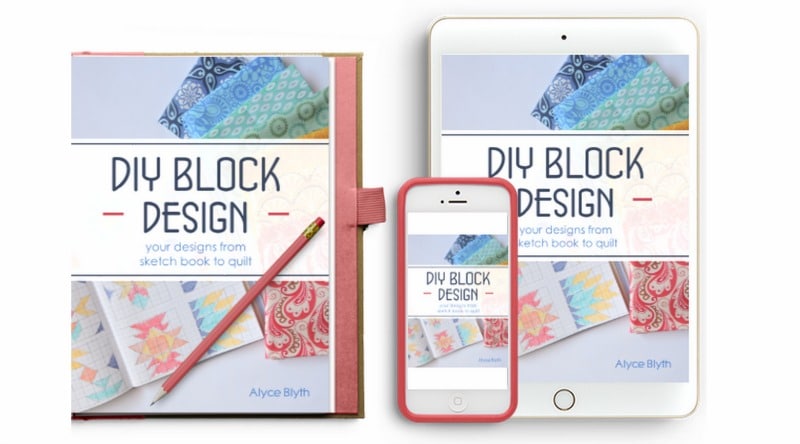
The amazingly talented Alyce Blyth of Blossom Heart Quilts has written a new book, DIY Block Design, which helps take the challenges (and scary) out of creating your blocks – even for mathematically challenged quilters like me. I’m honored to share my design process – as well as how her book easily lends itself to creating those designs. Making blocks has taken on a whole new appeal for me, and I find myself not only pinning gorgeous block designs but joining in quilt-a-longs focused exclusively on making blocks.
INSPIRATION
One of – if not *the* – most important thing in my family is our faith. It’s the glue that holds us together, it’s the rock that keeps us in place, it’s the strength that prevents us from falling down (and get back up when we inevitably do). Each of my quilts is a testament to our faith; the beauty of Christianity manifesting itself in the colors, patterns, and designs of fabric is how I evangelize.
When coming up with a new design, I pick a holiday or event as a theme. I’m inspired by the stained glass in churches, the vestments worn by clergy, and the banners hanging in the halls. I’ll store up a few ideas in my head (and when I come across them, on my Pinterest board), and sketch them out in my design book. Some of these designs, like the Advent Wreaths quilt, turn out even better as a quilt than I could have hoped. Others remain doodles and sketches, the concept not quite right or design just not ready to be made.
DESIGN PROCESS
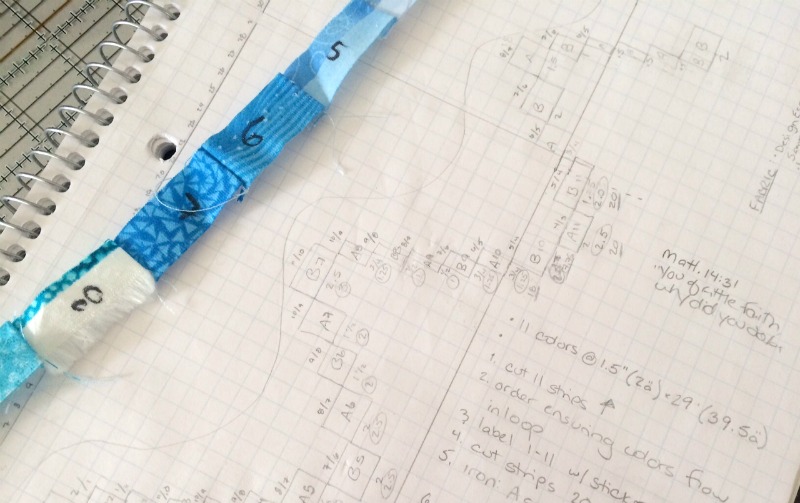
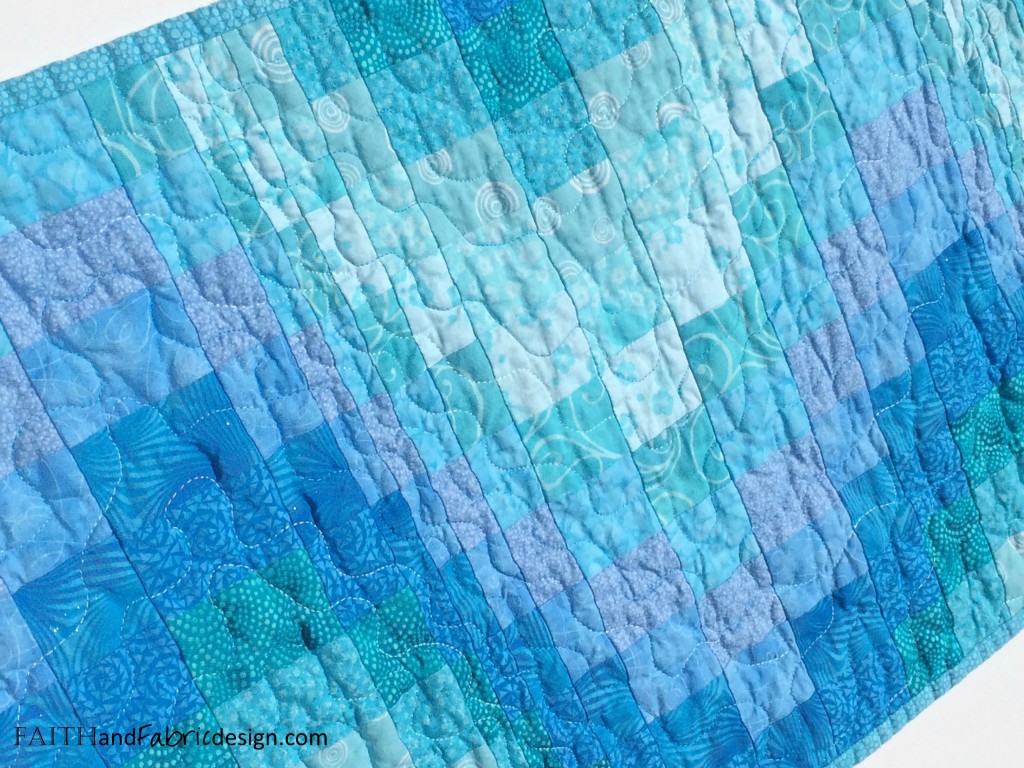
One of my first designs was also one of my biggest blunders. I have long since been a fan of bargello quilts; the way the colors dip, sway, and play together honestly takes my breath away. I pulled out my trusty graph paper, and designed a very basic bargello in blues, which I called The Sea of Galilee.
Well, my sea turned into more of a pond as I made the cuts exactly to size (1 square = 1 inch), forgetting that I needed to add a 1/4″ allowance – which meant I lost over a foot in length. Ouch. Needless to say, that was definitely a lesson learned – and notes have been added to include that 1/4″ next time.
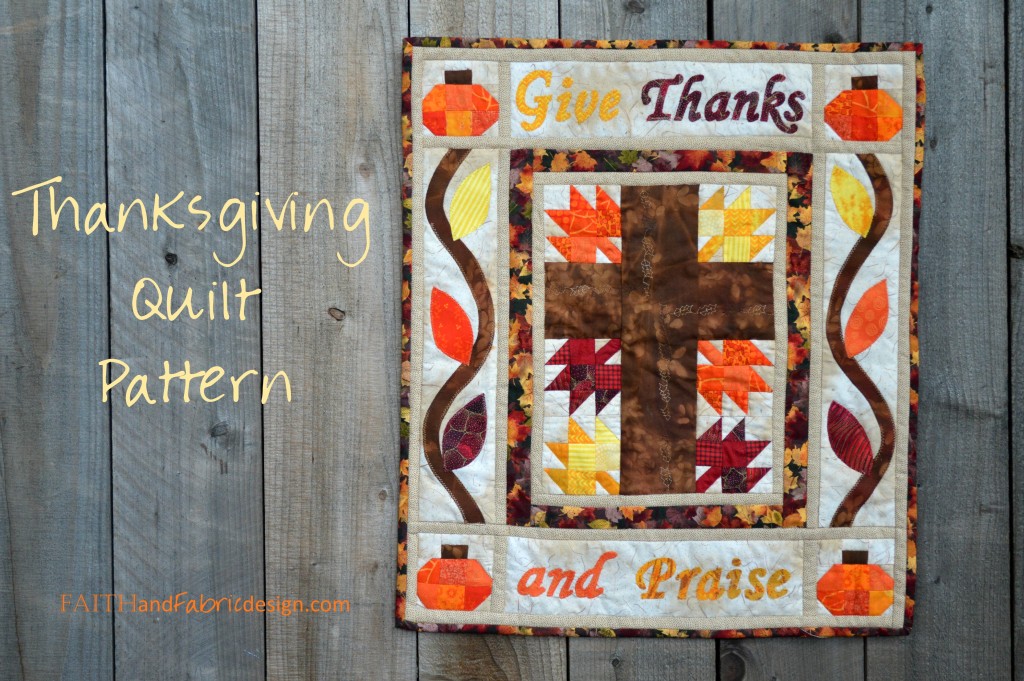
When I design, I try to let the design dictate the direction and size as opposed to the other way around. For example, I had been asked by a customer to create a Thanksgiving table runner. I pulled out the sketch book, started drawing, and ended up with a very square wall hanging. In this case, the design I was working with just seemed to work better as a wall hanging than a runner (fortunately, she agreed!). It was actually this design that I found Alyce’s book with conversion tables incredibly helpful! Thanksgiving – at least here in the States – falls during autumn. I really wanted to incorporate the maple leaf design as part of the quilt, but had no idea how large to make the HSTs – and since I had to make almost 30 of them, it was clear I had to learn. Alyce’s book is full of tips, tricks, and tables for easy conversion and in seconds I found the answer to how large my 1″ HSTs needed to be cut to make some adorable leaves for the “Give Thanks and Praise” quilt (and pattern).
One tip I’d give is to take notes while you’re creating the quilt. Like, copious detailed notes throughout the process. Things like: “watch for direction of print in fabric when making these cuts” to “watch for stretch on vertically stitched pieces” should be jotted down in your sketchbook whether or not you intend to write and publish a pattern. Having these tips handy in the event you come back and make the same quilt again will ensure you won’t have to re-remember (or re-make those same mistakes again).
So this is how I find my inspiration and complete my designs. How do you do yours? Stop by Instagram and share what inspires you – enter Alyce’s giveaway by tagging your designs with #myDIYblockdesign for a chance to win. There are some seriously talented quilters sharing their stories of *their* design process as part of this tour; be sure to stop by and say hi. Most important – check out the book for yourself!!! You’ll be glad you did.
Don’t forget – creating that quilt block is only the first step! Carrie Merrell walks you through how to determine how much fabric you need per color, amount of batting, length of backing, and more in her book Quilty Math Workbook!
Wow Jen you sound just like me in the Math department. I was not good at it at all. I think I will get the DIY DESIGN book too. I have always wanted to make my own patterns but not done it because of all the math. I really enjoy your patterns and now I know your secret. 🙂
P.S. long story short, my web page is almost ready to go. Yeah
Thanksgiving quilt is lovely!
Thanks, Patricia! It was a design that practically created itself.
Sue, I’m glad to hear I’m not the only math challenged quilter out there! Congrats on the new web page.