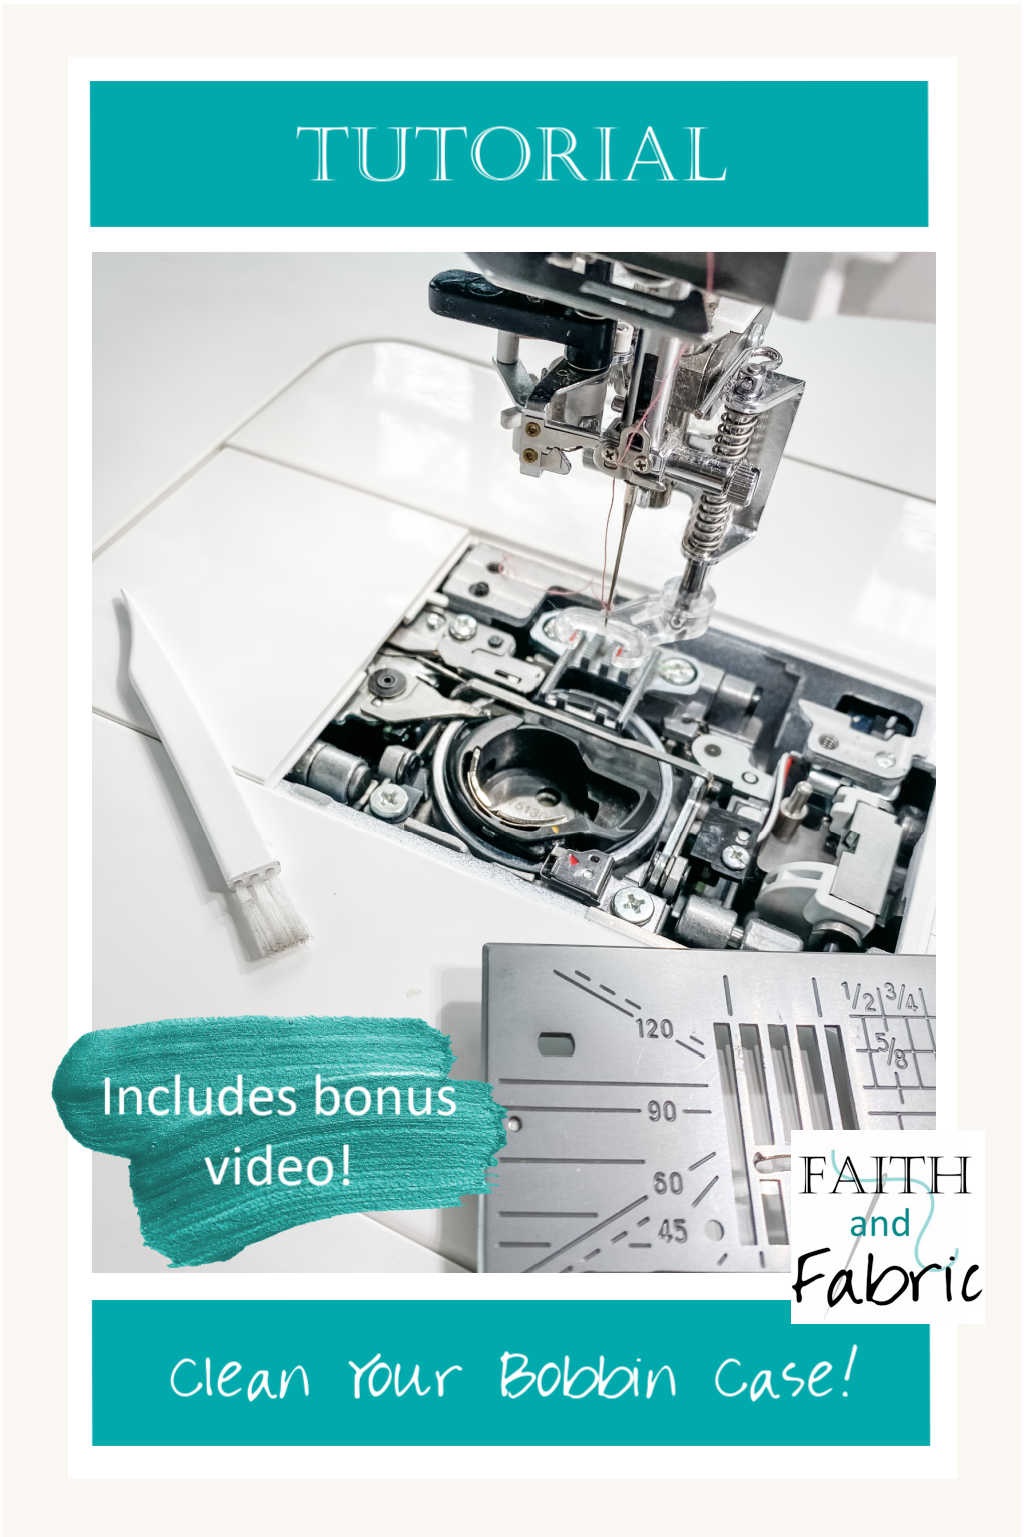
Let’s continue our spring cleaning series! (If you’ve missed any others in the series, you can find them here.) Today we’re going to clean one of the smallest, and often overlooked spots in your quilting studio: your bobbin case. If you’ve ever wondered how to clean your bobbin case, you’re in the right place! Now, there are photos below but I *highly* recommend viewing the video as that will walk you through, step by step, how to clean each bit of your bobbin case in greater detail than what is shown below:
…and if you’re not the video type, no problem! Let’s start at the top; before we begin cleaning our bobbin case, we need some basic supplies:
Ready to clean? Let’s do it!
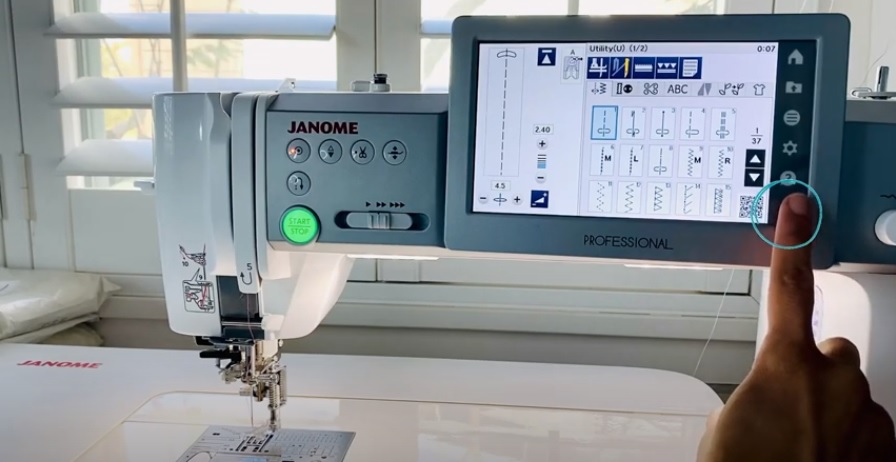
STEP 1: EITHER UNPLUG YOUR SEWING MACHINE *OR* ENABLE THE AUTO-LOCK FEATURE (SAFETY FIRST!)
- On my machine, you’ll see the lock feature; by clicking this button, the safety feature is enabled making it safe for me to stick my fingers under the needle to remove the bobbin case
- Remove your needle plate
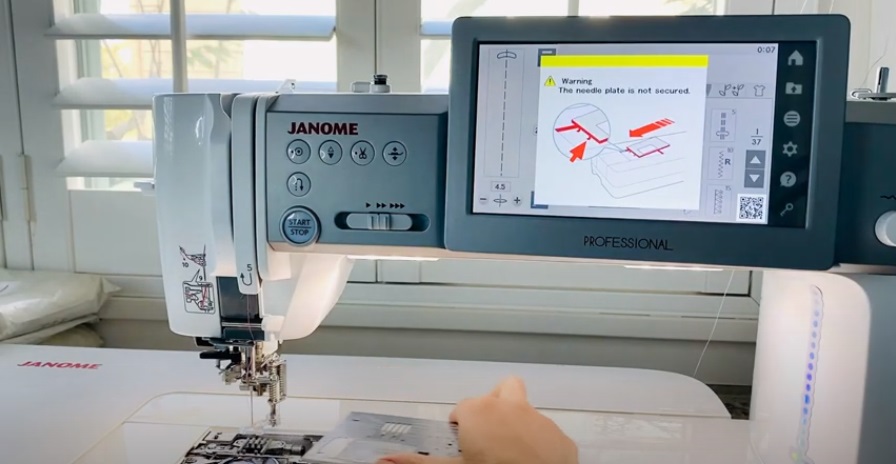
STEP 2: REMOVE BOBBIN RING AND CLEAN
- Remove your bobbin retaining ring; depending on the type of machine you have, you may need to slide latches/levers out of the way to release
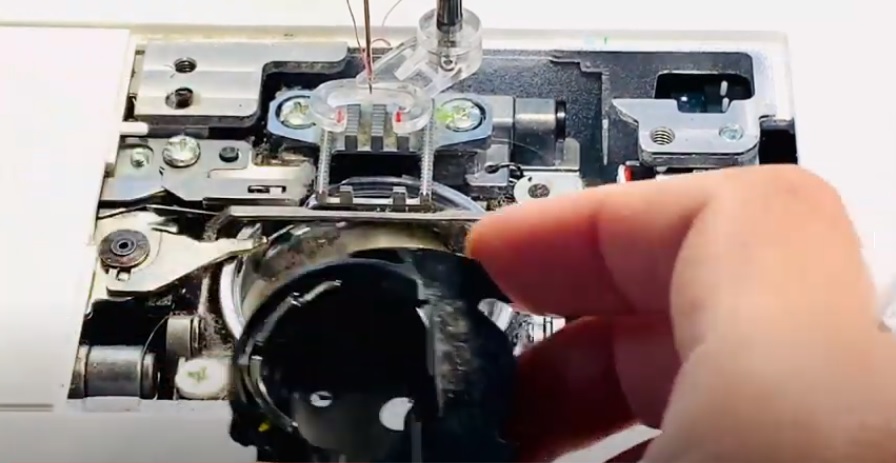
- Clean your bobbin ring
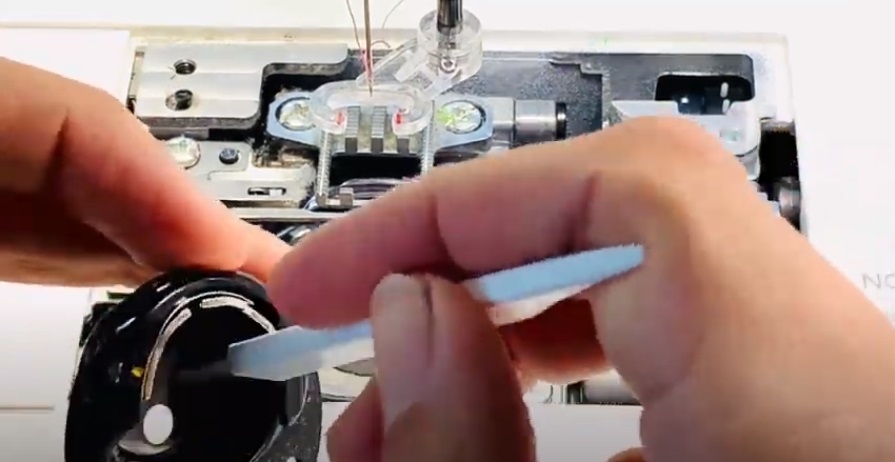
STEP 3: CLEAN COMPONENTS WITHIN SEWING MACHINE
- Brush loose dust and lint from components, being careful not to damage any of the components
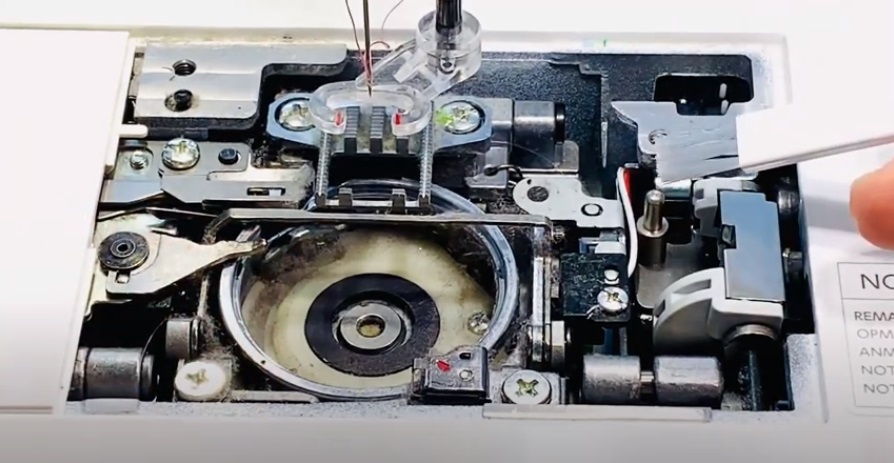
- Using your vacuum’s handheld brush attachment, vacuum any remaining loose dust, thread, and fibers
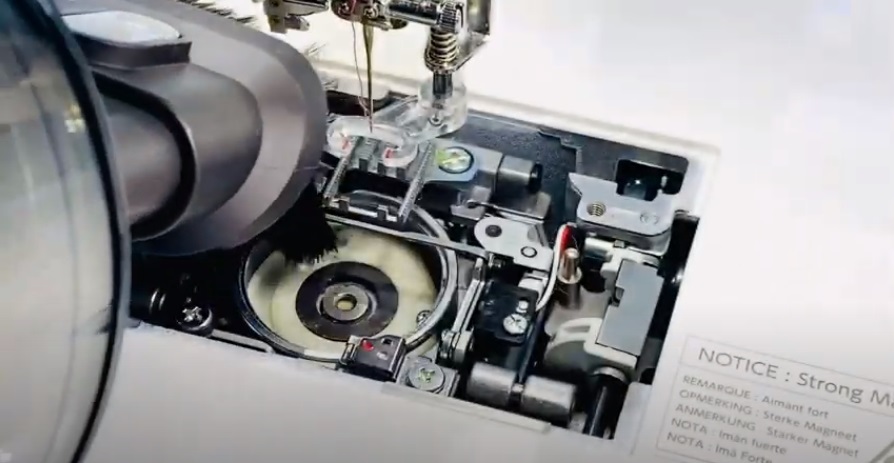
STEP 4: REASSEMLE AND ENJOY YOUR CLEAN BOBBIN CASE!
[…] DEEP CLEAN YOUR BOBBIN CASE: you already (hopefully) clean out visible loose threads and filaments each time you change your […]