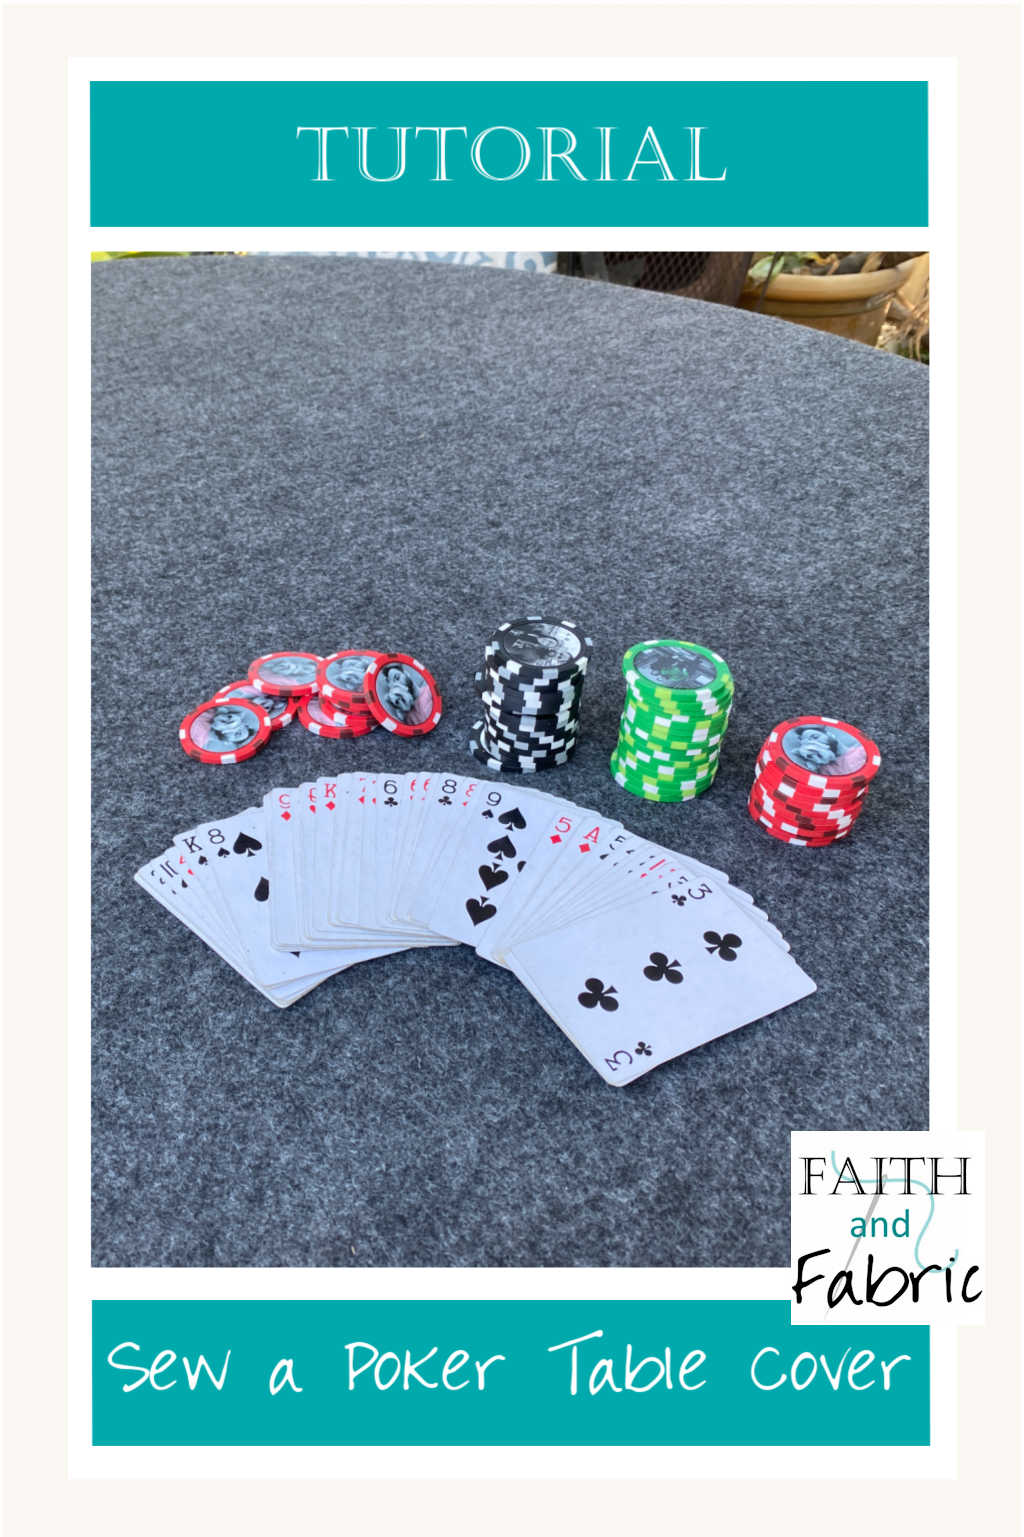
It’s summer, and there’s nothing quite as nice as an evening spent playing cards outdoors. Today we’re going to learn how to sew, or make, your own poker table cover. It’s a removable cover, which means you can use any existing table that you already have – no additional table needed! Let’s get started. Now, there are some step-by-step photos below, but I *strongly* recommend you watch the video as it’s packed full of more information on sewing the poker table cover than I could possibly fit into this post. In fact, each of the still photos below are taken from this video.
WHAT YOU NEED
- poker chips (unless you already have some)
- felt for your poker table
- wool (if you plan on playing a lot of poker; is more expensive)
- acrylic (if you are a casual / just for fun player…this is what I bought)
- printed poker felt (for an authentic look)
- cotton batting
- elastic – either 1/2″ wide or 1/4″ doubled strand
- Sulky Cotton + Steel Thread
- Janome M7 sewing machine
HOW TO MAKE
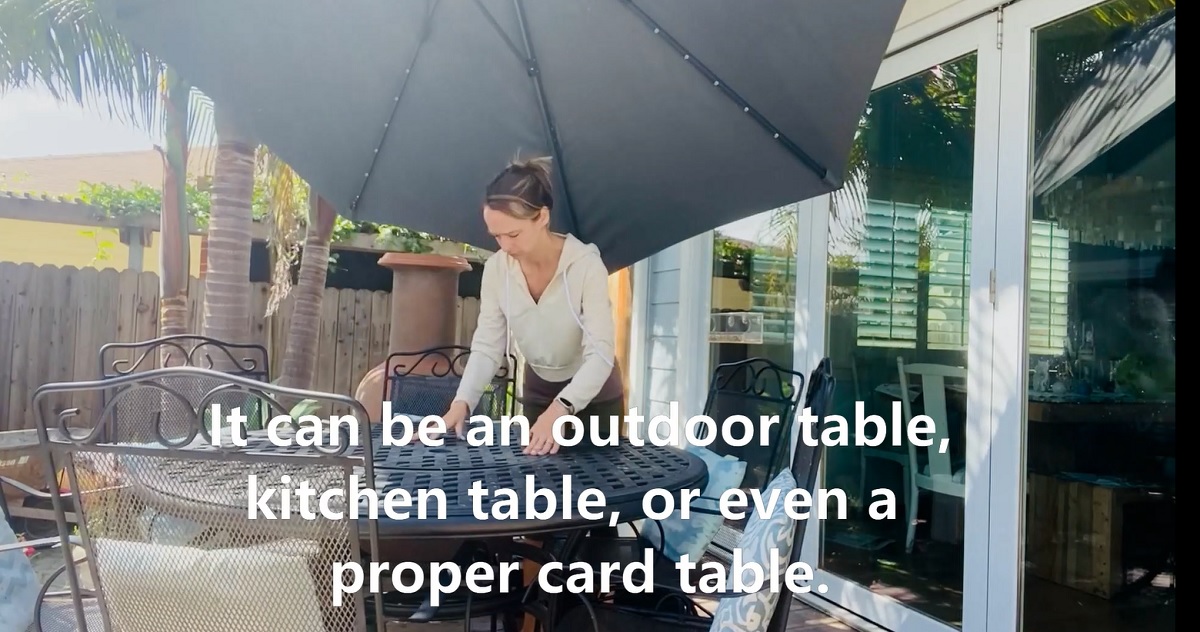
- Choose the table that you want to play poker at. I’ll be using our our outdoor table, which is a round black metal table. Some things to think about when selecting your poker table are to find a table that a group can comfortably sit around, is centrally located (if it is a non-folding table), and is one that a gigantic shower cap could fit over. Ha – that’s a visual for the kind of cover we’ll be making!
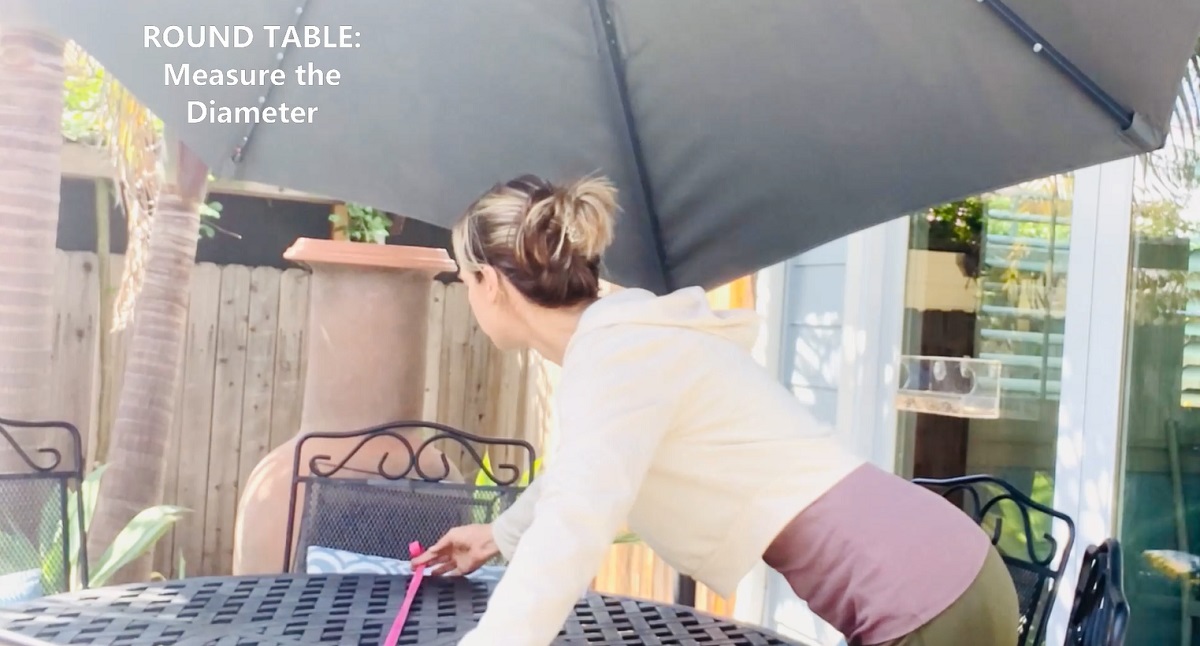
- Next, measure your table to determine how much felt you’ll need to create your poker table cover. If your TABLE IS ROUND: measure the diameter. If your TABLE IS SQUARE: measure both the length and the width.
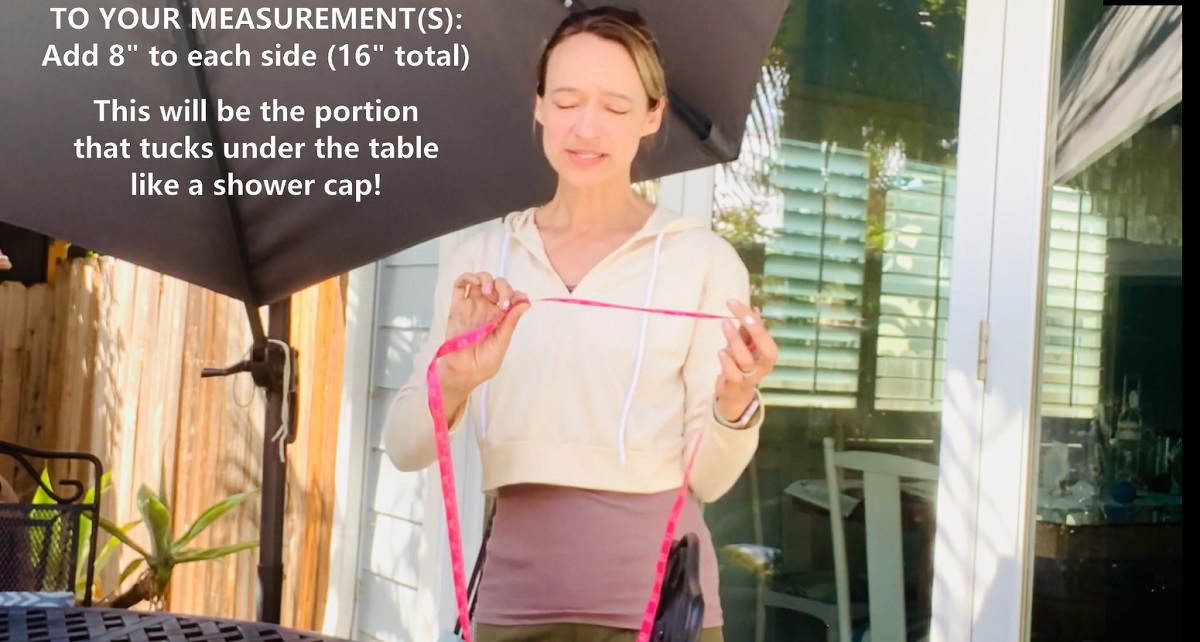
- Next, you’ll want to add 8″ to each side of your measurements. If your TABLE IS ROUND: add 16″ to the diameter. If your TABLE IS SQUARE: add 16″ (8″ for each side) to the width and 16″ to the height.
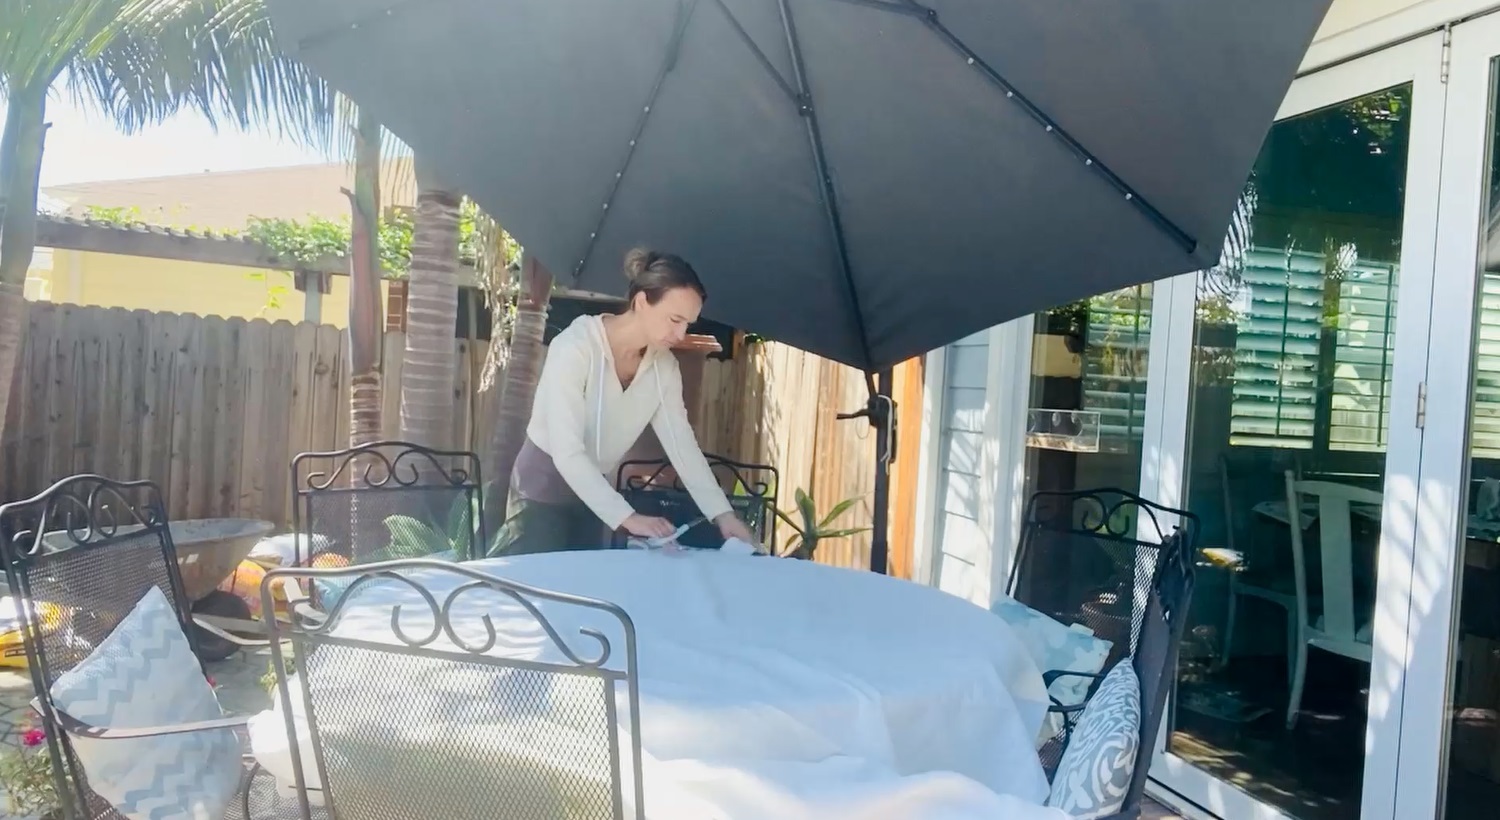
- Now that you have the measurements for your poker table cover, you’ll be creating the first layer. This layer is the layer of batting. Take your measurements, and add two inches to each side (or four inches total). This will allow two inches to hang/drape over each edge. This is where it’s up to you on how precise you want to be! You can either measure out, mark, and cut your batting, or you can do it on the fly – which is how I did it. To create the base layer for my poker table cover, I draped the batting over my table, smoothed it out, and cut around the edges leaving approximately a 2″ drape all the way around. Close enough was just fine for me 🙂 Now, we will NOT be attaching the batting to the felt as part of these instructions, but you are free to do so if you like. I didn’t want to, as a) I wanted a seamless look and b) if we get tired of the felt cover, I can easily repurpose the batting into my next quilt.
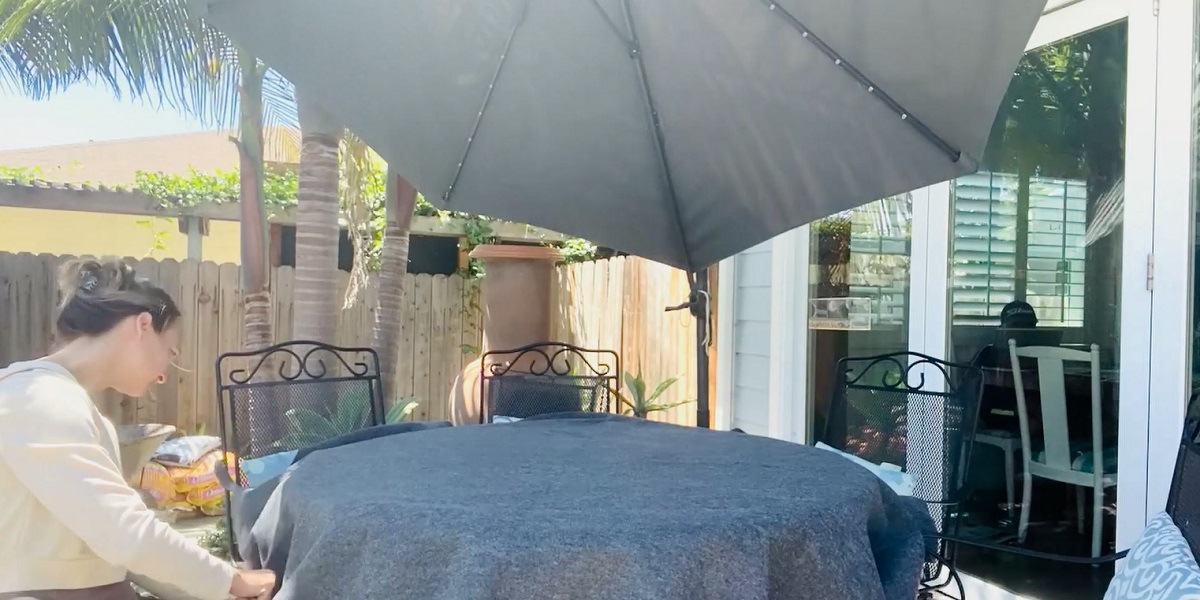
- Once your batting is in place, the next step in creating your removable felt poker table is to prepare the felt itself. You have the same option as above; you can precisely measure and cut the poker table felt using the numbers you came up with in Step 3, or you can do a close-enough cut, which is how I did mine. Remember, you want to add 8″ to each side, so in my case, I carefully draped the felt over the top of the table, and then went around the edges cutting off any extra while ensuring I had an approximately 8″ drape all the way around. Easy peasy!
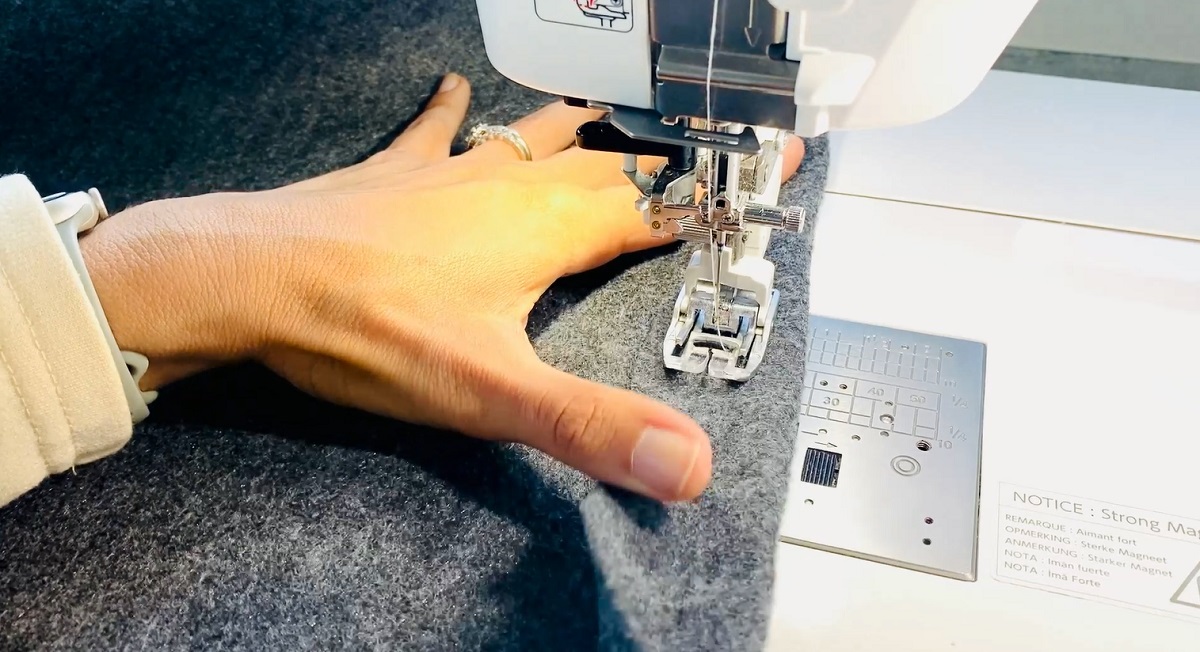
- Time to start sewing our removable poker table cover! Like much of this easy sewing project, we’re going for a rough hem allowance. Now, I’m absolutely making that term up, but what I want you to take away from this is that you don’t need to be overly precise with your hem…you just need to make sure you are creating a 1″ hem all the way around. If you did a rough cut on the poker table felt – especially if it was a round rough cut – you’re going to find that the space on the left of the needle is sometimes going to be a bit more than the standard 1/4″ allowance – and that’s ok. Also, if you’re making a poker table cover for a round table, you’ll notice that – as you sew – the felt will form natural darts (a fancy borrowed word for fabric bunching!). That’s great – what you want to do is to sew right over the little darts. See the video for more information on this.
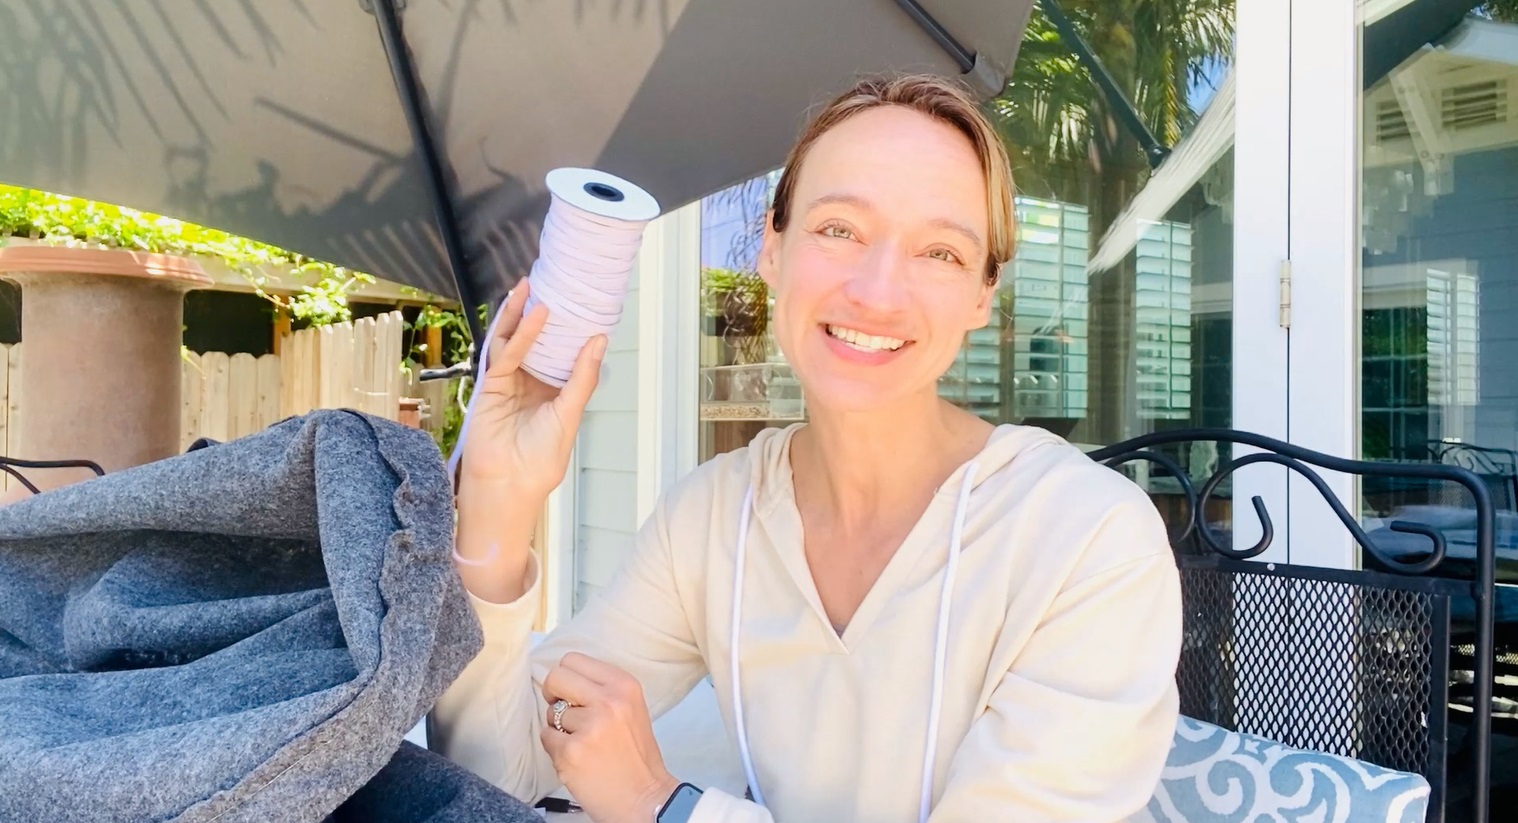
- Time to add the elastic for your poker table cover! If you’re like me, you probably have spools of the mask-making elastic left over…and this elastic will work just fine if you double it and use two lengths/strands. If you’re purchasing elastic to make your poker table cover, I would recommend an elastic that is 1/2″ wide.
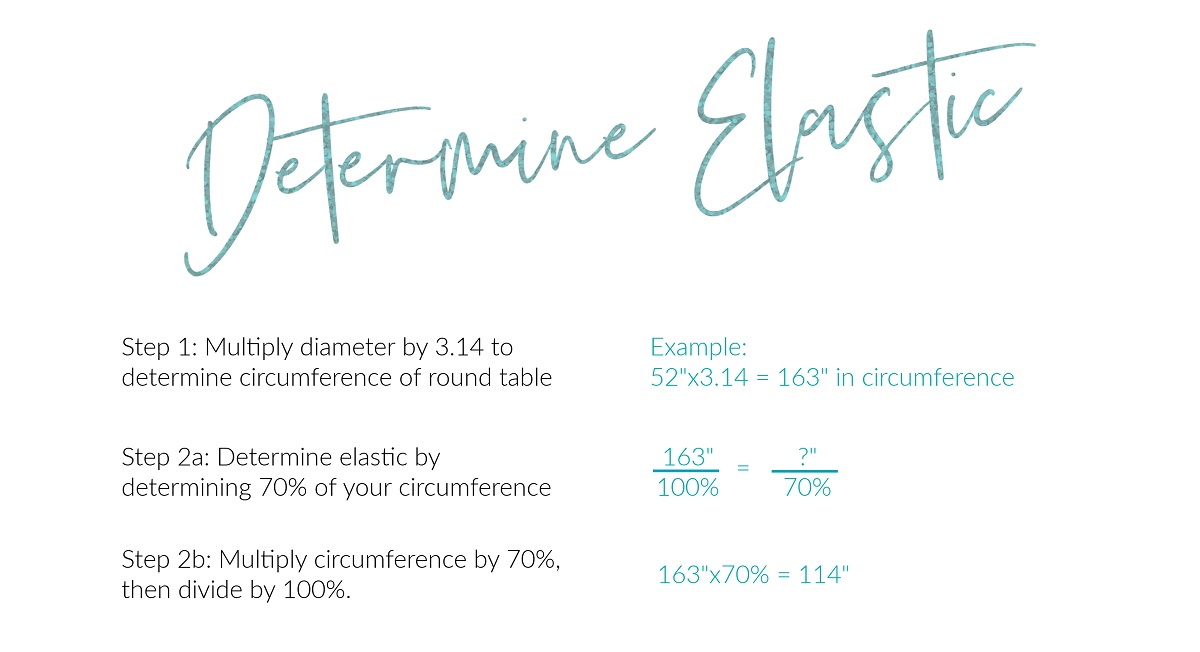
- Time for some math! To determine the length of elastic needed for your poker table cover, go back to your initial calculation. You’ll want to take 70% of your circumference (if a round table) or of your perimeter (if a square table). Let’s break that down even more. For round tables, see the calculation below. For square tables, determine the perimeter by adding all four sides (length + width + length + width).
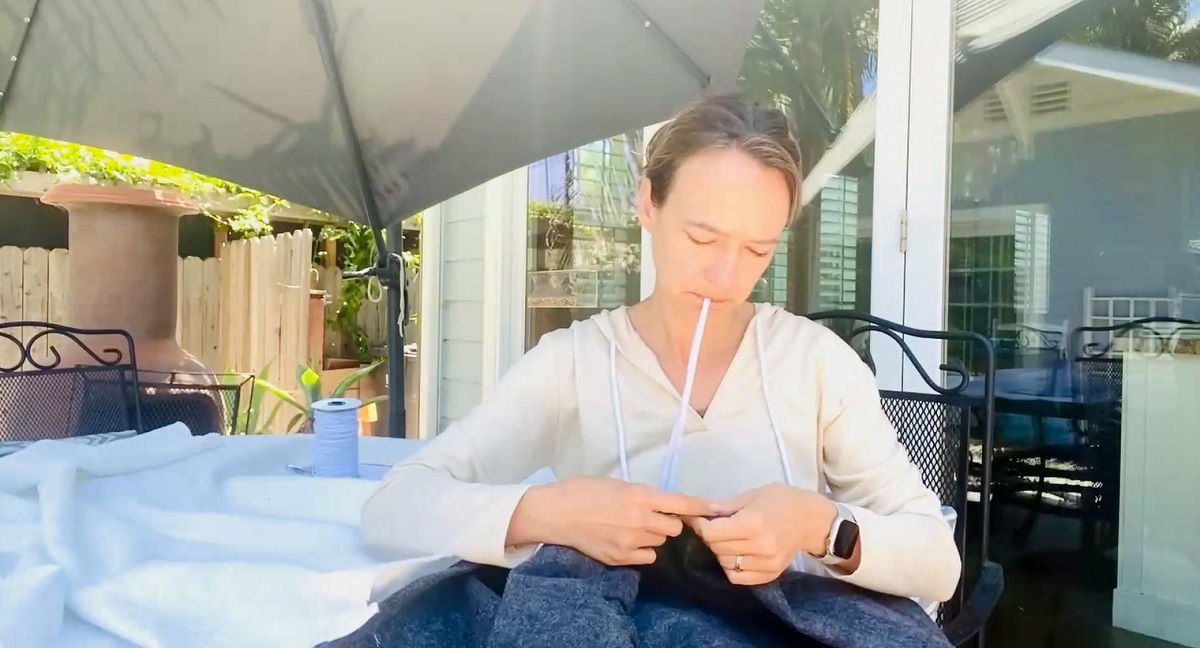
- Now comes the tedious part…we need to feed the elastic through the hem we’ve created in the poker table cover. First, put a safety pin on one end of the elastic (remember, double strands if using 1/4″ elastic). Next, secure the other end of the elastic with a safety pin to the felt itself – this will prevent the end from being pulled through the hem. I stuck this end in my mouth as I couldn’t find a second safety pin, which also works – but leaves you with damp elastic ends when you finish 🙂 Begin to feed it though the pocket/hem you’ve created.
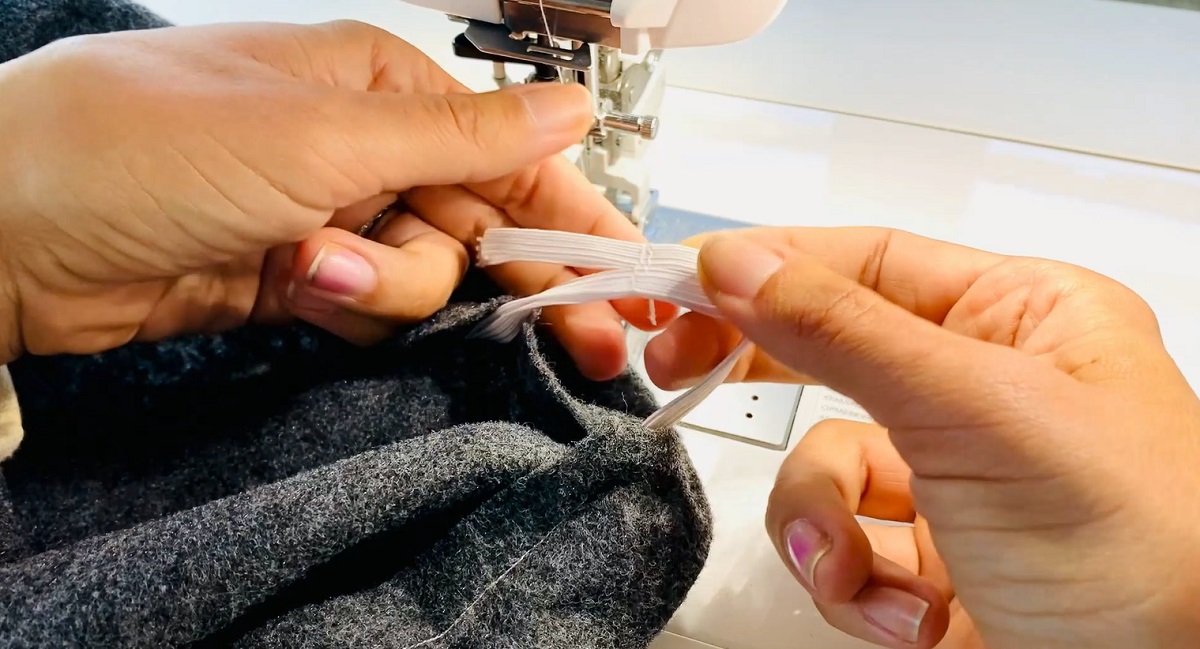
- You’re almost done making your poker table cover! The last step is to sew those elastic ends together once you’ve finished feeding them through your felt. Be sure to go over the attachment point several times, both forward and back stitching, to really secure it in place.
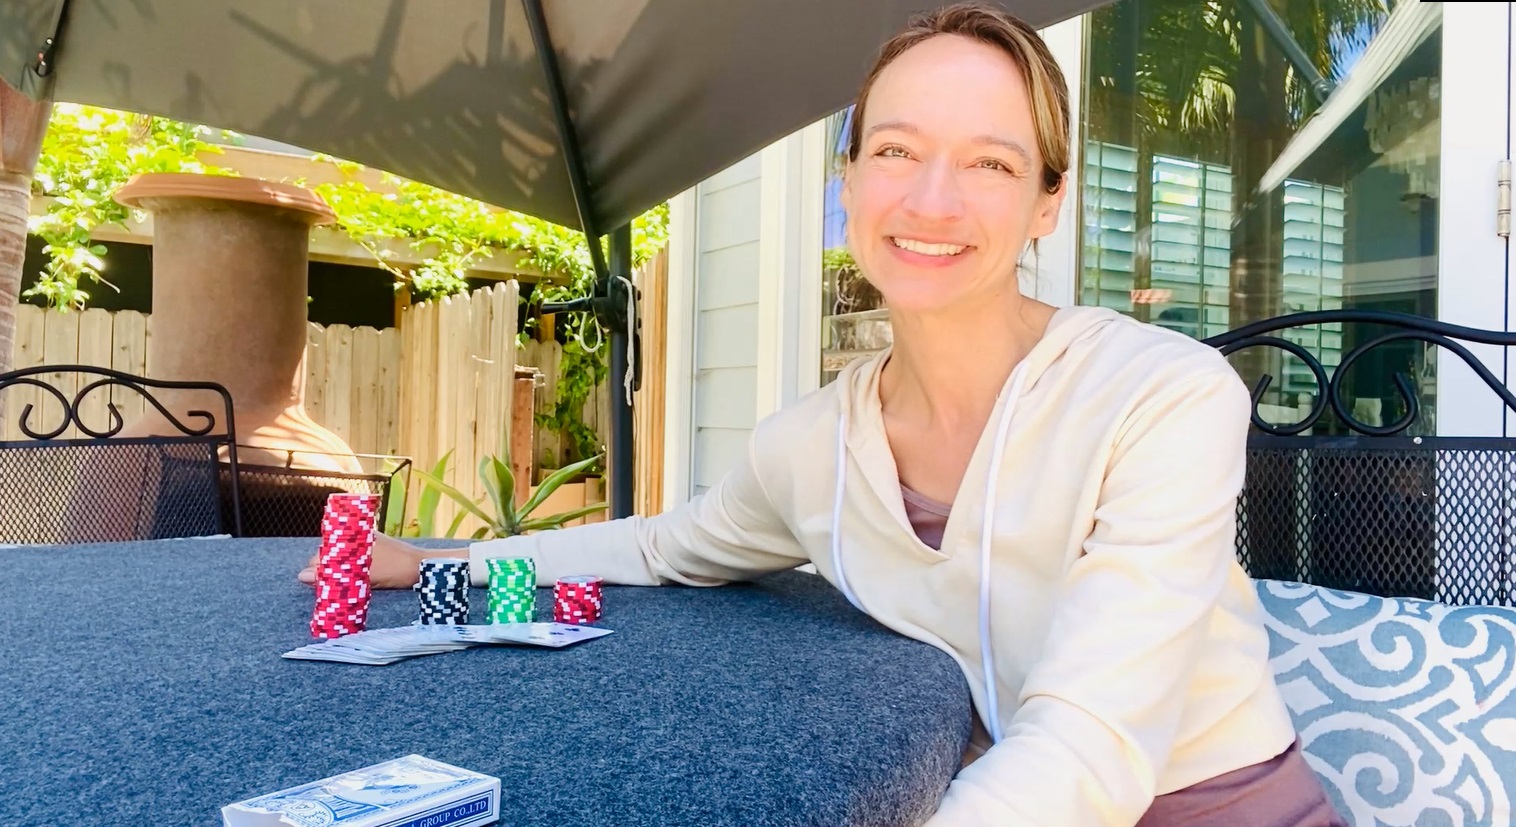
- Place the felt on top of the batting, and enjoy your new poker table cover!
(Visited 3 times, 3 visits today)
Leave a Reply