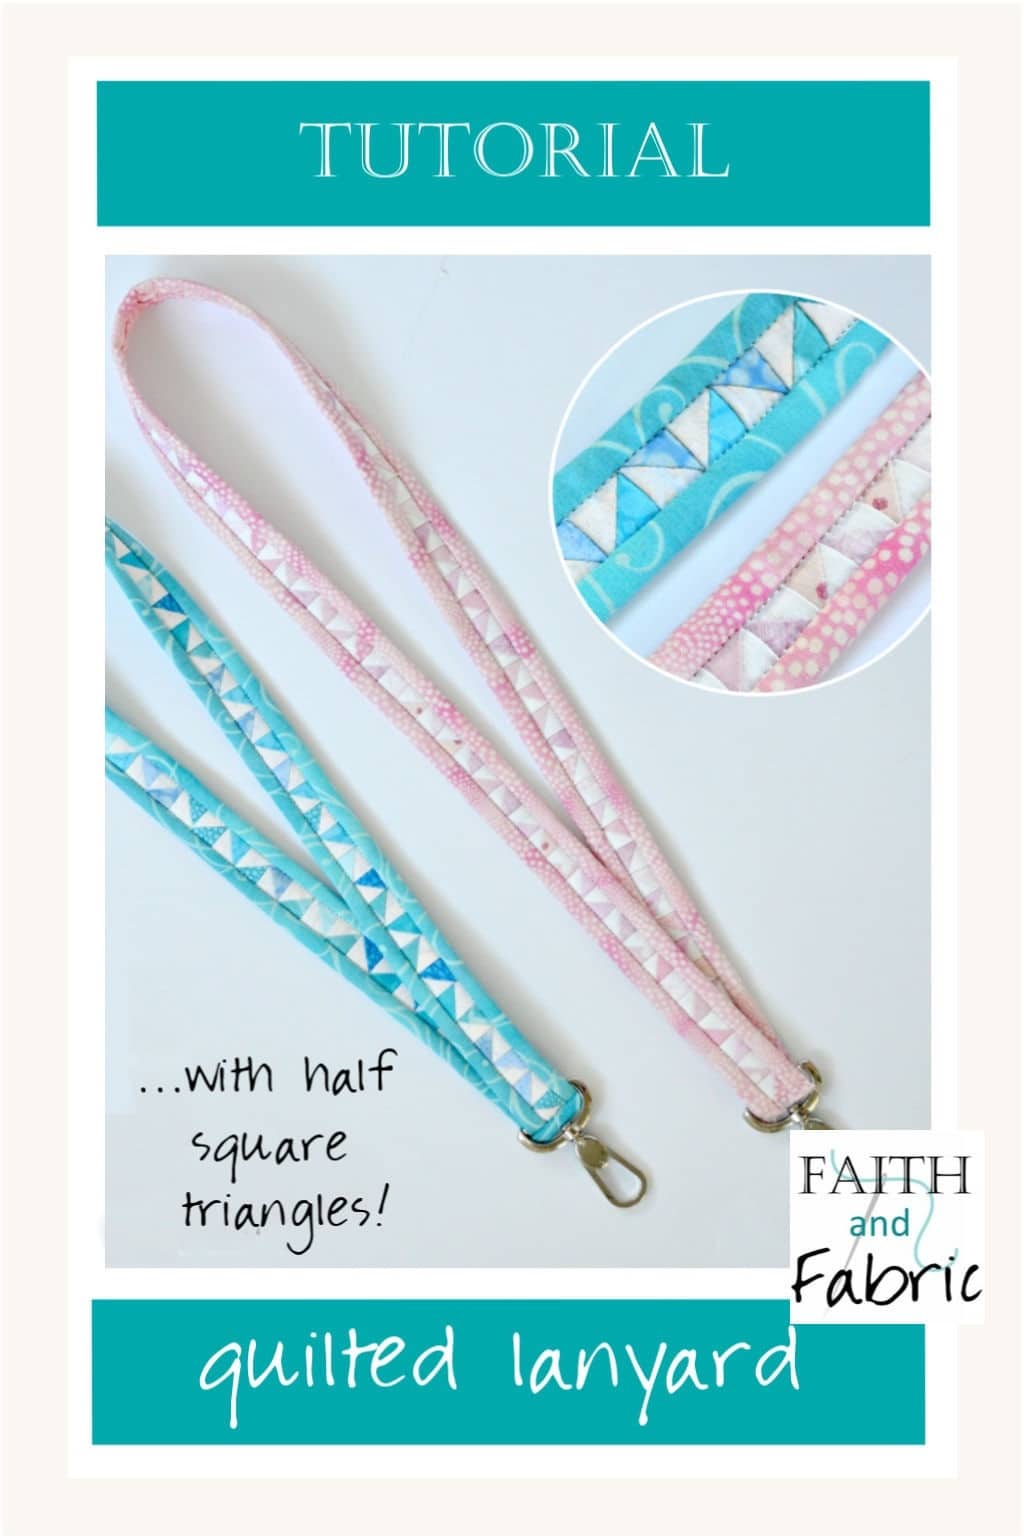
Guess where I went this past weekend? Quiltcon! Not wanting to show up empty handed (or rather empty necked), I wanted to sew a lanyard. It came out so cute, so here’s a quilted lanyard tutorial so you can make one for yourself! It comes together in about two hours, and you can make it to any length you like. Plus, it’s a nice scrap buster.
The lanyard tutorial below makes a quilted lanyard that is 32″ in length. To make your quilted lanyard longer or shorter, add or remove a pair of squares from both fabrics. Each pair of 2.75″ squares adds four inches to your overall length. So, if you want a longer lanyard, cut additional squares of fabric from A and B. (i.e.: to make a 36″ quilted lanyard, cut 9 squares of both fabric A and B, etc.).
WHAT YOU NEED
- 8 squares (cut to 2.75″) of fabric A
- 8 squares (cut to 2.75″) of fabric B
- thread in coordinating color
- rotary cutter and mat
- swivel hook with 1.5″ D-ring
- basting spray (I love Sulky’s spray as it holds great *and* doesn’t get everywhere)
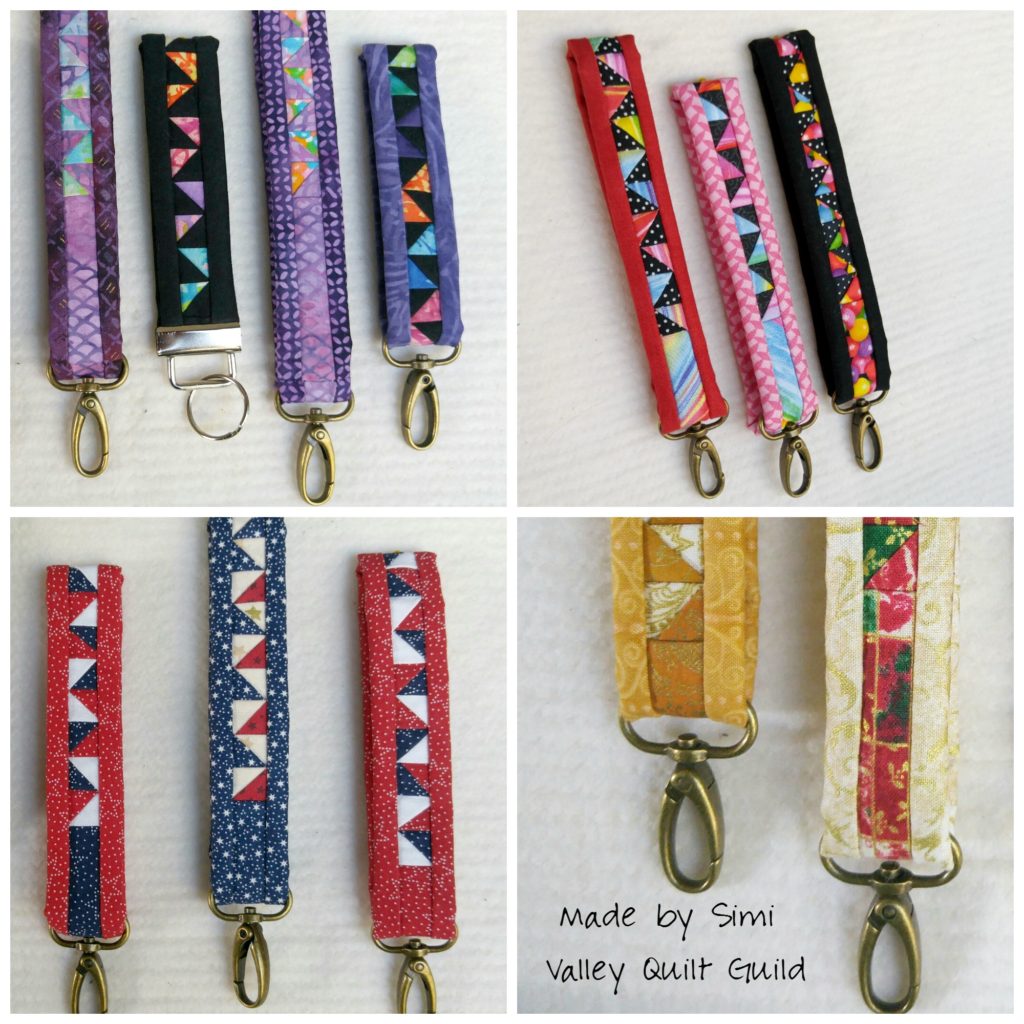
Updated: after numerous requests for a paper piecing pattern, I’ve created one! It’s available here – sample images are below (in red fabric) showing paper piecing pattern.

HOW TO MAKE
- We’ll be making 8-in-1 half square triangles. To start, cut 8 squares of fabric A and 8 squares of fabric B, all at 2.75″ x 2.75″
- On the back of fabric B, draw diagonal lines from the upper left to lower right corner, and upper right to lower left corner
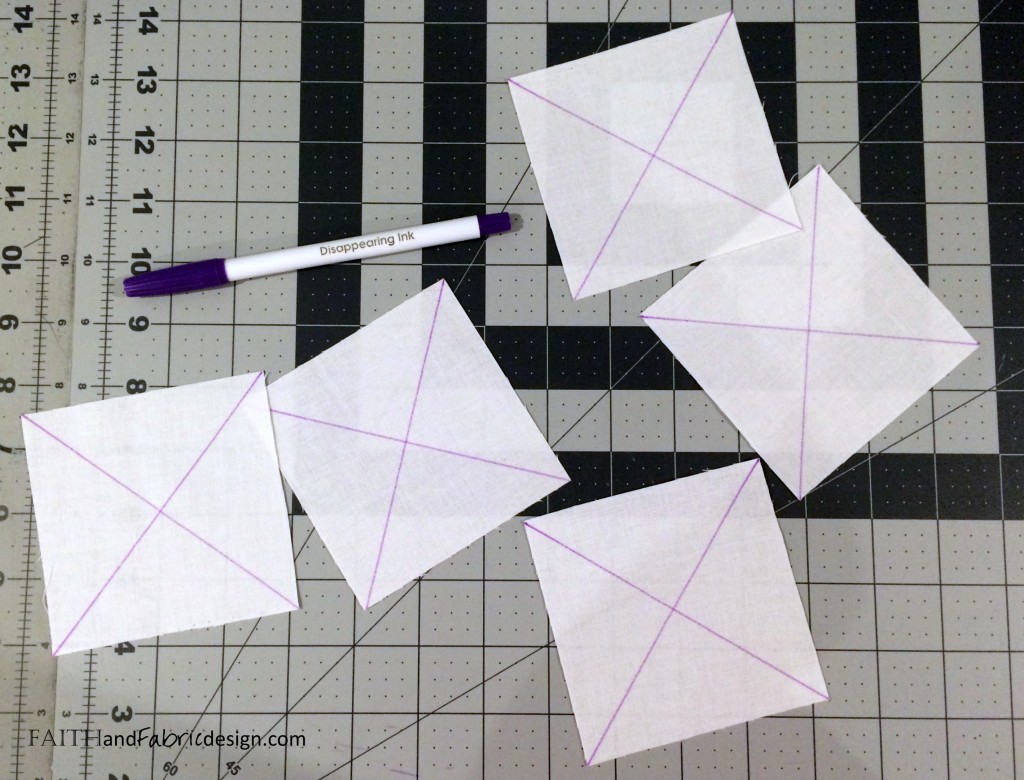
- Pair a square of fabric A and a square of fabric B, right sides together.
- Sew a scant 1/4″ seam to the left of each diagonal line. Press.
- Cut on the two diagonal lines, and then cut again through the center top-to-bottom and left-to-right so you end up with eight small triangles. (Ignore the size of mine…yours will be smaller. Made this one larger so it would photo better.)
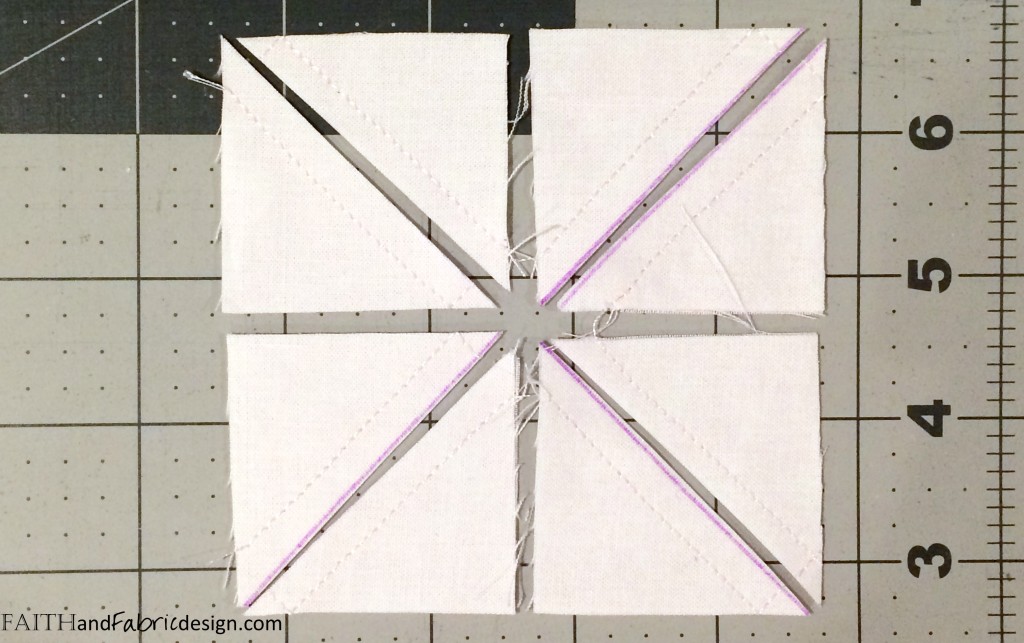
- Press blocks open, seams towards darker fabric. Cut off the tails/dog buy generic viagra in canada ears from each block.
- Mix all the blocks up in a pile so – as you sew them – they will be randomly mixed together.
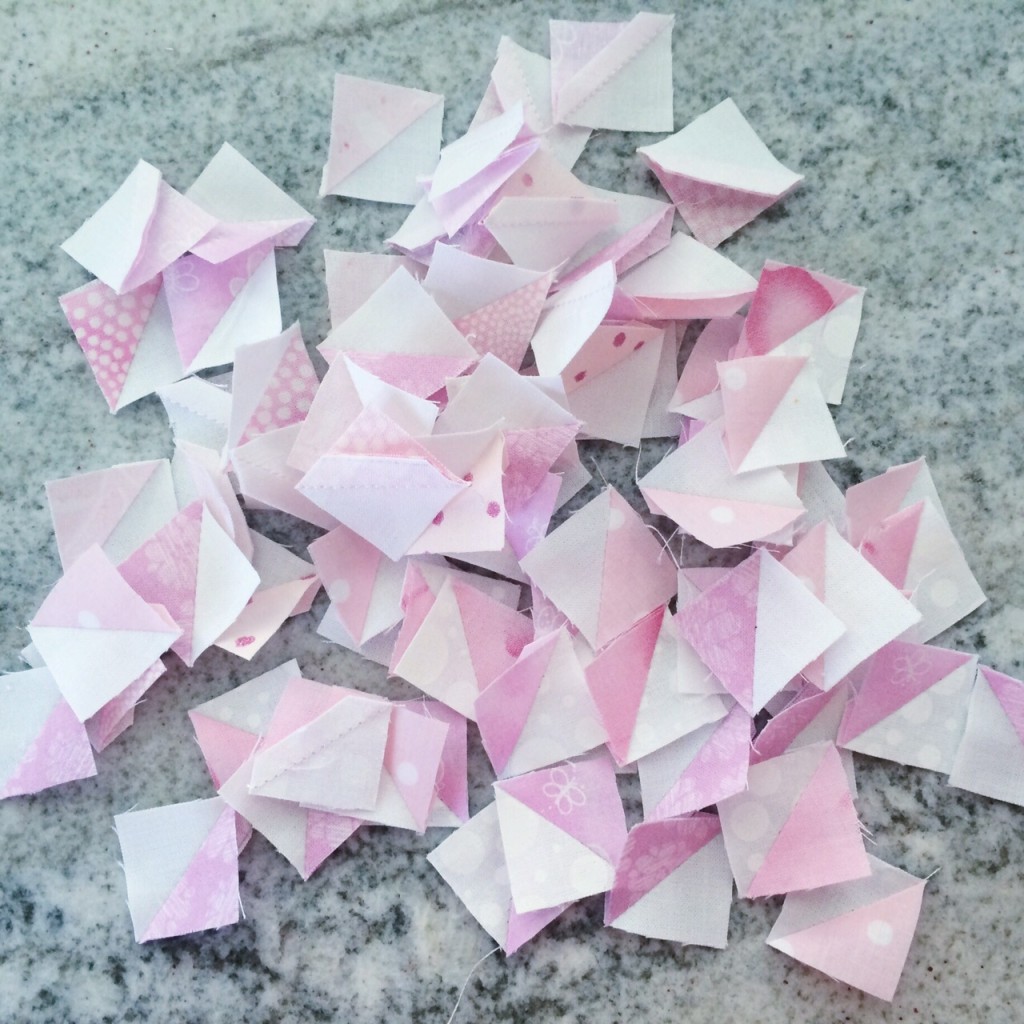
- Begin chain stitching the blocks together. As seams were all pressed in the same direction (towards the darker fabric), the pieces will lock together very nicely.
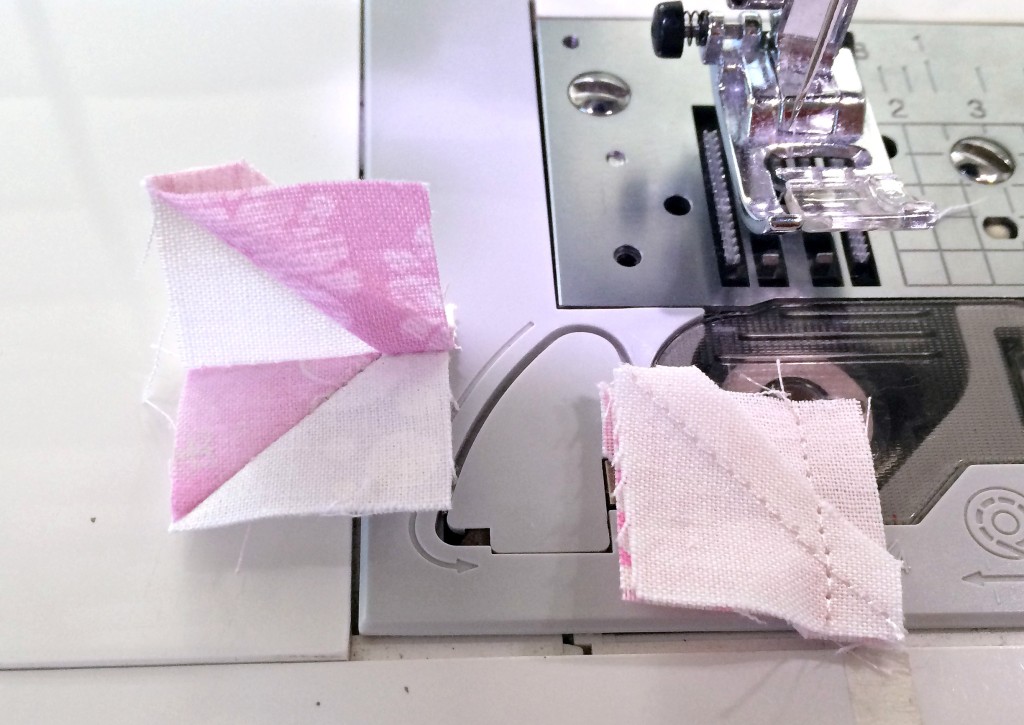
- Once you complete the initial chain, cut the threads, pair the ends of the blocks, and continue chain stitching block sets together until you have one long row of 1/2″ HST.
- Press the seams closed in the same direction.
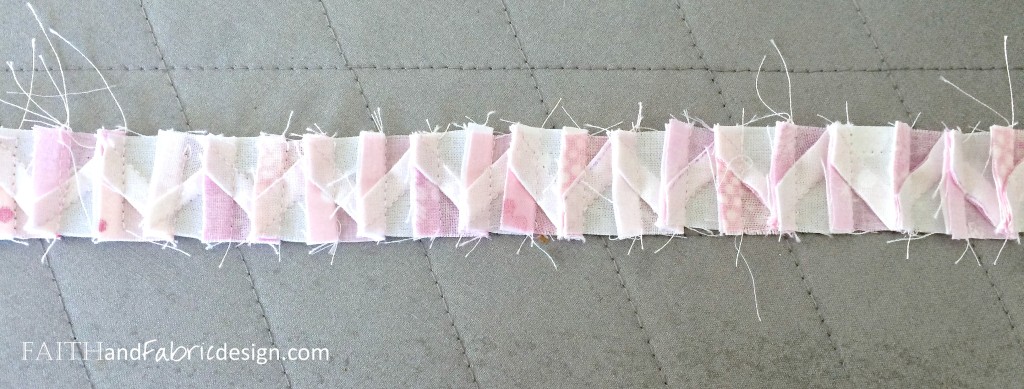
- Trim any edges/thread so that your row is 1″ wide (it’s ok if it’s off a little bit)
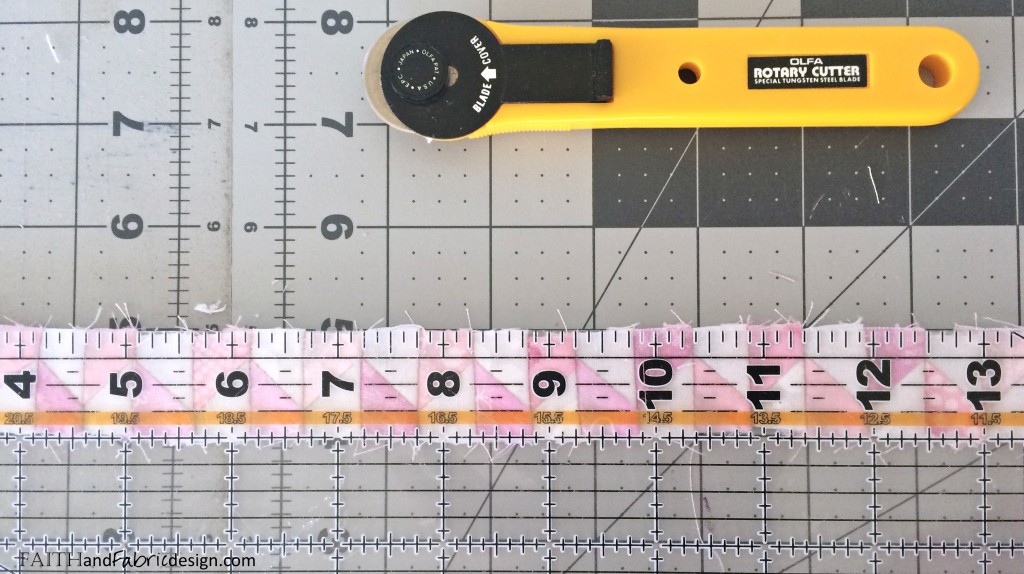
- Cut two strips measuring 1″ x 34″ – one strip from a thin batting and one strip to form your backing (you can sew strips together from scraps).
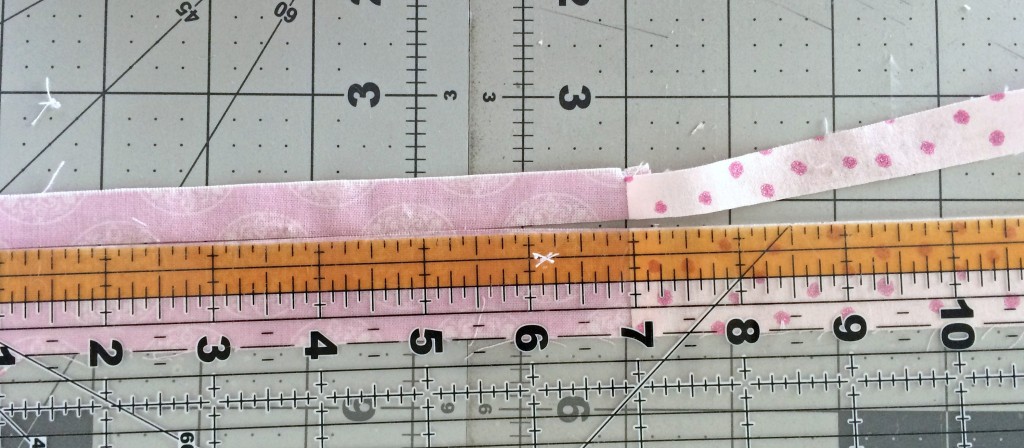
- Using newspaper to protect your work space, spray baste the three layers together: backing, batting, and quilt/lanyard top. Be careful not to pull or stretch any of the layers! Trim any excess length from the batting and backing once it is spray basted in place.
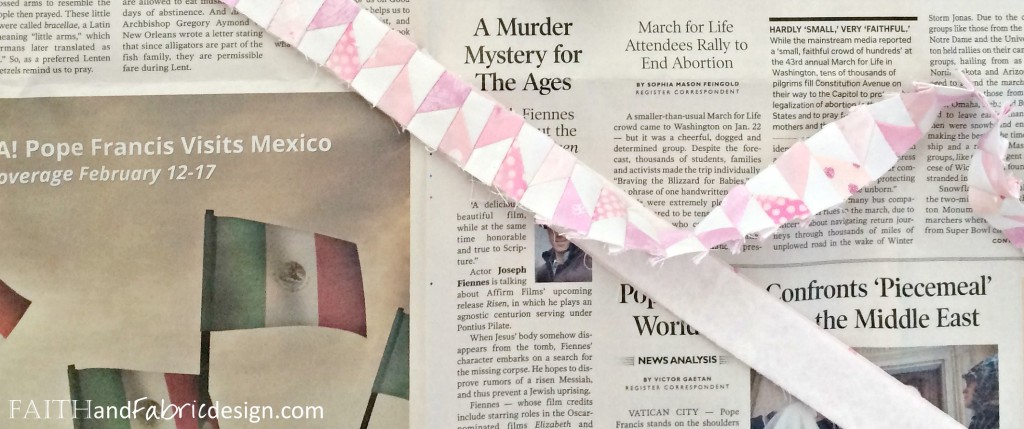
- Sew a 1/8″ seam on all four sides to secure the three layers together.
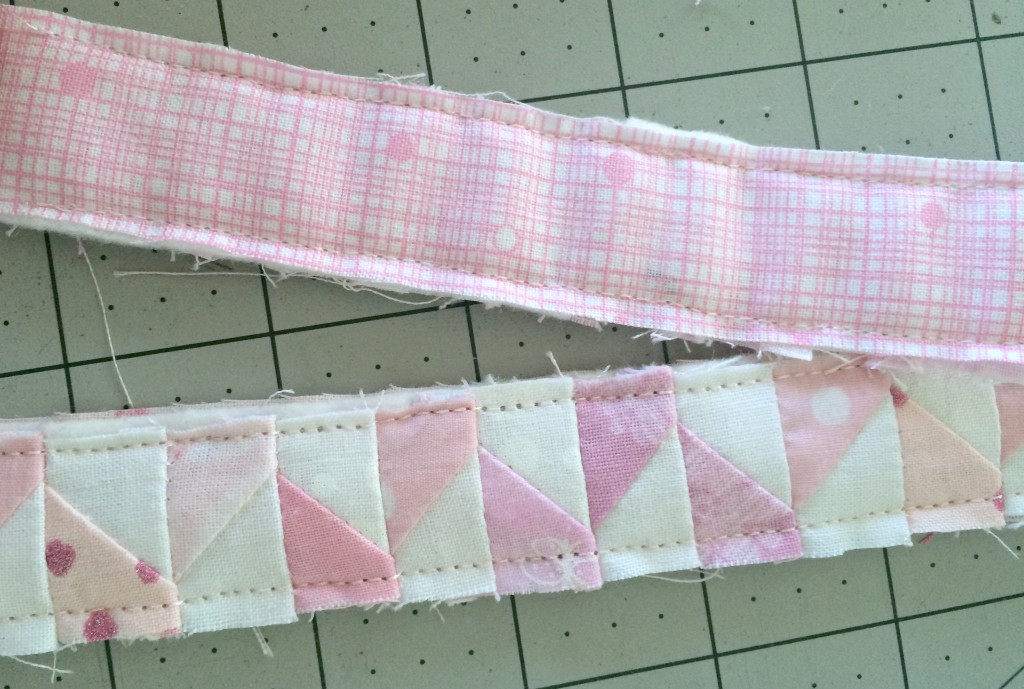
- Cut two binding strips at 2.25″ x length of lanyard (should be about 32-33″). Attach binding as you normally would when working on a full size quilt, and either hand stitch the binding down on the back *or* glue baste onto the back of the lanyard and stitch in the ditch along the front (thereby sewing the back down).

- Following the instructions specific to your D-ring and clip, attach to the lanyard. Sew closed either with a folded piece of fabric or zig-zag (you’ll see the pink was zig-zag stitched closed at the end, while the blue was closed off with a folded piece of fabric).

- Attach name tag and enjoy!
![]()
![]()
Just for fun…this post links up at these great Catholic and quilting sites!
Also, this post contains an affiliate link or two – thank you for supporting my site!


Your lanyards are gorgeous! Thanks for a great tutorial!
Thanks, Cathy! They were super fun to make!
Wow, someone else who loves tiny blocks as much as I do! Thanks for linking this tutorial up to Building Blocks Tuesday!
Thanks for sharing your lanyard tutorial with Oh Scrap! Those pieces are tiny!
Wow- What a tiny, cute project! Thanks for sharing!
Thanks, Lorinda! It *was* tiny 🙂
How lovely!! Thank you so much for this tutorial. Wasn’t QuiltCon fun? I went last year and was so having separation anxiety from not going this year. I’m going next year to Savannah ….and can’t wait! I’ll have to make one of these for that show!
Hi Shelly – yes, QuiltCon was fun! I was only there for a day, but am definitely hopefully to go next year to Savannah. Send a pic after you make your lanyard; I’d love to see how it turns out!
Wow, I assumed you paper pieced them, but your traditional piecing is fantastic! They are so pretty! Thank you for the tutorial!
Aww, thanks, Paige! I’ve had a lot of requests for paper piecing, so working on a template for that this weekend 🙂
The lanyards are so beautiful! Thank you for the tutorial. I think I will have to make one soon, they are so cute!
Thanks, Jennifer! I can’t stop making them…so easy and love how functional they are.
What a great project! We featured your project over on the FWFS Blog! Thanks for stopping by and linking up!
Lindsey
Oh gosh, Lindsey, THANK YOU!! Such an honor!!
Definitely fantastic and beautiful. I am sure they would be comfortable to wear with the extra layers essentially padding the lanyard. thanks for linking to tgiff
Lisa, thank you! The padding is great – and knowing I can wash it is even better.
You could thread through the D ring and close the ends with velcro to meet the safety requirements of many workplaces
Bev, that’s a great point – it would be safe with that quick release mechanism for little kids, too!
I just made one. It turned out great. Would really like to try making one paper piecing. Is the paper piecing part only available on Craftsy?
Hi Briana, I’m glad to hear it turned out so well! Yes, the paper piecing part is on Craftsy for a small fee to help cover the time needed to make it.
You could easily turn this into a chatelaine for around your neck for your scissors, pin cushion, etc.
Carol, that’s a lovely idea!