Welcome to our advanced beginner sewing class on how to make reversible bunting for Advent/Christmas and Lent/Easter!
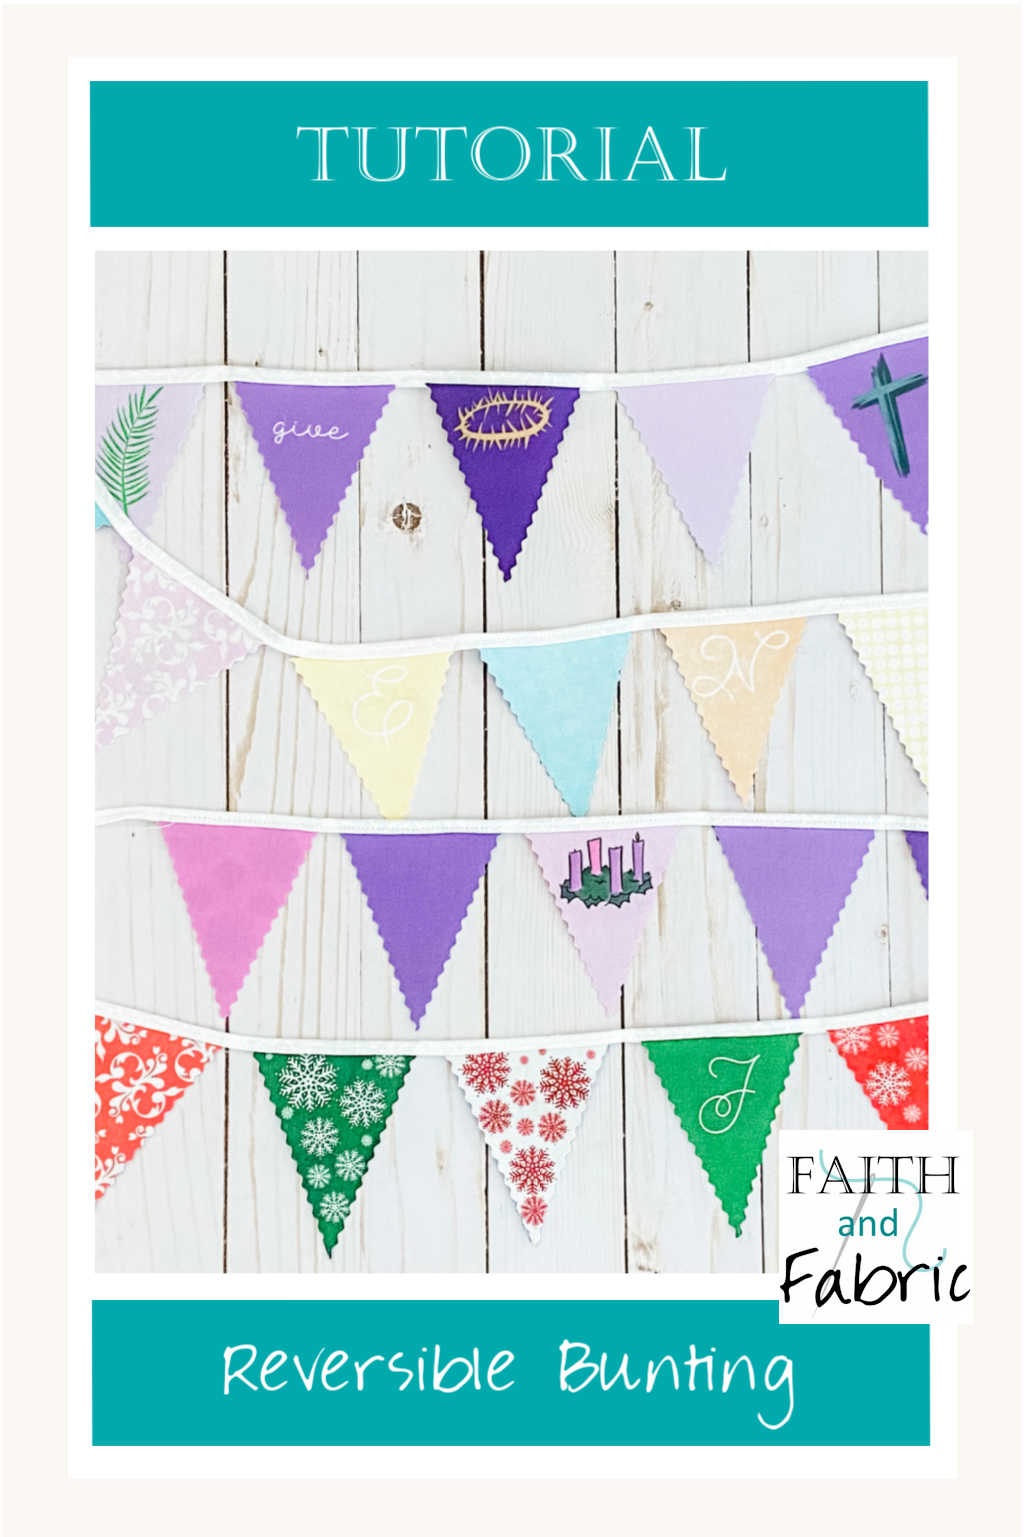
This adorable reversible bunting is a great sewing project for beginners as it introduces working with bias tape and double sided fusible webbing. You’ll be sewing lovely reversible bunting in two sets: one set for Advent / Christmas and a second set for Lent / Easter. This project comes together so quickly, and in no time you’ll have seasonal decor ready to hang!
Can I tell you my favorite part? The little advent candles actually have the correctly lit candles on them – so the first week of Advent has one candle lit, the second two, the third three (including the pink/rose), and the fourth has four. Love!! It’s those little details that make this set so special.
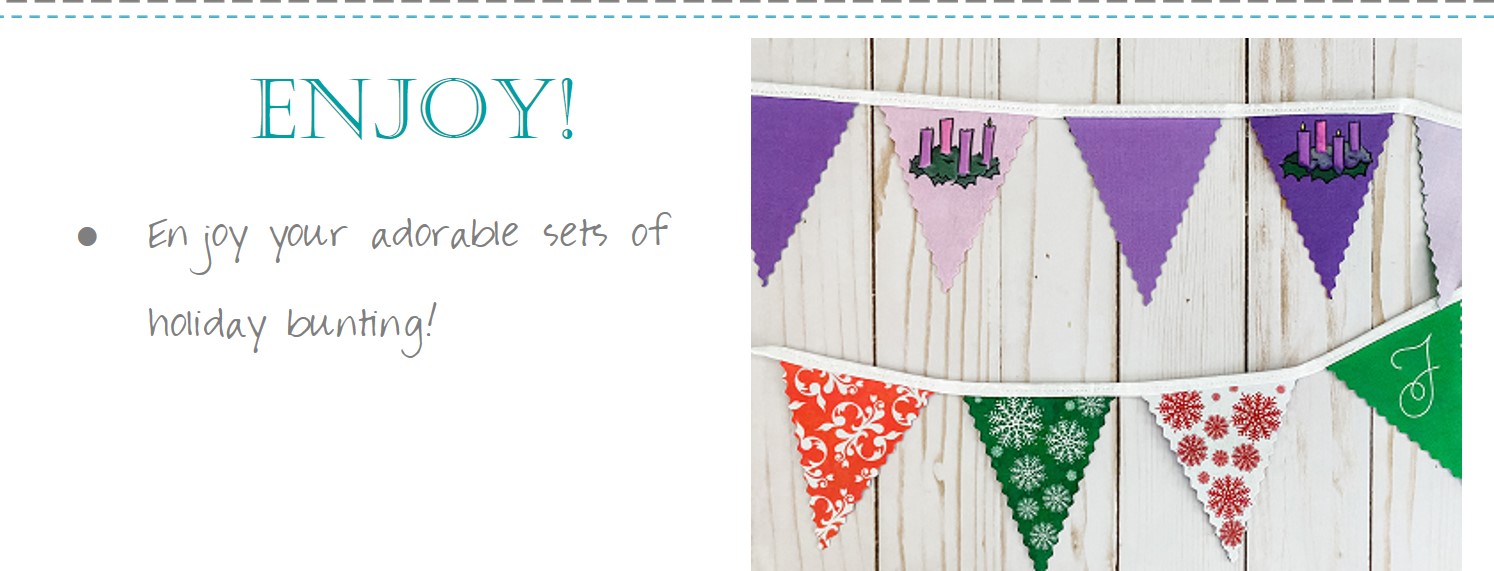
ADVENT/CHRISTMAS: Purple and rose flags adorn the Advent side, mixed with four advent wreaths that are lit to correspond to one of the four weeks of Advent. The Christmas side spells out JOY alongside red and green paisley and snowflake prints.
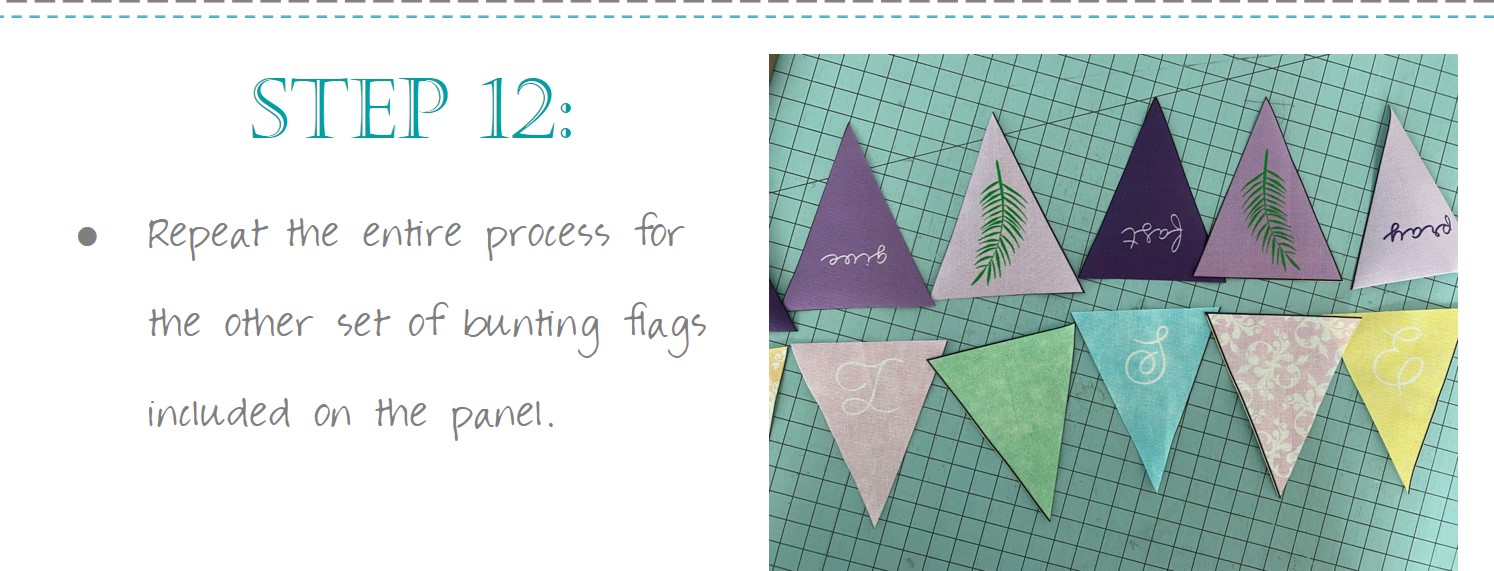
LENT/EASTER: The Lent side of the bunting reminds us of the penitent season we are in, reading “pray”, “fast”, and “give” on alternating flags. Mixed in are an ash cross (for Ash Wednesday), palm fronds (Palm Sunday), and a crown of thorns (Good Friday). The Easter side reads R I S E N on alternating flags, each backed by the pastel colors of Easter.
Below, you’ll find a detailed video, which I highly recommend watching. There are also highlight step-by-step photos on how to make your bunting. I’ve also linked to many of the products shown in the photos, as I’ve tried several and these are my go-to items when it’s time to sew. Happy sewing!
WHAT YOU NEED:
- reversible Advent/Christmas Lent/Easter bunting panel
- sewing machine
- iron
- double sided fusible webbing (I recommend Heat & Bond)
- bias tape maker OR bias tape in white (quarter inch tape that is 42″ in length for each set of bunting)
- white fabric: 2″x42″ (if making own bias tape)
- pinking sheers or wave rotary cutting blade
- triangle ruler (makes cutting easier)
HOW TO MAKE: (with photos)
Did you enjoy this sewing class? View all our sewing classes here!
HOW TO MAKE: (text only)
-
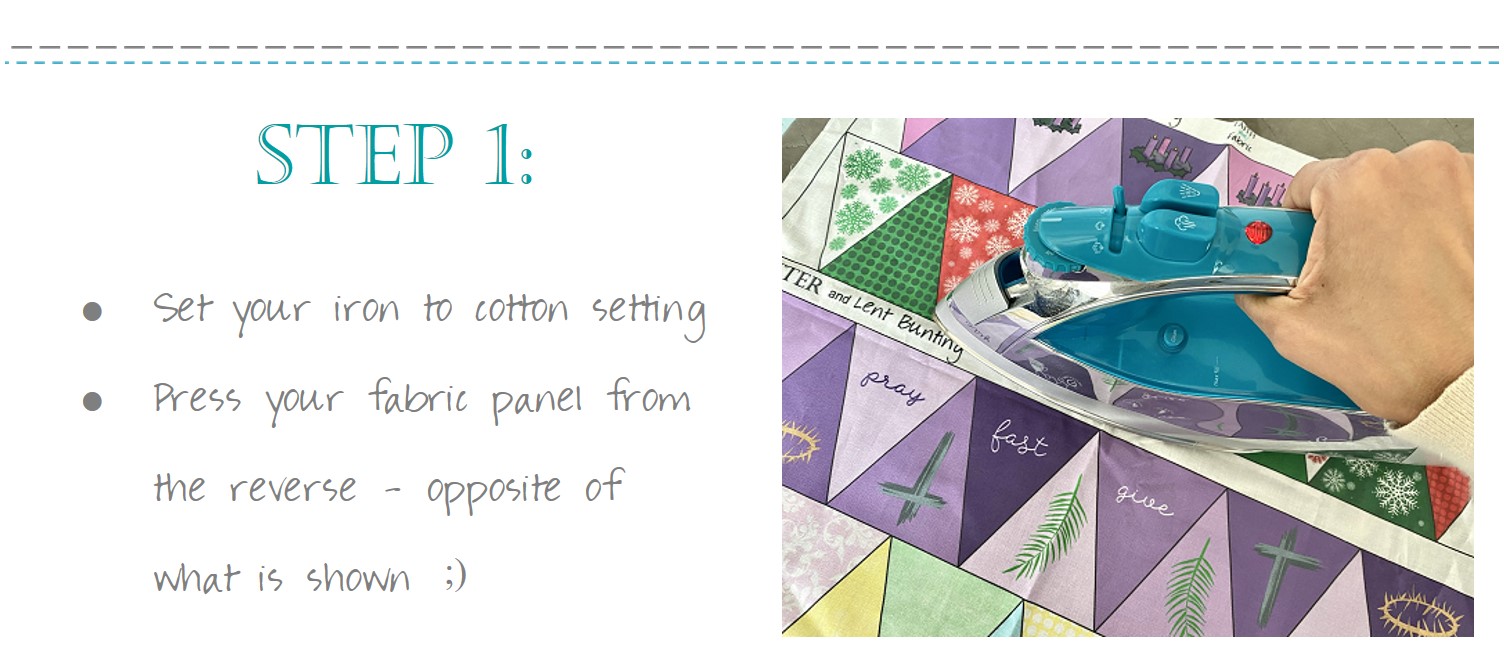
- Set your iron to cotton setting. Press your fabric panel from the reverse – opposite of what is shown.
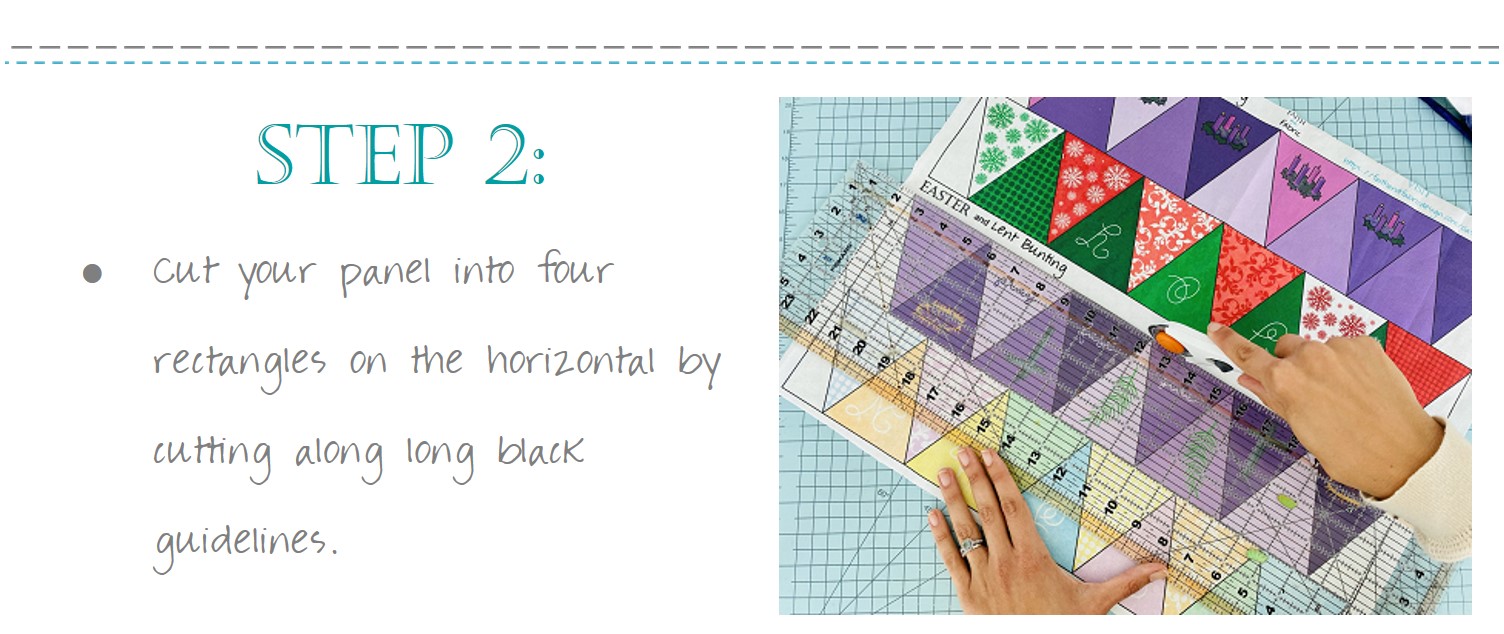
- Cut your panel into four rectangles on the horizontal by cutting along long black guidelines.
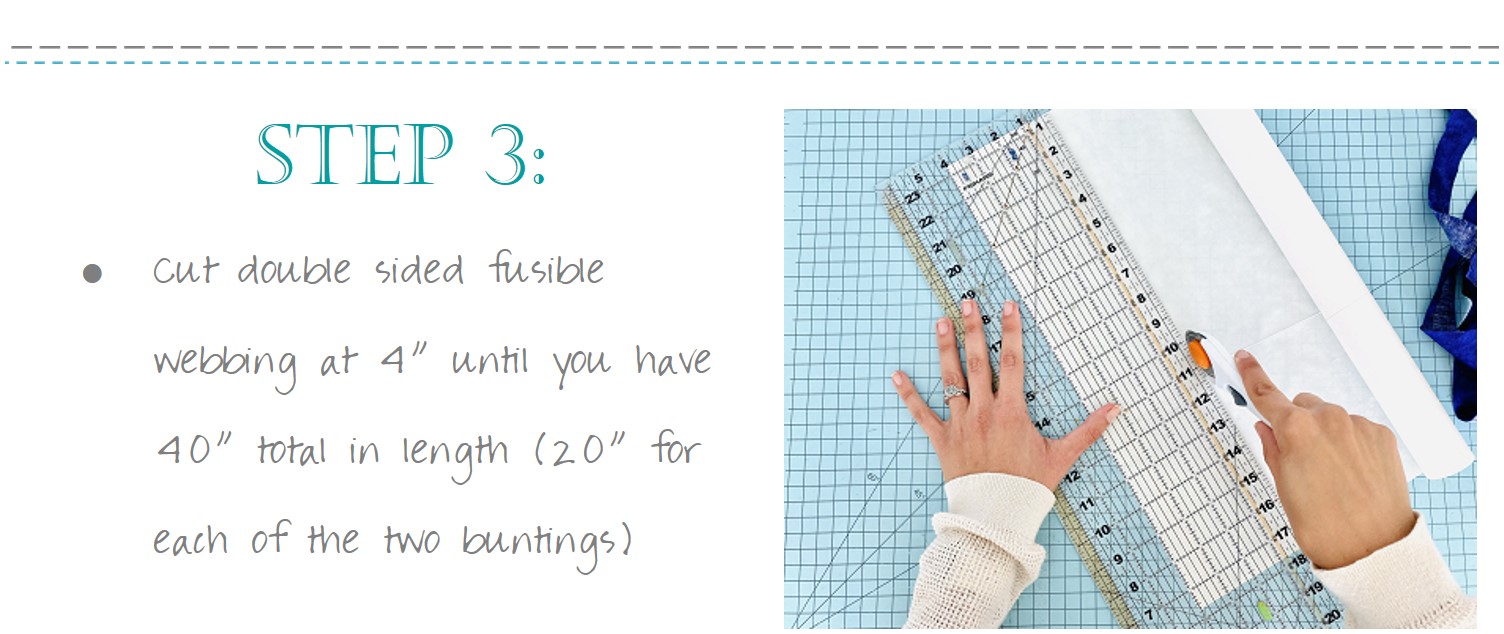
- Cut double sided fusible webbing at 4” until you have 40” total in length (20” for each of the two buntings).
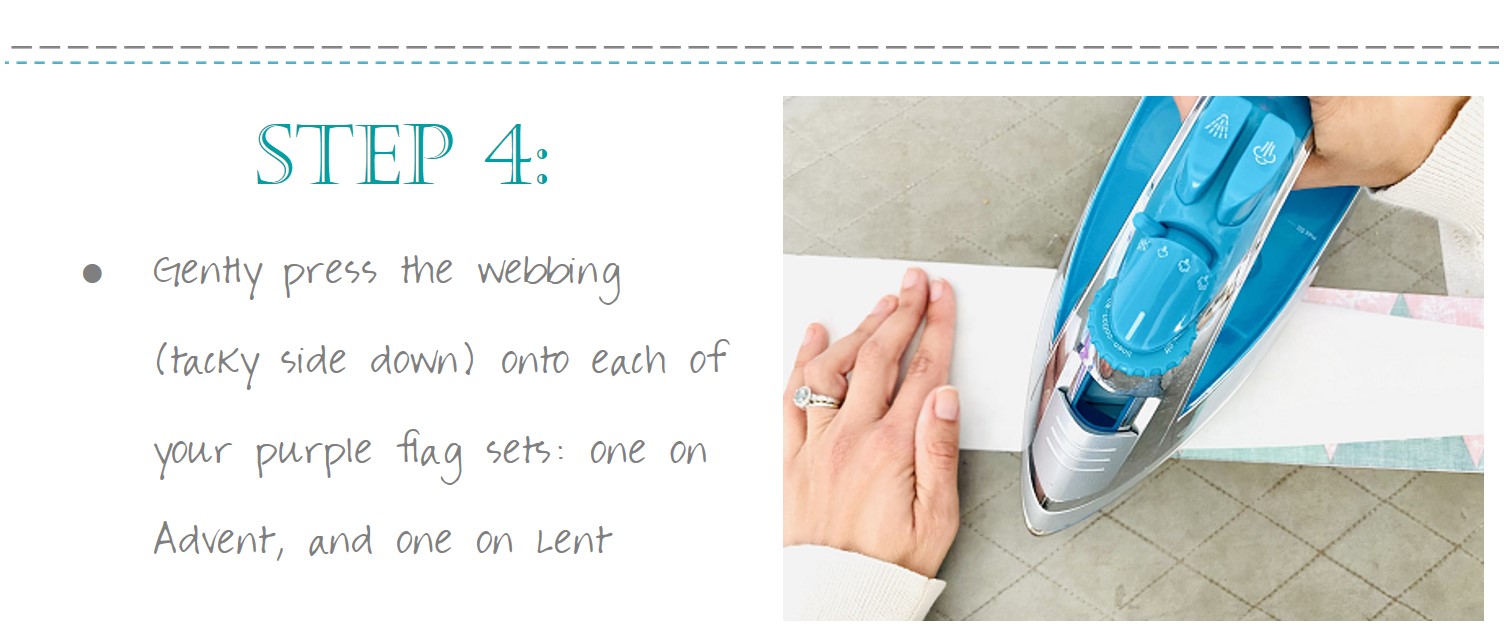
- Gently press the webbing (tacky side down) onto each of your purple flag sets: one on Advent, and one on Lent.
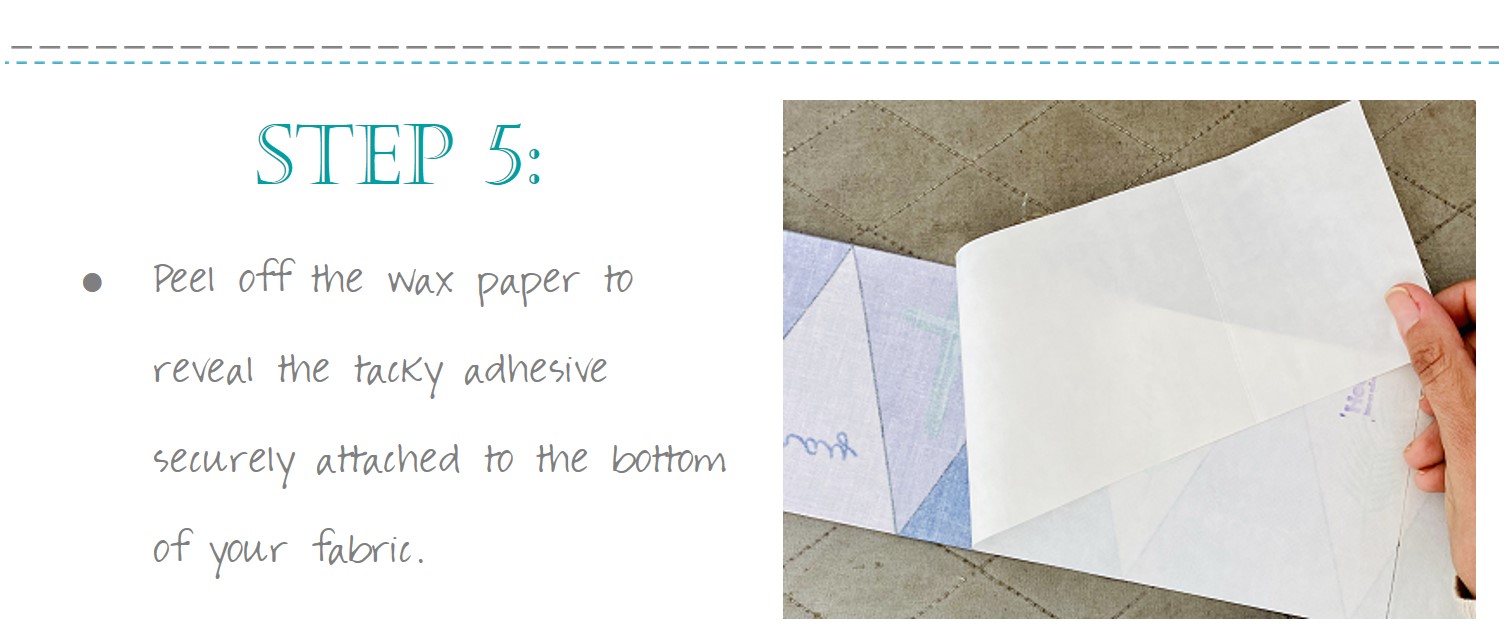
- Peel off the wax paper to reveal the tacky adhesive securely attached to the bottom of your fabric.
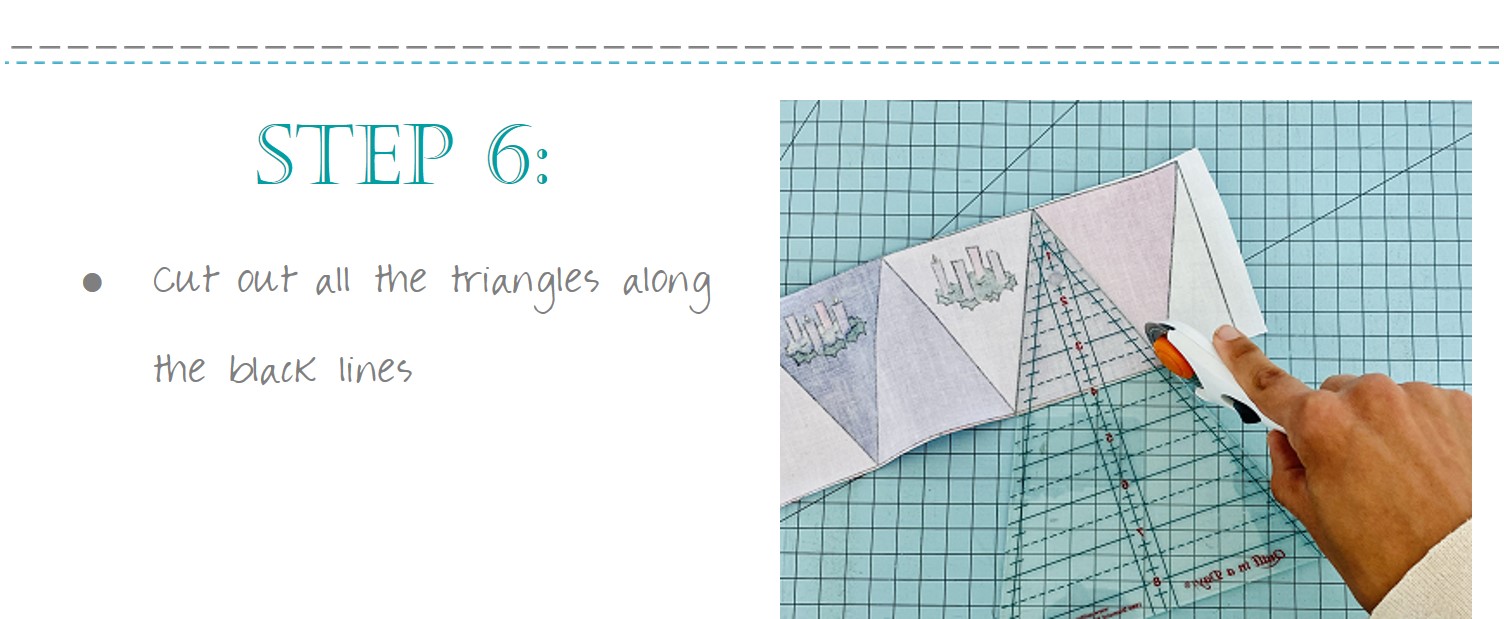
- Cut out all the triangles along the black lines.
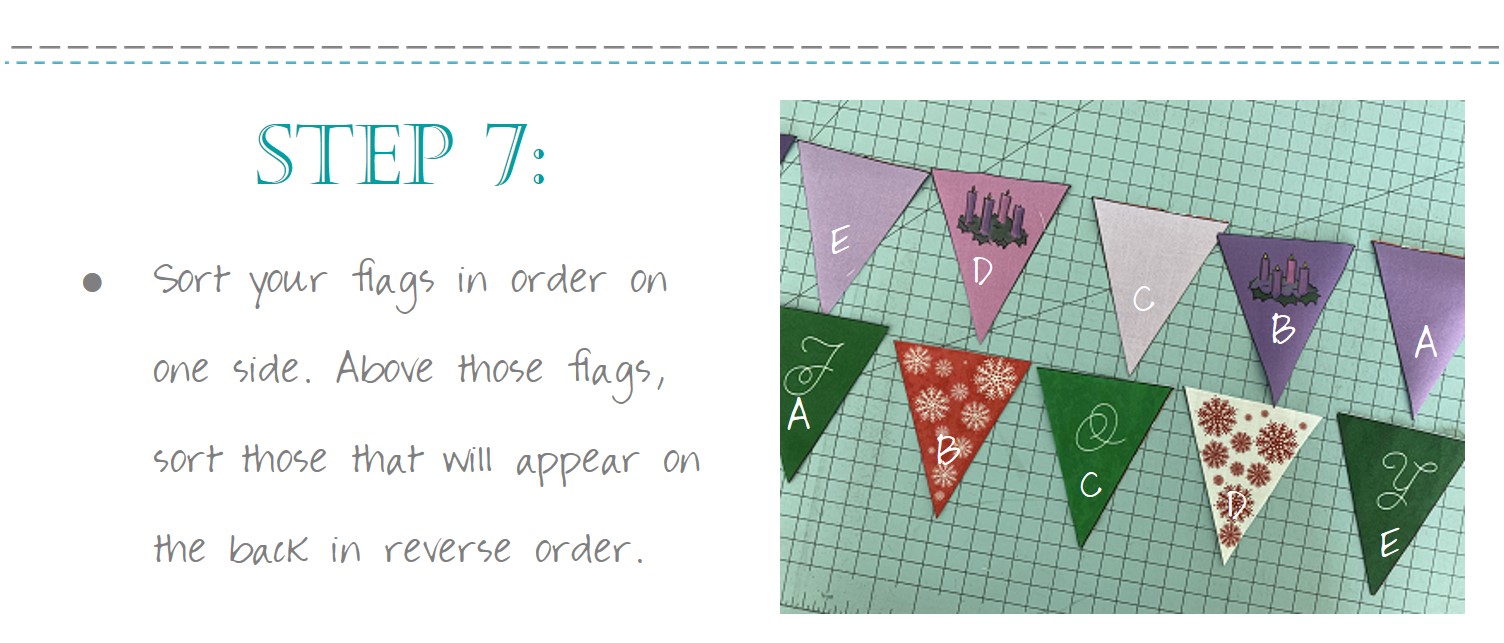
- Sort your flags in order on one side. Above those flags, sort those that will appear on the back in reverse order.
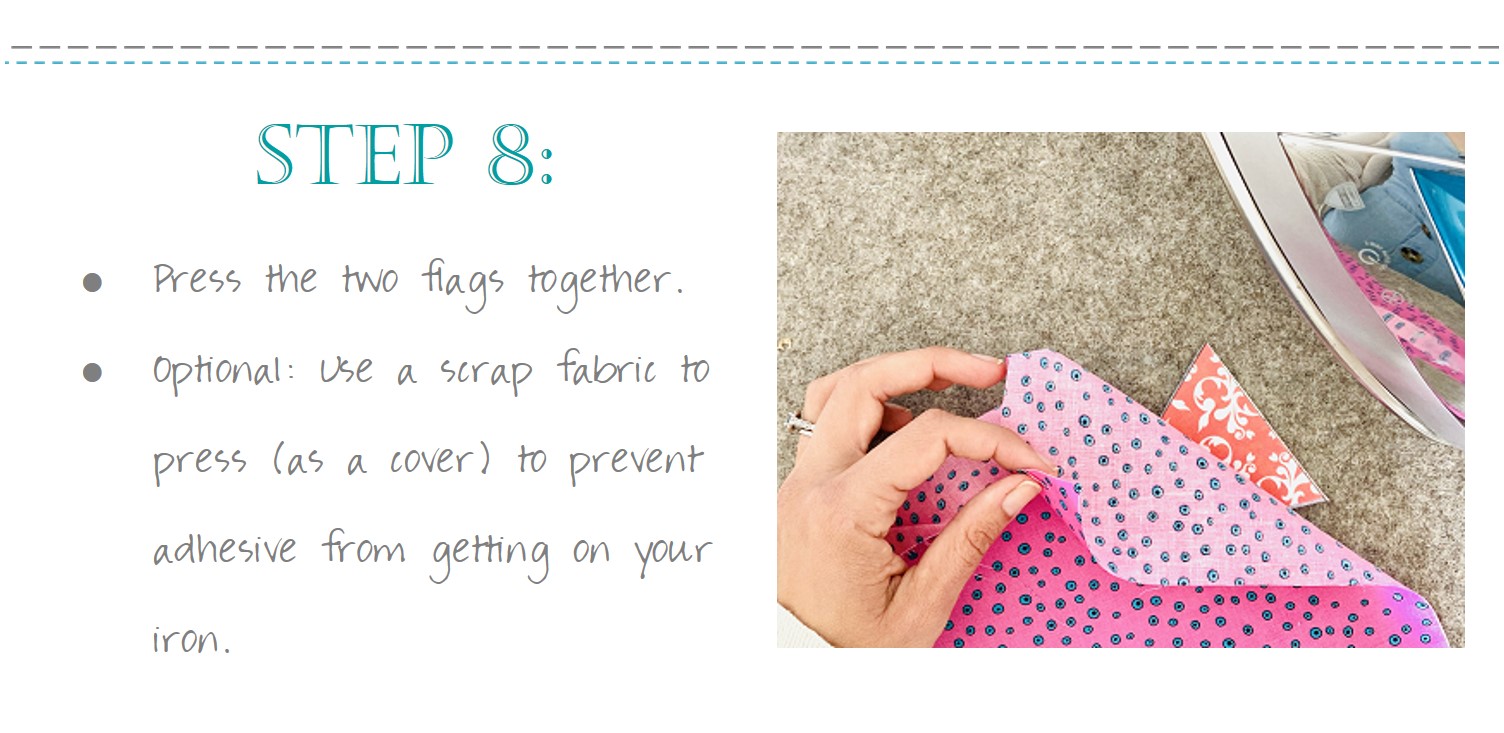
- Press the two flags together. Optional: Use a scrap fabric to press (as a cover) to prevent adhesive from getting on your iron.
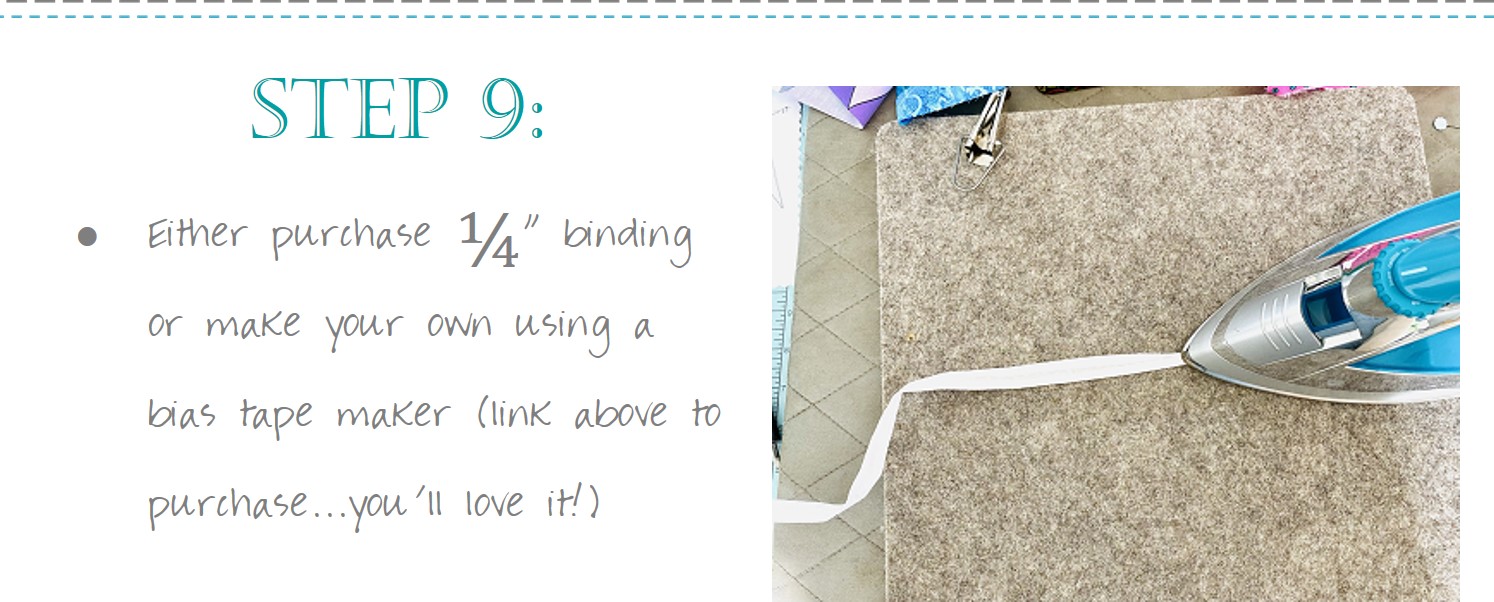
- Either purchase ¼” binding or make your own using a bias tape maker (link above to purchase…you’ll love it!)
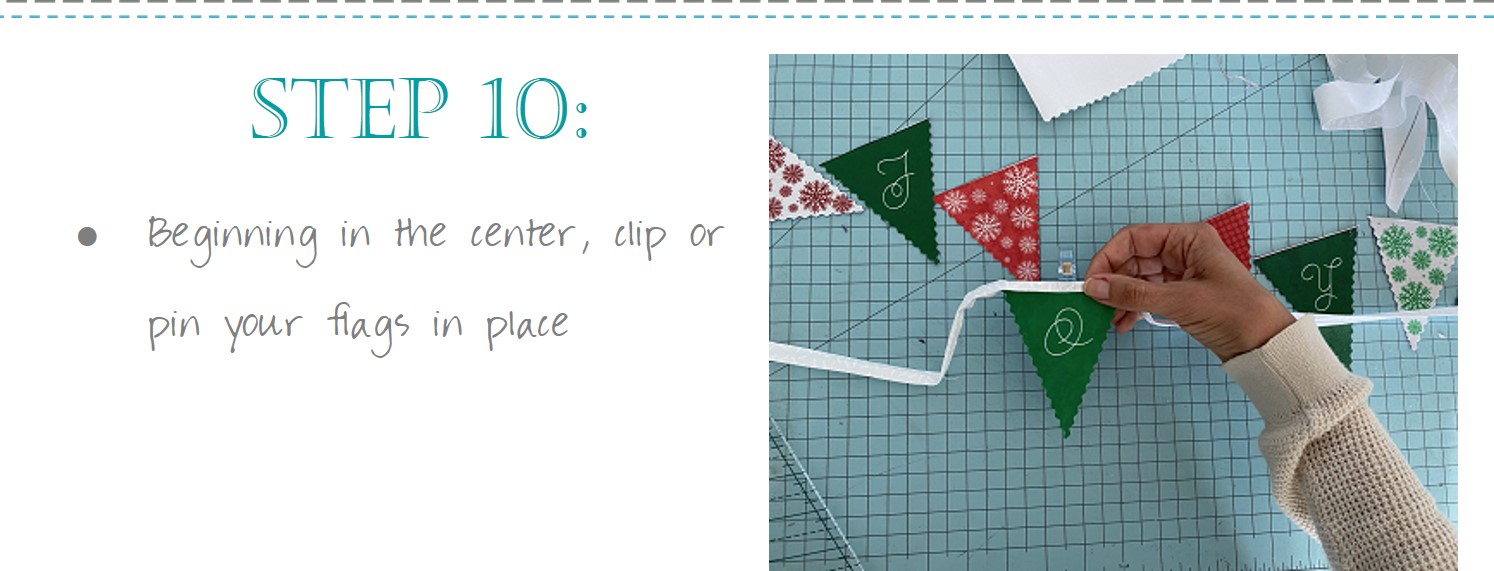
- Beginning in the center, clip or pin your flags in place.
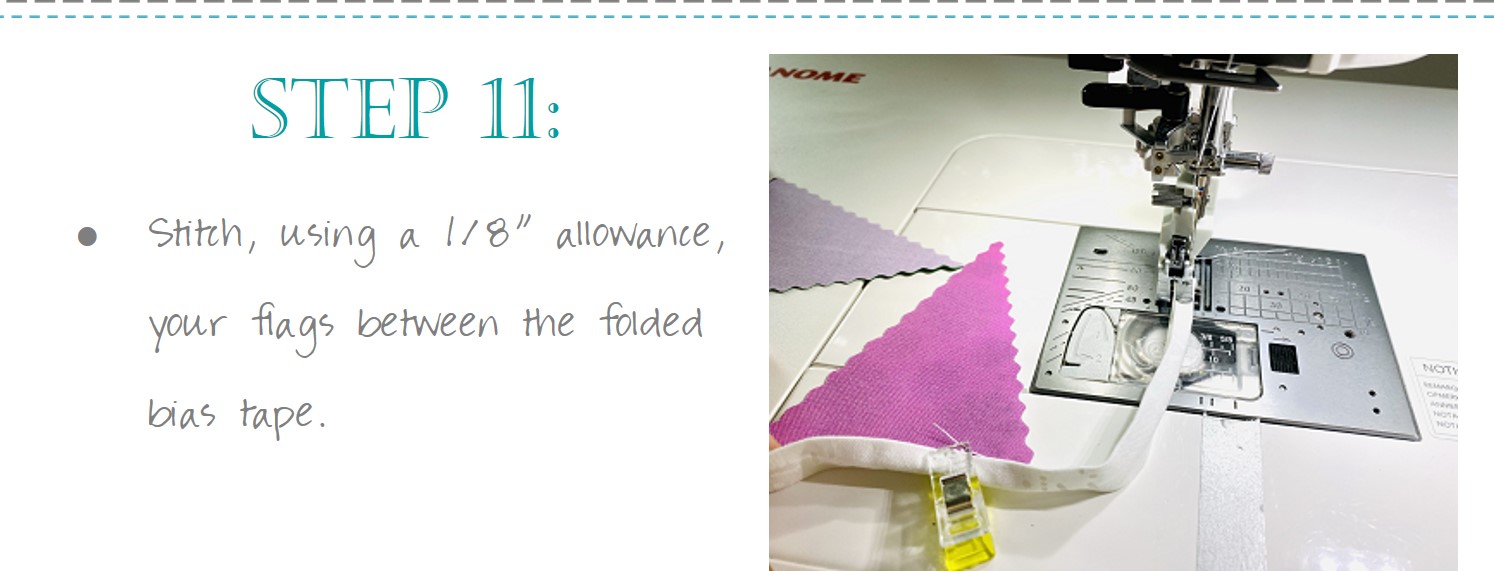
- Stitch, using a 1/8” allowance, your flags between the folded bias tape.
- Repeat the entire process for the other set of bunting flags included on the panel.
- Enjoy your adorable sets of holiday bunting!
