Ask any quilter what they do with their scraps, and they’ll likely tell you they save any piece wider or longer than 3/4″. Some save only larger pieces, others trim scraps into nice shapes for storage, and a few keep strings for the odd paper piecing project. What they probably will all agree on is what not to keep: the trimmings. The little bits of thread left after piecing. The cut corners in prep for binding. These ended up in the trash.
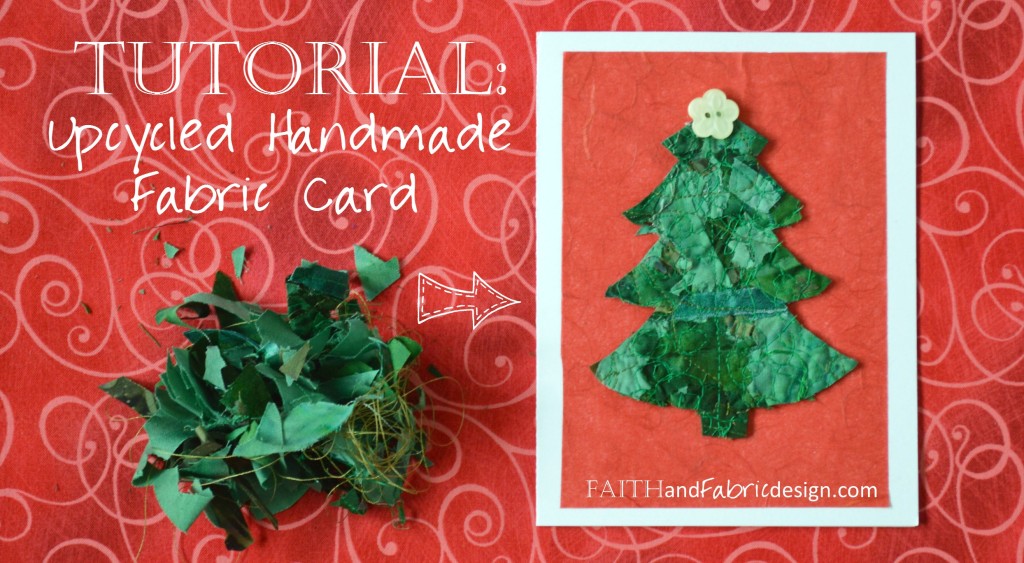
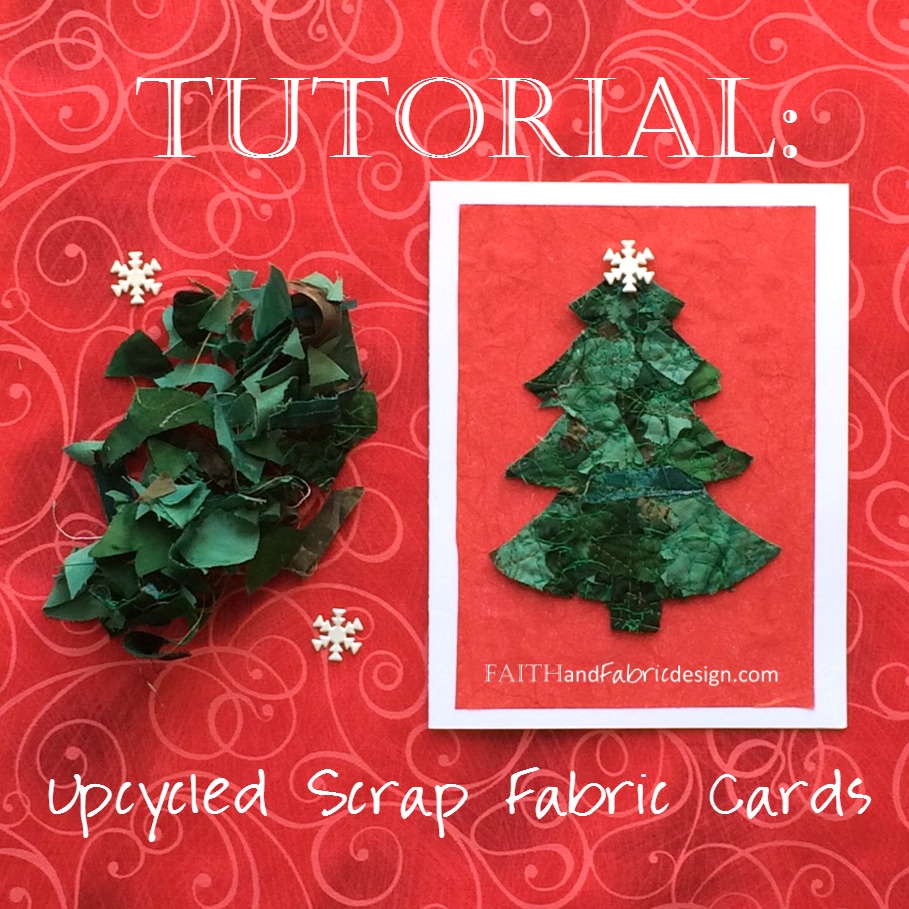
I’m excited to share a way to take those leftover trimmings and turn them into something beautiful! In just a few minutes, you can turn those tiny bits of trimmings and loose threads into a beautiful greeting card. These fabric cards are a unique way of sharing your love of fabric with friends and family and are *way* less labor intensive than a quilt! 🙂
I keep a small bowl by my sewing machine that every little bit of thread and trimmings goes into; when the bowl is full or I switch projects, I dump the same-color pieces into a baggie and toss the baggie into a drawer. When the baggie is full – voila! Time to make some fabric cards. It’s actually a really nice break from sewing.
I had a bunch of green trimmings left from both our Advent Wreaths quilt and Jesse Tree, which made a great base for a Christmas Tree fabric card. Here’s how it was made:
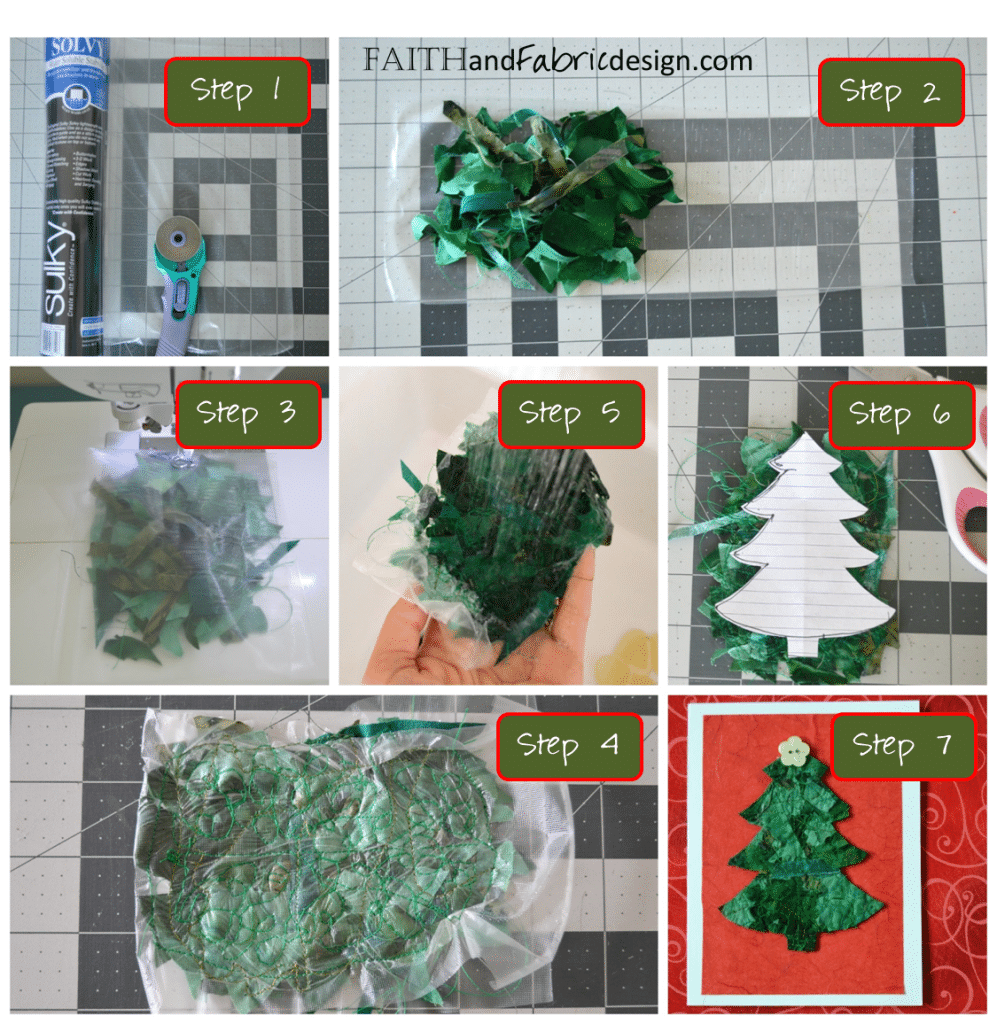
- Cut a 5″-wide section of water-soluble stabilizer. I highly recommend Sukly water-soluble stabilizer – it works great, and lasts a long time between projects without getting sticky or tacky (an issue I’ve had with other water-soluble stabilizers).
- Spread your threads and trimmings over half the stabilizer. You’ll be folding the other half over to make a sandwich with the pieces in between the two layers. Actually, it’s more of a quesadilla when you think about it…
- Place the quesadilla – folded side first – under your needle with the needle centered on the fold. Stitch straight until you get to the other end of the quesadilla. Then, with the pieces in the center firmly secured, stitch a box all the way around until you arrive back at your starting point. This secures all the loose pieces inside so they won’t fall out as you stitch them down. Now, stitch VERY HEAVILY over the entire piece! Overlap your stitches, go in different directions, make swirls, etc. You honestly can’t overstitch but you *can* understitch this.
- Remove your project from under the needle and inspect; you want to make sure that you don’t have any spaces more than 1/4″ x 1/4″ without stitches. If you do, you’ll have weak spots which may wash out when you rinse.
- Rinse your project gently under warm water. It will dissolve under any temperature, but I find the hotter the water, the quicker it dissolves and truly rinses from the fabric. Dry your fabric in a warm, sunny place or with a hair dryer. Caution: do NOT put it in the toaster oven, walk away, and forget it’s in there. It *will* catch fire and your house will smell like burned fabric the rest of the afternoon. Just saying.
- On a piece of paper, draw out the shape you want to cut from your project. Pin it to your project, and cut out with sharp scissors.
- Add to a piece of cardstock and embellish. I absolutely love the way Mulberry paper works for this project; it’s a fiber-based paper that complements the fabric so so well. Give away to a friend or neighbor knowing you both made their day AND did something good for the environment by upcycling your scraps!
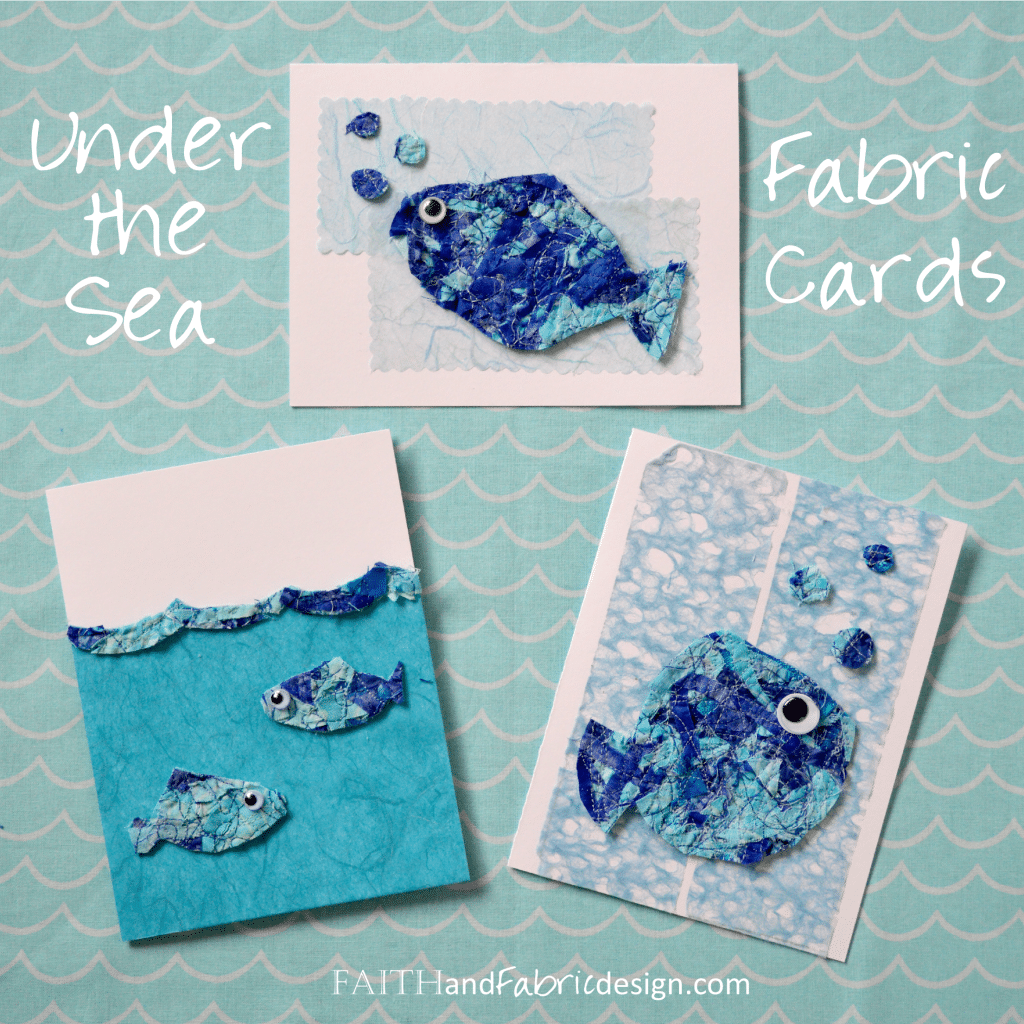
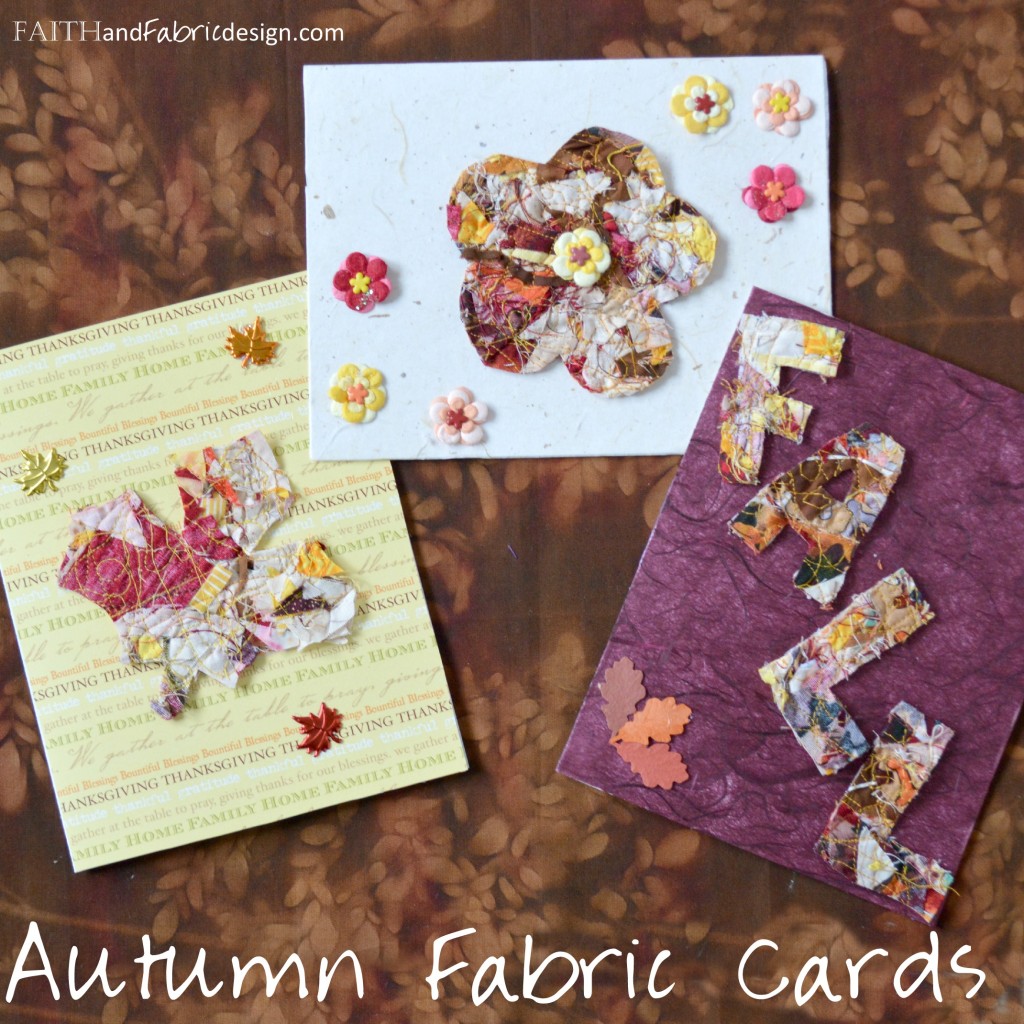
Here are a few others that I’ve made – the possibilities are limitless, and it’s so fun to be able to use *all* the gorgeous pieces of fabric! (P.S.: I usually have a few out on Etsy so stop by to see some other designs.)
Just for fun…this post was featured on SewMamaSew, and links up some of these great Catholic, sewing, and quilting blogs!
These are so cool! I’ve never heard of fabric stabilizer before. I’ll have to look for it! What a great idea for fabric scraps. Thanks for sharing.
Bonnie, if you pick some up, definitely try the Sukly brand – it’s the best!
Oh wow, what a great idea!! Thanks for sharing!!
I totally agree, Sulky Solvy works really well for this kind of project. This is the first time I have seen it used on a card, though, very clever!!
Thanks, Alyce! It’s fun to have a way to use up all those itty bitty pieces.
Thanks, Carole! It’s nice to make something with those little bits!
This is amazing! I’m not even much of a sewer or a crafter but I feel like I could handle this and they’re so pretty!
Thanks, Sterling! Honestly – so (sew) easy 🙂
Great tutorial! What a wonderful way to make cards!
Jayne, thank you! Let me know how yours turn out.
Great idea for using those tiny scraps of fabric and strings. Thanks for sharing with Oh Scrap!
Thanks, Cynthia! I was excited to find your linkup and added you to my weekly party page!
Jen, these are just wonderful – and such a great way to use up those little scraps that we just can’t bear to part with!! Thanks for sharing – whoop whoop!!
Very cute! Thanks for sharing the tutorial. Please add a link back to TGIFF! so your readers can find us too. Thanks!
Hi MR – thanks! Yes, there is a link to the party page on each post which links up to all the places this post may link to 🙂
Great idea ! Thanks for sharing it with us at #scraptastictuesday
It cracks me up that you included a caution on Step #5. Great use of scraps.
Haha, Tisha – my hubby was less than laughing when it started smoking 😉
Thanks, Nicky – love the linkup!
Great tutorial Jen!!! I’ve been saying snippets of my batiks and keep saying I’m going to do this……now I really want to! Thanks for sharing!
Connie, thank you! Honestly, please do send me a photo when you finish up. I’d love to see how they turn out!
Happy Holidays. Love this scrappy idea.
Joy, same to you! Looking forward to seeing your cards.
I love this idea! I think I may have to give it a go! Thank you for sharing
Thanks, Linda – I’d love to see them if you do!
I’ve never mad fabric cards before but you make it so easy, and your cards are beautiful. One question (there’s always one), what kind of glue would you use to add it to the card?
Looking forward to getting to know you on the blog hop.
Smiles
Kate
Hi Kate – great question. I found a good old fashioned glue gun worked the best!
Cool beans! I have been looking for this project. Thanks for the great instructions!
Mary, awesome!