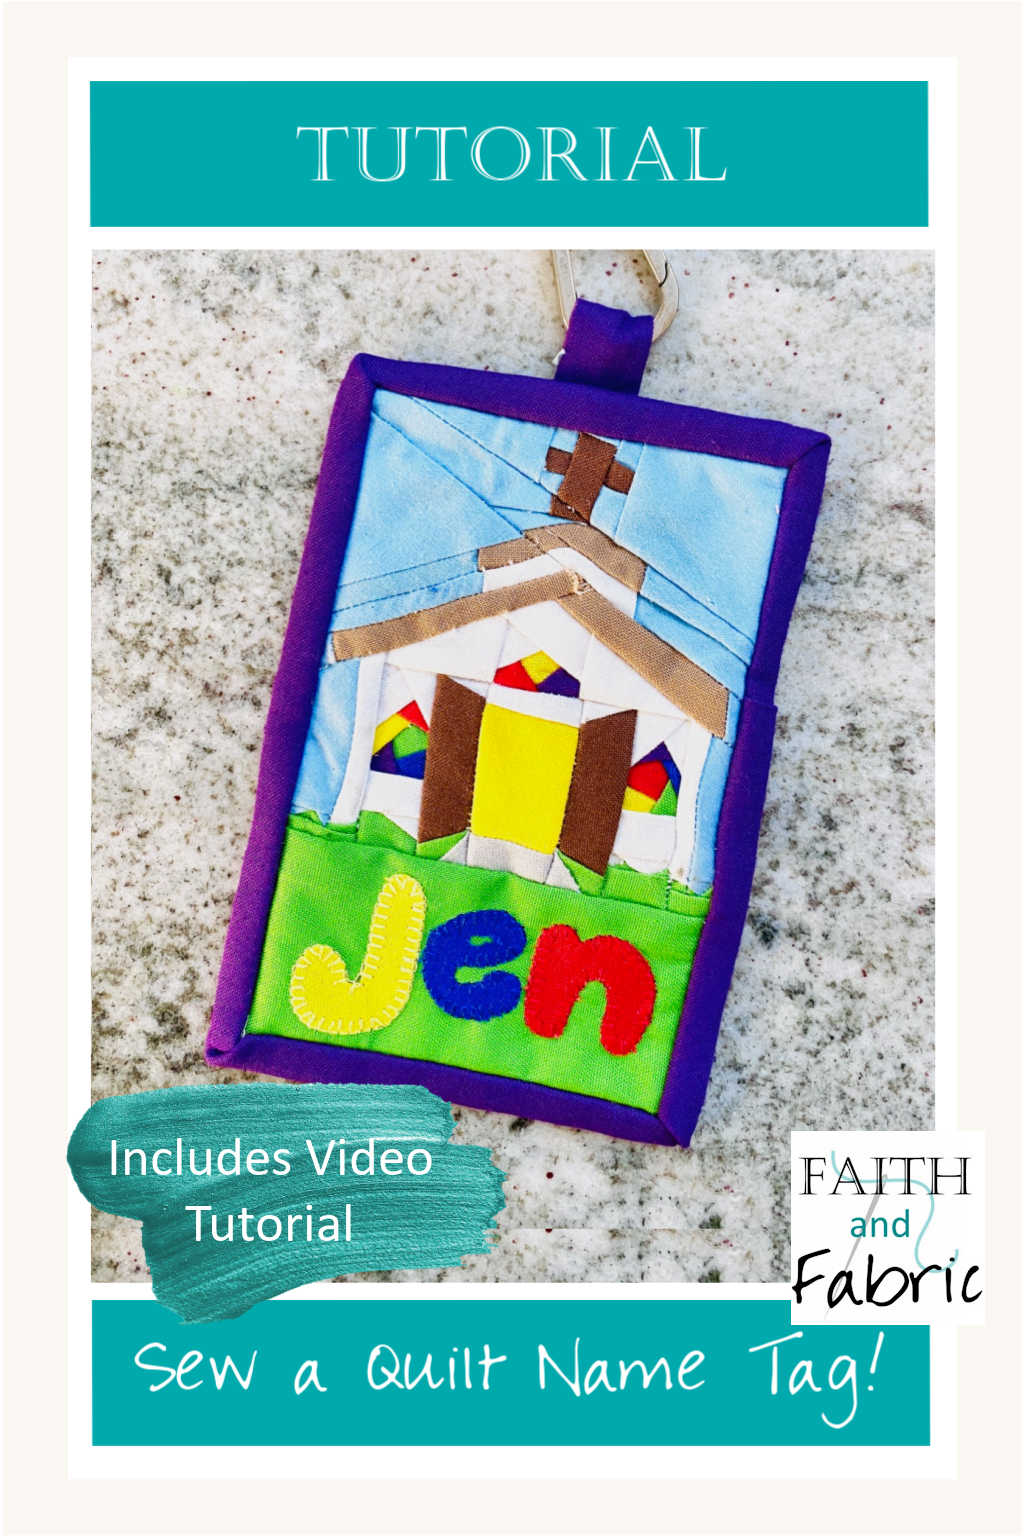
I’ve always loved the beautiful quilted name tags that the women in my guild make; they’re so colorful and personal! I wanted to make my own quilt name tag, one that was just as personal to me. Mini quilts are all the rage, so shrinking a block down and making it part of my quilt name tag was definitely on the agenda.
Below you’ll find the video on how to select a quilt block for your name tag, as well as information within the video on how to shrink the block, tips for cutting the paper pieced block once shrunk, ideas for fabric selection, and a step-by-step tutorial on how to make your own mini block into a quilt name tag!
HELPFUL LINKS:
- Scripture Blocks: chose one of these faith-filled blocks to make your quilt name tag from
- 3″ Block Book:
- Kona Solids Fabrics: this solid color set of fabric will work perfectly in your quilt name tag
- Fusible Webbing (optional, for name)
- Mini Quilt Blocks
- Thread
- Sewing Machine
1: PICK YOUR BLOCK: So let’s talk about how to find the perfect block for your quilt name tag. For me, I knew I wanted a name tag that represented my faith – so it was important to me to use one of our Scripture Quilts quilt blocks. The chapel block was perfect for the nametag!
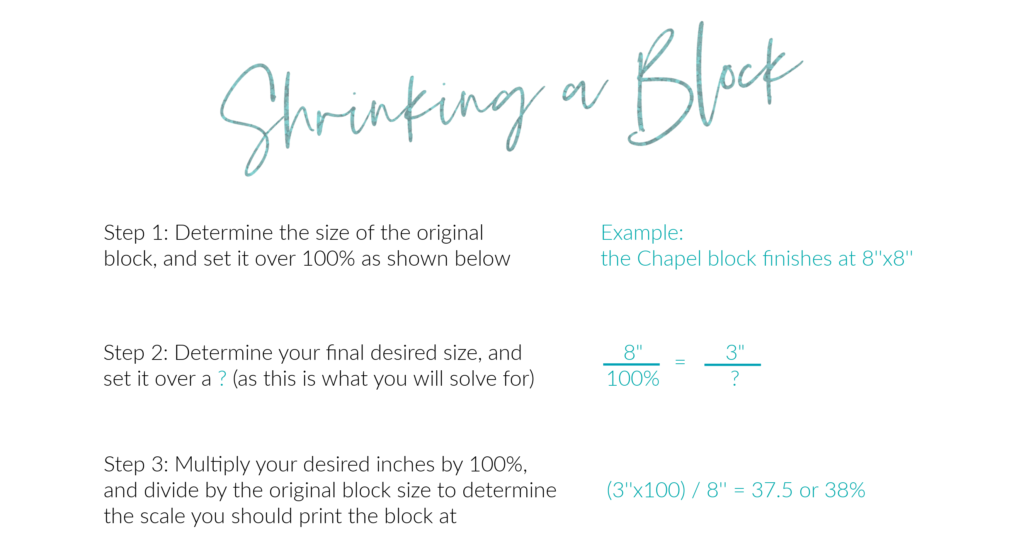
2: RESIZE YOUR BLOCK: Next you’ll want to resize your quilt block so that it’s the right size for your name tag. First, decide on the dimensions of your name tag. For me, I wanted one that was roughly 3″x5″. So, I resized my block from an 8″x8″ block to one that was 3″x3″ as shown below:

3. LET’S SEW! Honestly, you guys, check out the video are there are just way too may details to include here 🙂 Basically, you’re now in construction mode on your name tag. You’ll be sewing the small quilt block, adding fabric to the bottom or the side to add your name, adding your name either using a specialty stitch on your sewing machine or by adding applique, quilting, and binding your name tag.
———-

Your turn! Let’s see what you’ve finished this week!