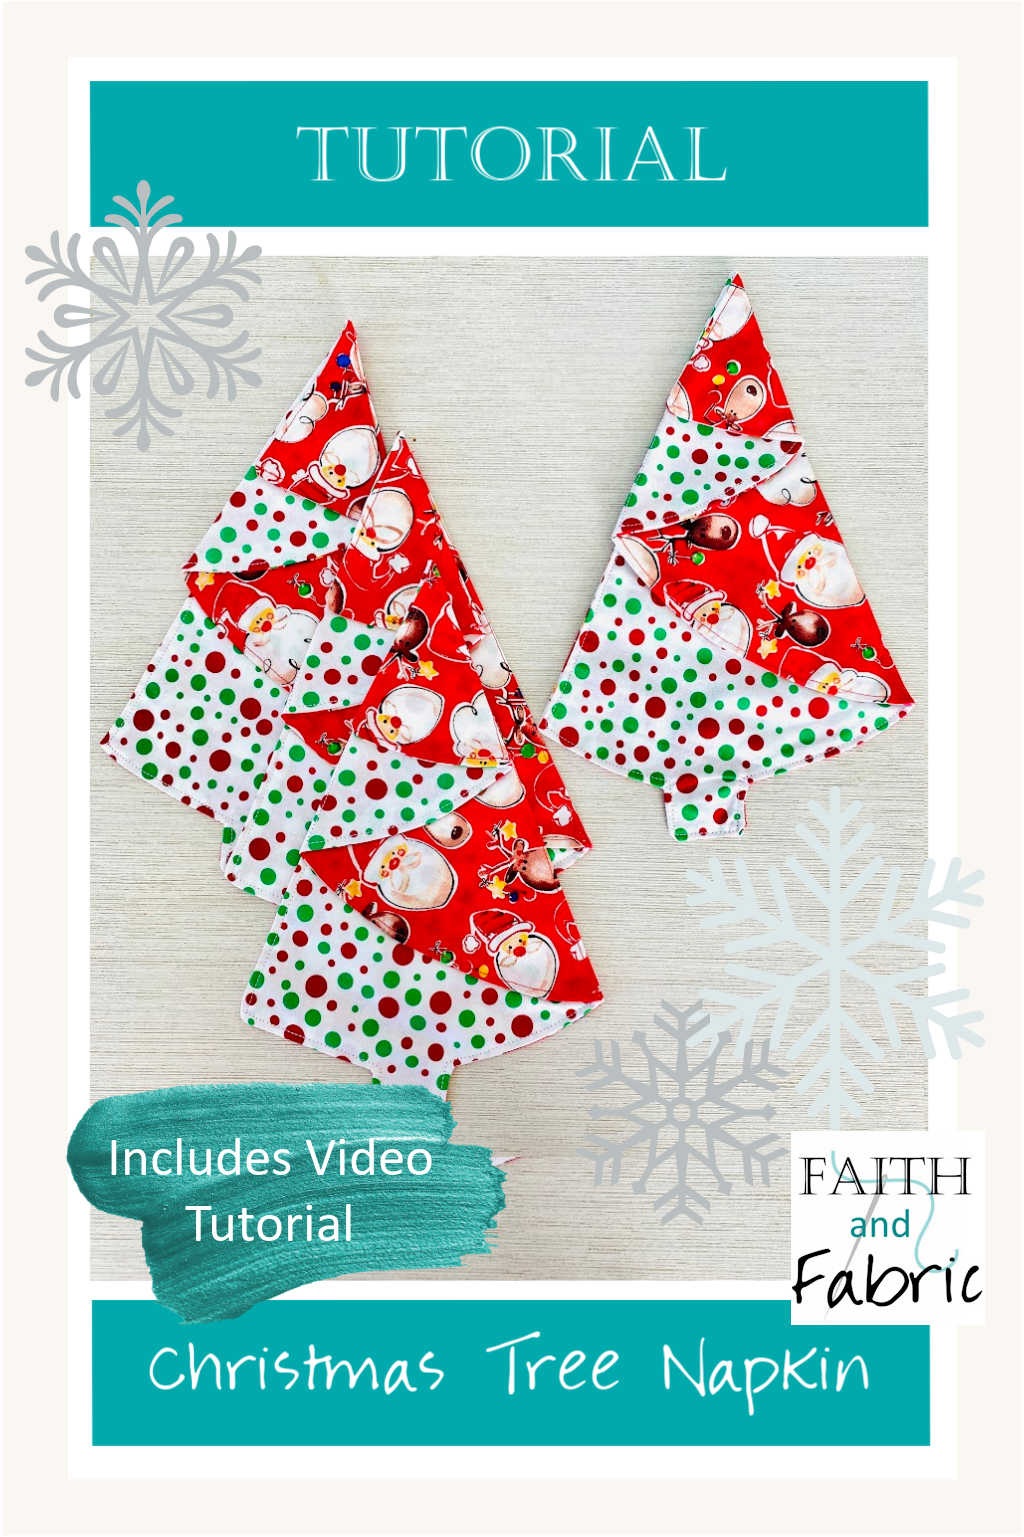
I love making these little Christmas Tree napkins; the way they fold – and unfold – is so much fun! In this sewing tutorial, I’m going to show you how to sew your own Christmas Tree napkins using either fabrics you have on hand or some of your favorite Christmas prints. Let’s get started!
While I do have a few photos below for you, I HIGHLY recommend you watch the video tutorial as you make these. There is only so much that can be captured in a photo, and many of the steps below are explained in much more detail in the video itself.
WHAT YOU NEED
- 1/2 yard of your favorite Christmas fabric for side A (here are some of my favorites!) A tip? I recommend NON-directional prints as it starts to look a bit wonky once the napkins fold.
- 1/2 yard of your favorite Christmas fabric for side B
- template (download it free from our shop…and use code TREE to save 10% on any other patterns that you like!)
- chalk marking tool
- iron (this is the one I use)
HOW TO MAKE (again, see the video for full step by step details)
- Press your fabrics prior to starting
- Cut out the template on the black lines (not red or dotted lines) and assemble as shown in the video, noting Side A.
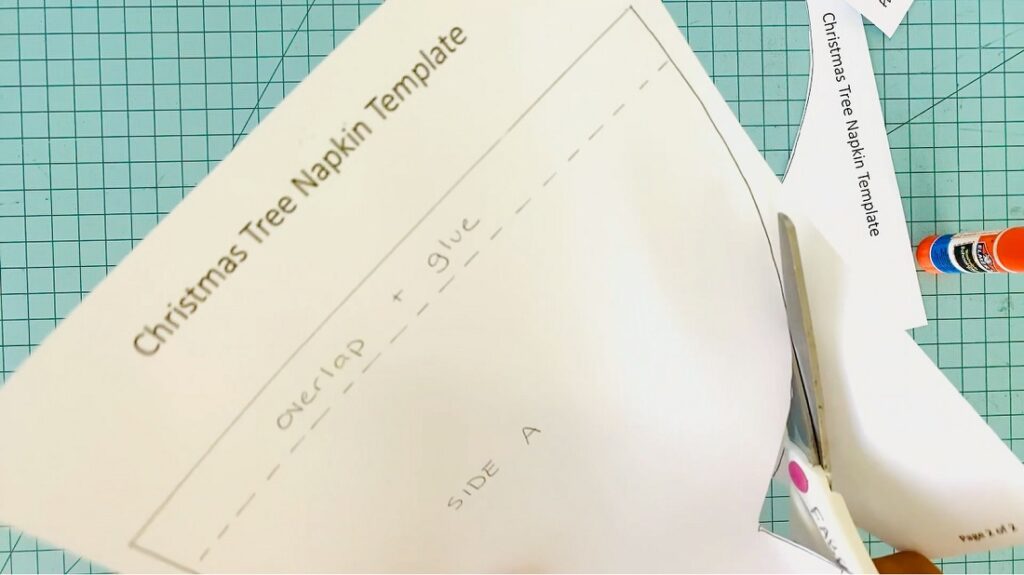
- Trace the template with Side A up on your A fabric four times and cut out.
- Trace the template with Side B up on your B fabric four times and cut out.
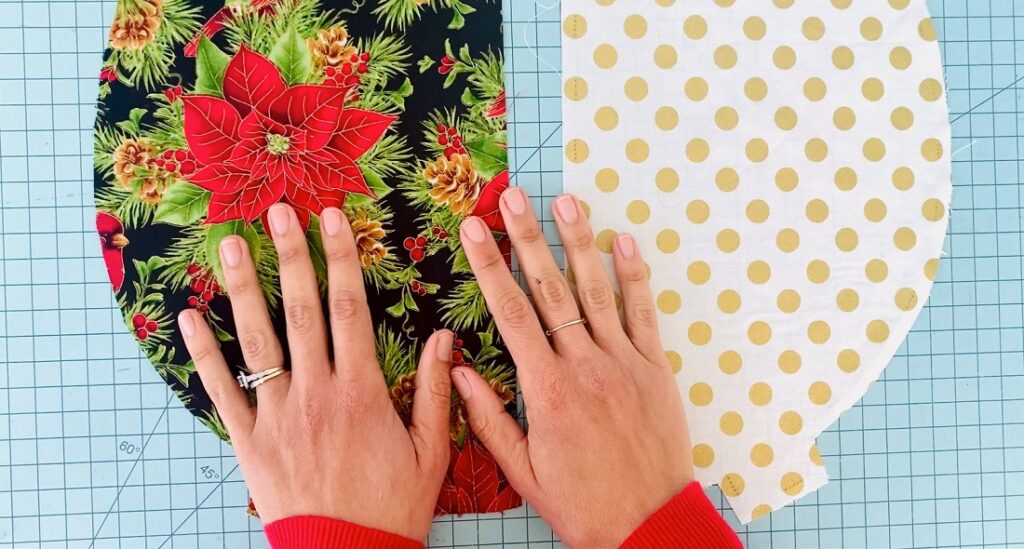
- Pair your four sets of Fabric A and Fabric B, right sides together. Pin in place.
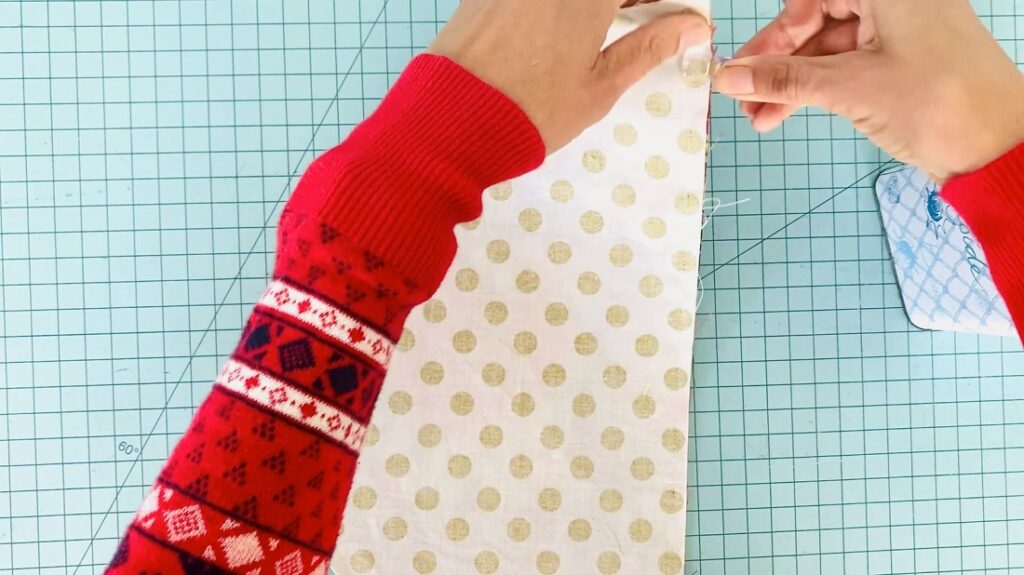
- Starting about a quarter of the way down the straight edge, sew all the way around the tree using a 1/4″ allowance. Leave a 1″-2″ gap for turning. Be sure to backstitch where you start and stop. Repeat on remaining three trees.
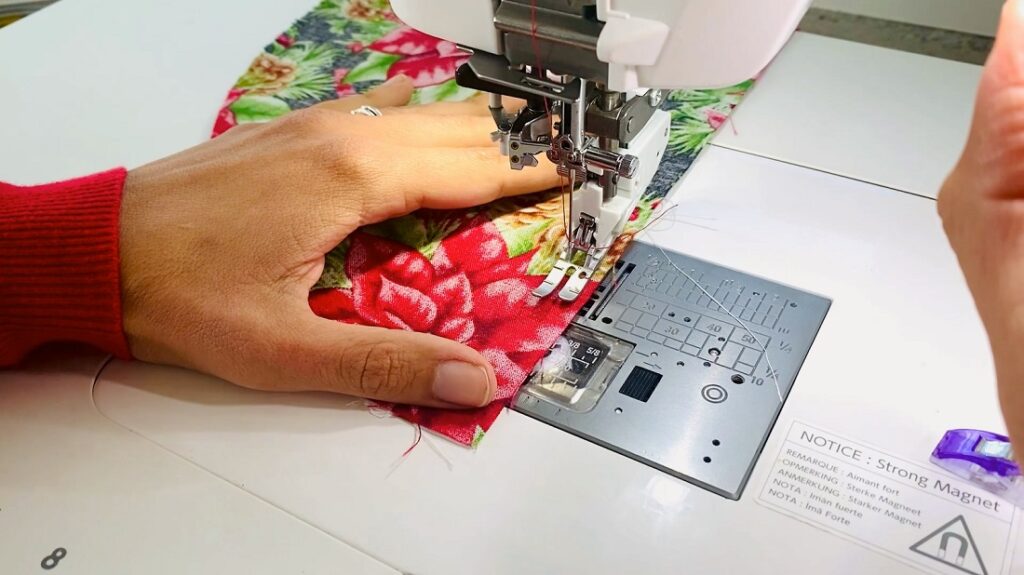
- Trim the corners of the stem of the tree (see video for details) as well as the straight edge corners at the top and bottom.
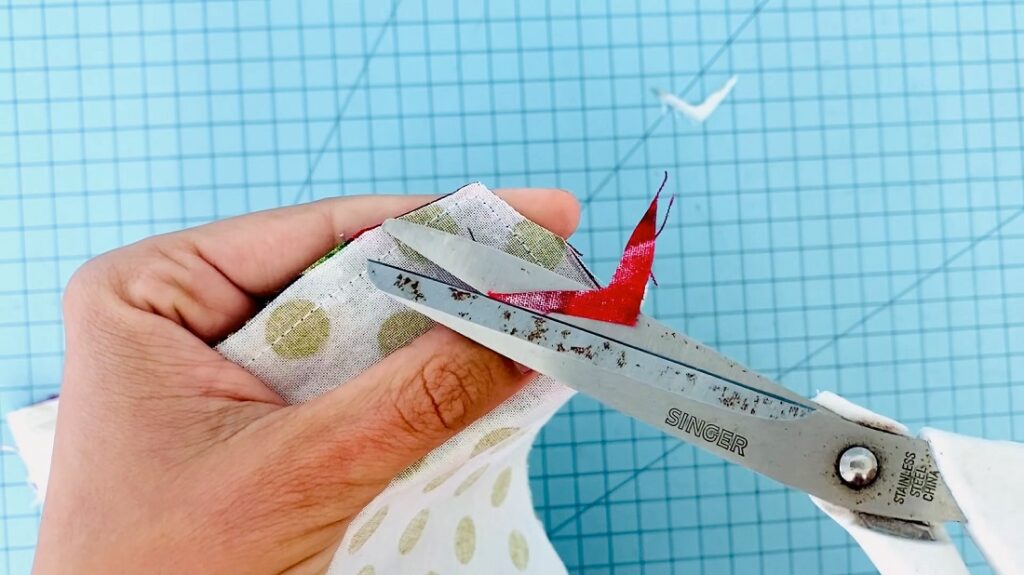
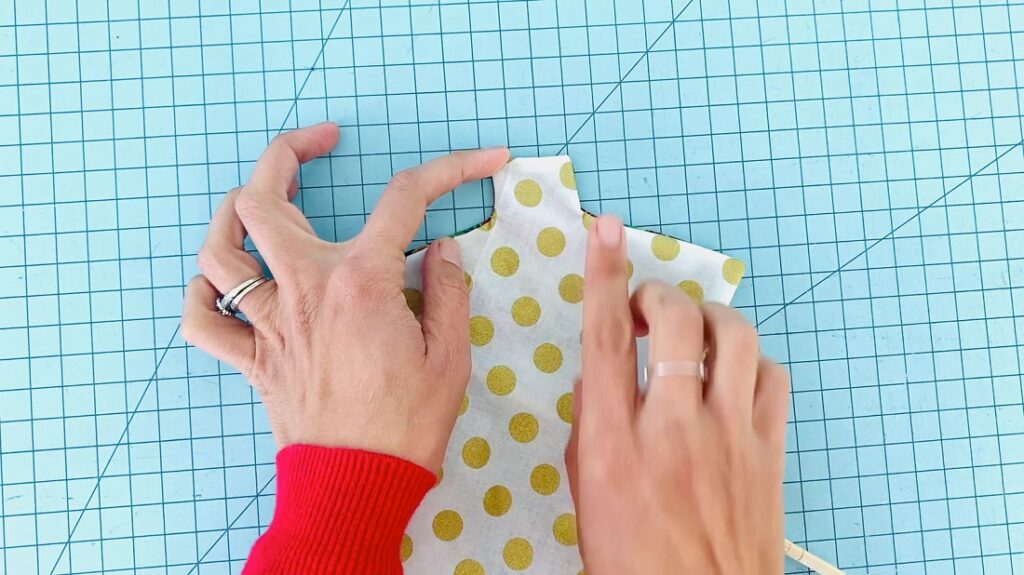
- Turn all four of your fabrics right side out and gently press. Be sure to work the corners and tree stem so they are nice sharp points.
- Using our template, fold on the RED fold lines and mark the folds using your chalk. See video for details.
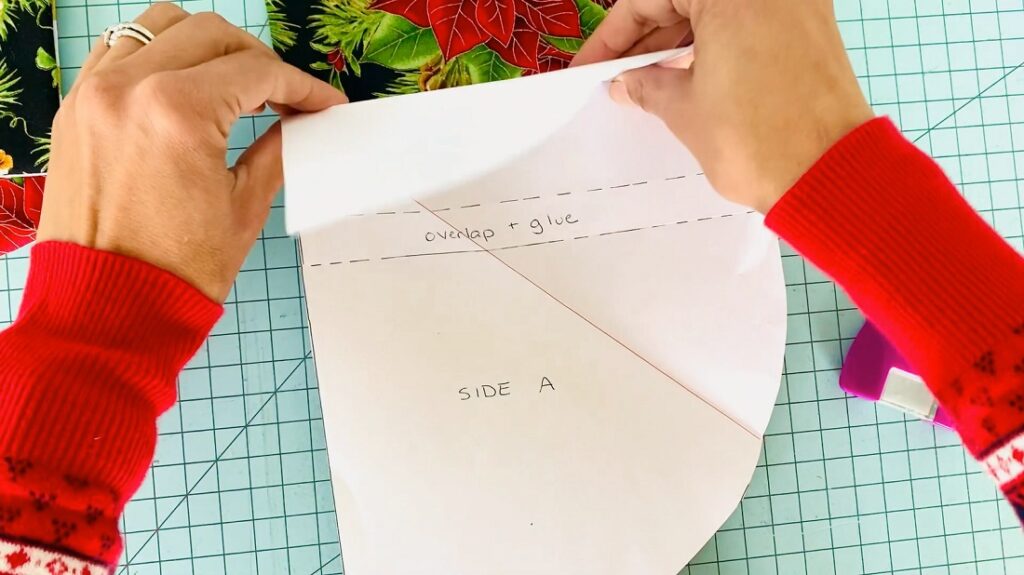
- Beginning at the main seam connection point, top stitch all the way around your tree. Once you arrive back to where you started sewing, sew the first chalk line, backstitching or locking your stitch in place. Feel free to use a decorative stitch for some added wow!
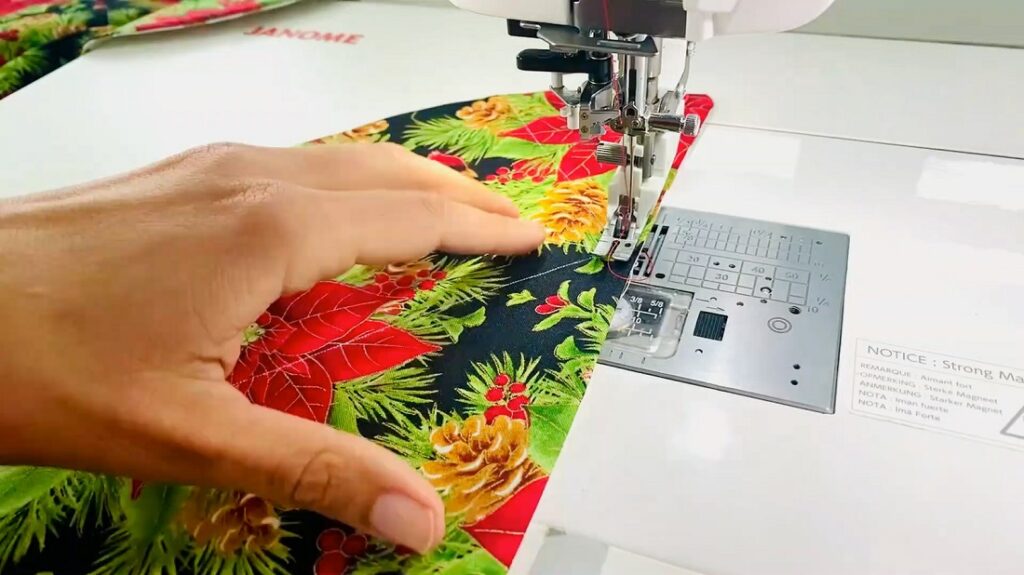
- Sew the two remaining chalk lines by starting on the curved edge, coming into the main seam connection point, and going back out towards the curved edge, backstitching or locking your stitch in place.
- Fold on the stitch lines and press. Enjoy!
(Visited 1,958 times, 4 visits today)