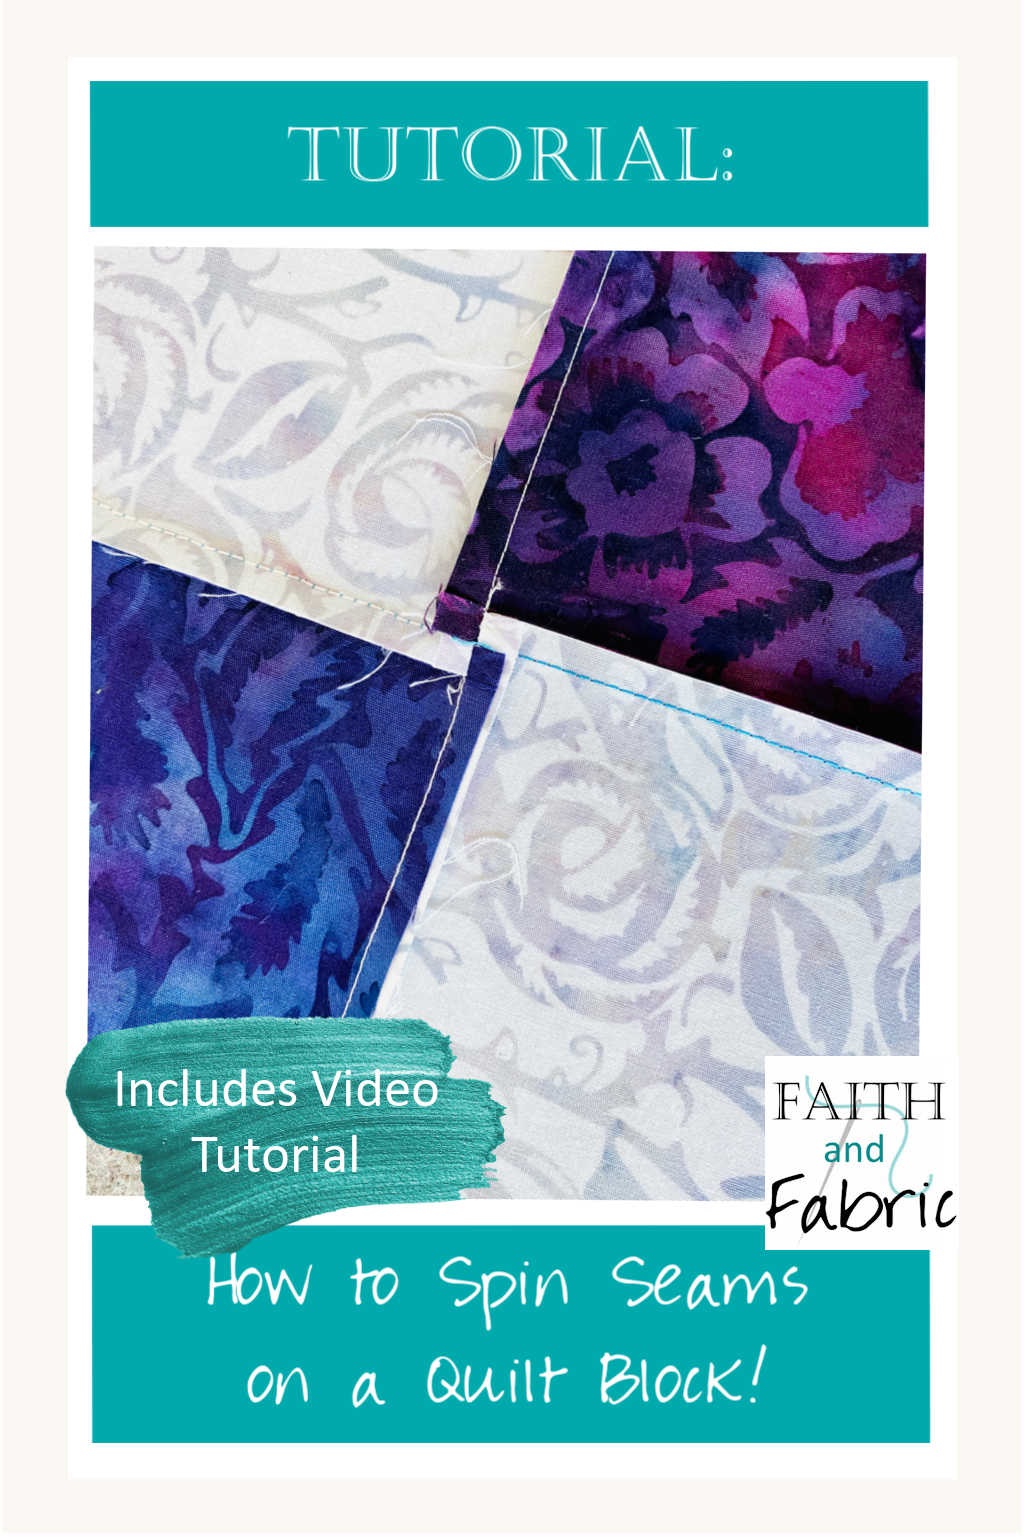
Sometimes, it’s the little tips that make the biggest difference. That’s how it is for me every time I get that feeling of success once I learned how to spin the seams on quilt blocks, and why I’m so excited to share this with you today, too! This tutorial is part of the Back to School blog hop, where we – as quilters – go back to school (albeit it without the braces and sack lunch) and learn a thing or two.
So let’s get started with that tutorial on how to spin your quilt block seams, shall we? I *highly* recommend watching the video. You guys, it’s less than five minutes, and will explain in *much* more detail than the photos will!
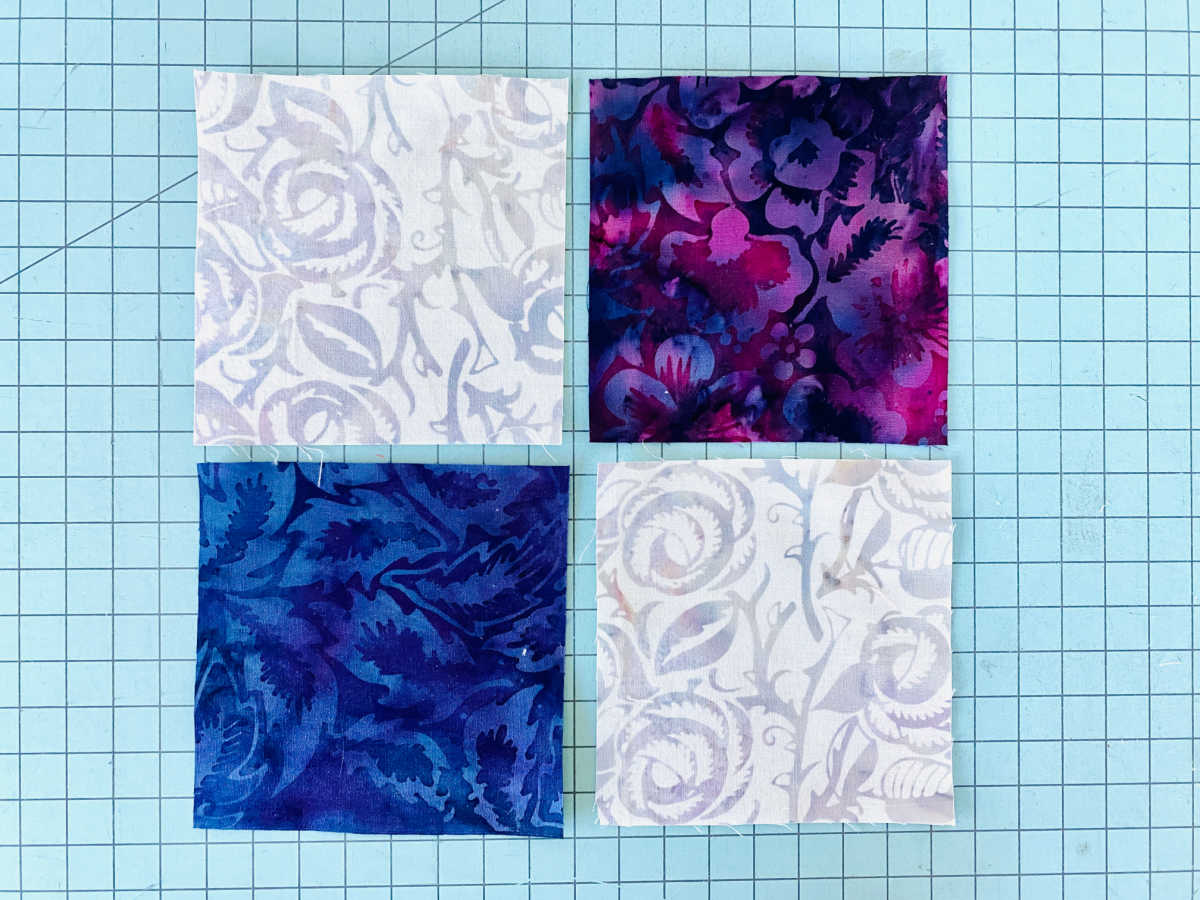
- First, cut your four colors needed to make your four patch (or any block, as this technique works on other blocks, too, like the pinwheel). In the example below, each of my four blocks measures 4″x4″ and comes from the Woodcut Blossoms fabric line for Island Batik. You *may* remember these fabrics from our Crosses: 3 Ways pattern and the Love One Another pattern.
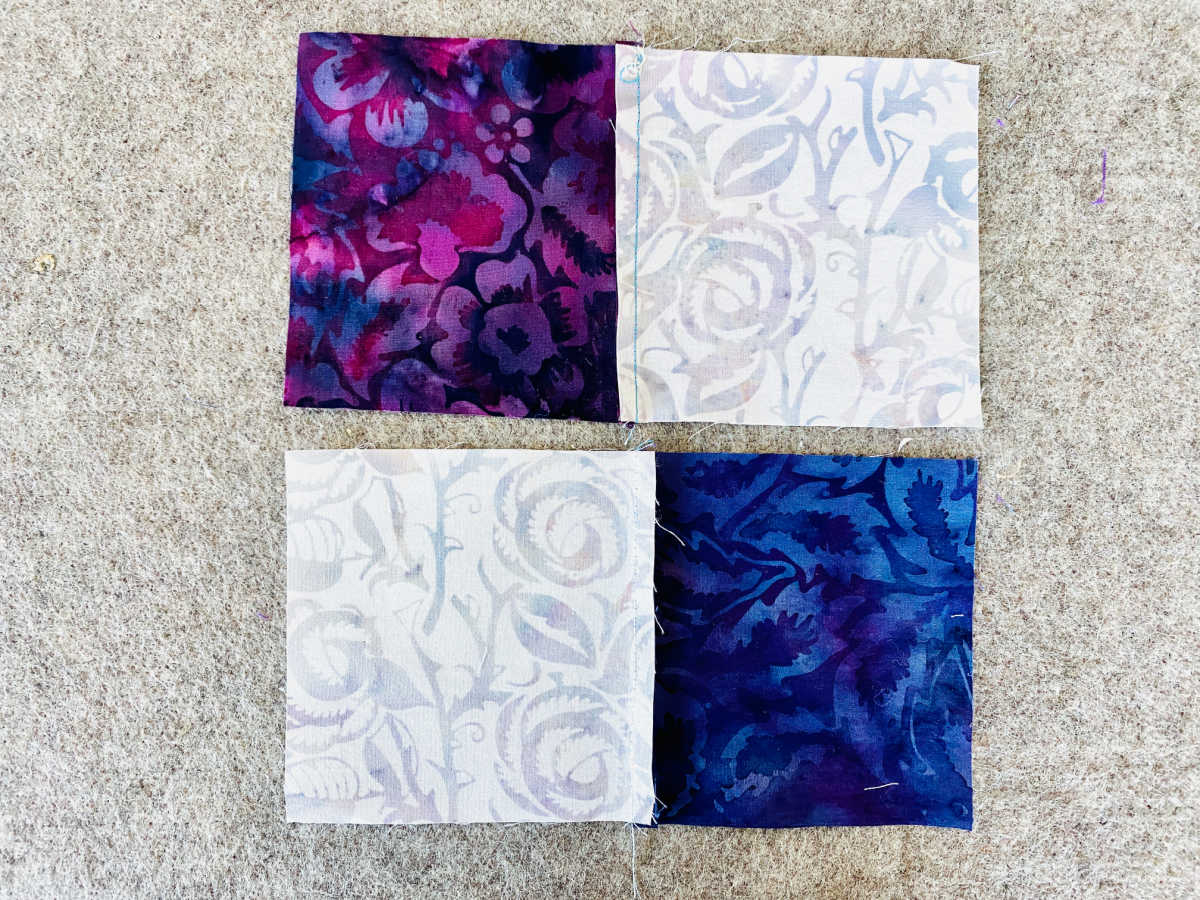
- Second, sew the top two blocks together, and sew the bottom two blocks together until you have two pairs of blocks. Press towards the darker side so that you can nest your fabrics.
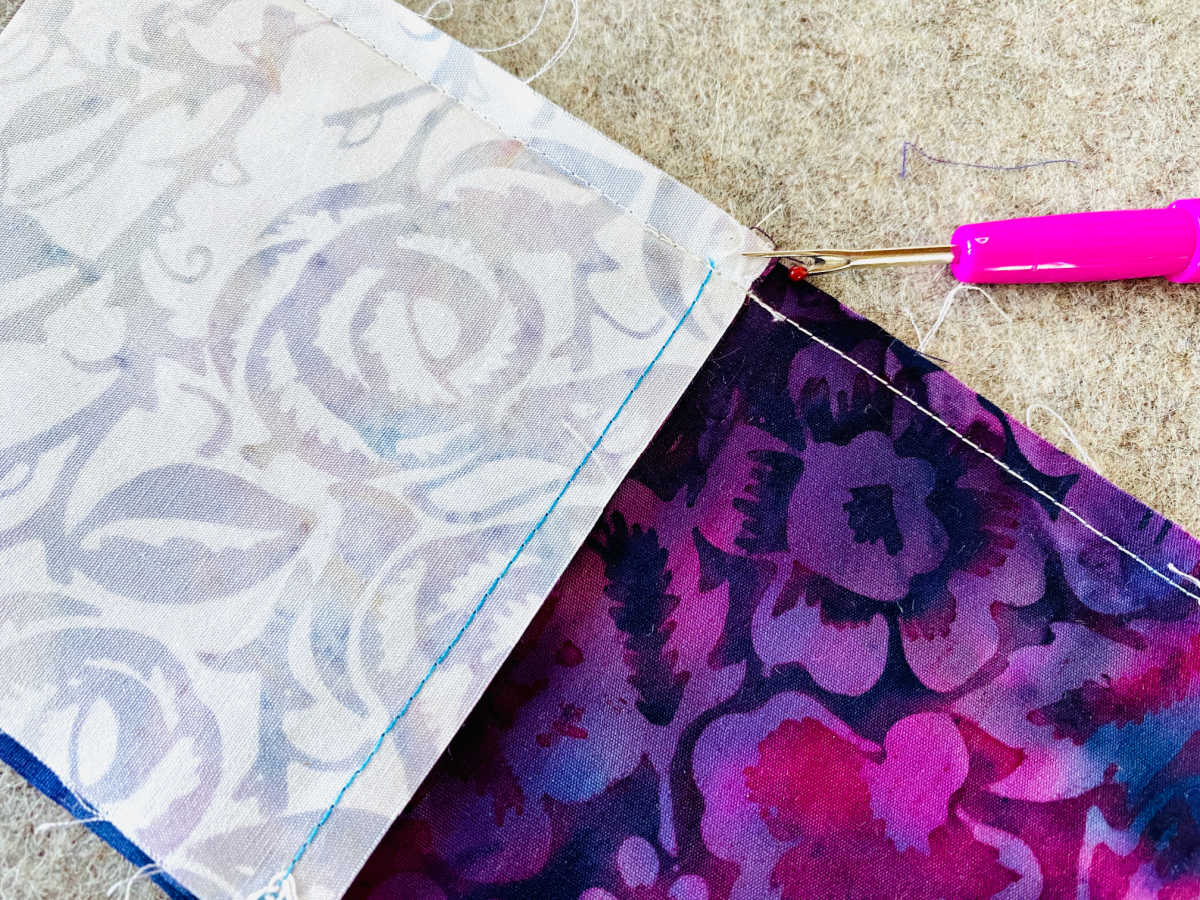
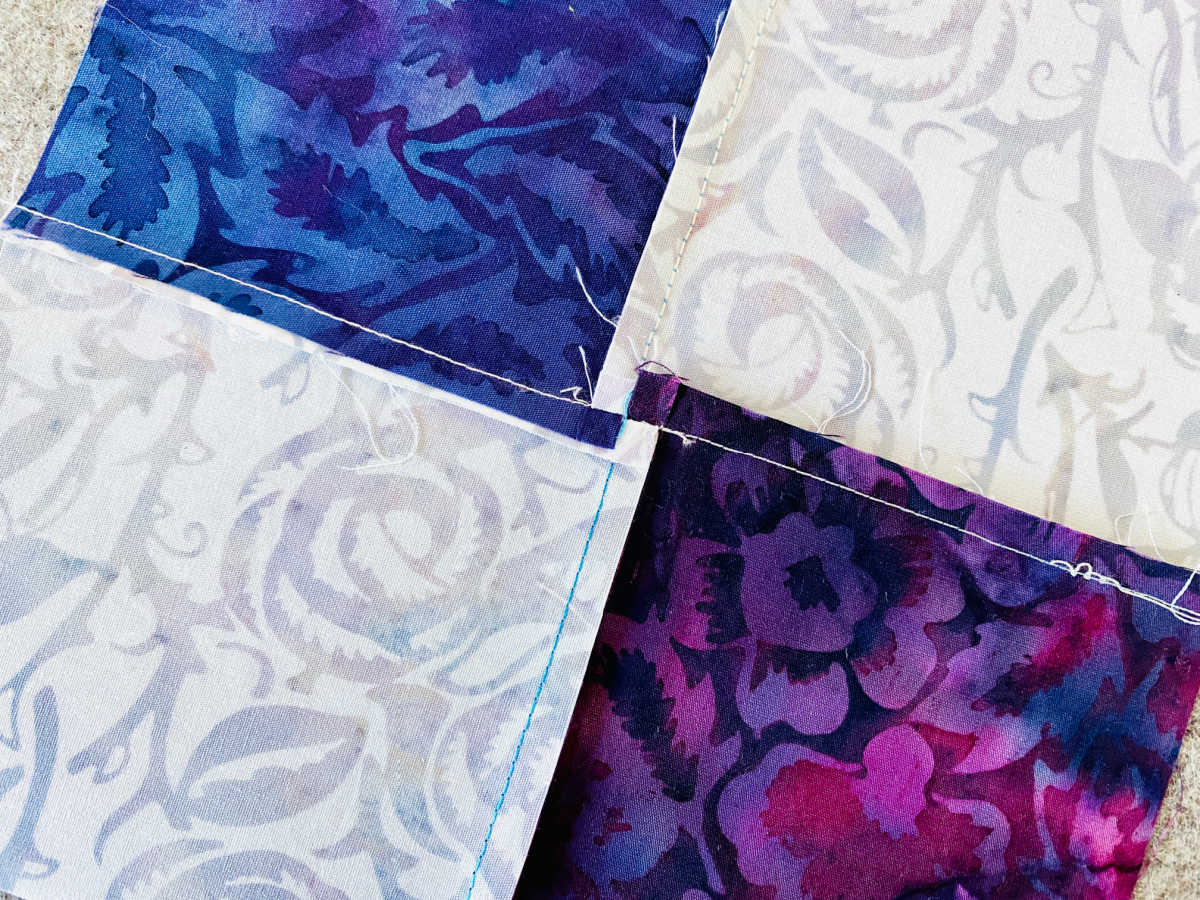
- Third, nest your seams and sew / join your two blocks together to form one large square. Once joined, you’re going to VERY CAREFULLY pick the seams just above the 1/4″ line on the primary seams you created in the previous step. For demo purposes, you’ll see my original seam from Step 2 was done in blue, and I’ve only removed the seam down to the new seam line that was stitched in this step.
- Finger press open…and VOILA! The seams are “spun”, and you now have an almost mini four-patch block in the center. Press your block, and be proud that you’ve successfully spun your seams!
Congratulations – you did it! Now, to learn a bit more, I invite you to join in the Back to School Blog Hop, happening now. Each of the lovely quilters below are all geared up to share a new quilting technique or tip with you. Here’s to learning together!

”
- Sept 15 – Geeky Bobbin – Press for Success! – https://geekybobbin.com
- Sept 16 – Katie Mae Quilts – Storage Solutions From The School Supplies Section – https://katiemaequilts.com/blog
- Sept 17 – Quilting Jetgirl – Make A Design Wall You Can Use Your Hera Marker Against – https://quiltingjetgirl.com/
- Sept 18 – Karen Bolan – How to Get Perfect Tension – https://www.karenbolan.com
- Sept 19 – Devoted Quilter – How To Trim HSTs Without A Specialty Ruler – https://www.devotedquilter.com
- Sept 20 – Sarah Ruiz – Calculating Quilt Backing and Binding Fabric Requirements – saroy.net
- Sept 21 – Andy Knowlton – How To Sew Quilt Blocks With Partial Seams – https://www.abrightcorner.com/
- Sept 22 – Lisa Ruble – Curved Piecing Doesn’t Have To Be Scary (Or Perfect!) – quiltyzest.com
- Sept 23 – Sarah Goer Quilts – Tips for Piecing Precise Points – https://www.sarahgoerquilts.com
- Sept 24 – Faith and Fabric – Spinning Intersections On Four Patch Blocks – The Easy Way! <– you’re already here 🙂
- Sept 25 – Judit Hajdu – Draw String Bag – For Lunch Or Gym – quiltfox-design.com
- Sept 26 – Sugar Sand Quilt Co. – The Care And Feeding Of The Wild Longarm Quilter – https://sugarsandquilts.com/
- Sept 27 – Hilary Jordan – Quick & Easy Pattern Matching Technique for Quilt Backings – https://byhilaryjordan.com/
- Sept 28 – True Blue Quilts – Sketch Then Stitch…Better FMQ Through Doodling – www.truebluequilts.com
- Sept 29 – Sunflower Quilting – A Quilting Tip – www.sunflowerstitcheries.com
- Sept 30 – Slightly Biased Quilts – Perfect Hand Binding Tips – www.slightlybiasedquilts.com
“