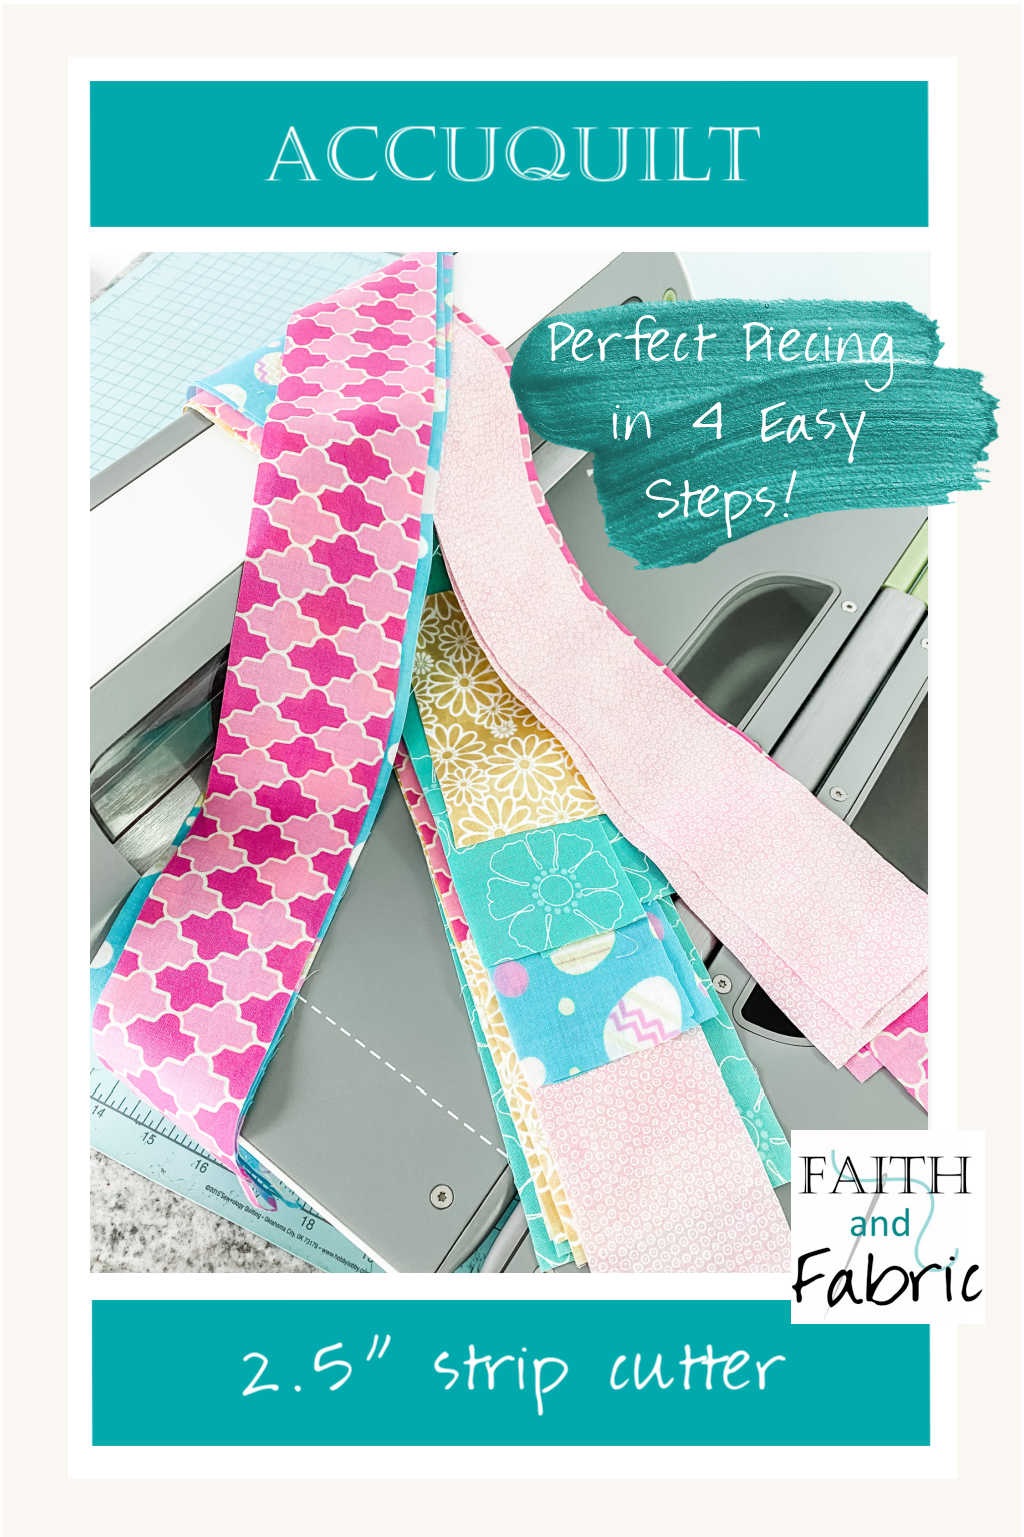
Guess what, you guys – I got a new toy!! I’ve been wanting an Accuquilt for a while now (a long long while), so the other day I finally took advantage of an awesome sale and picked one up.
…I also picked up three Qubes, two strip dies, a log cabin die, a wonky heart tie, and five others that I just couldn’t resist, but that’s a different story for a different day.
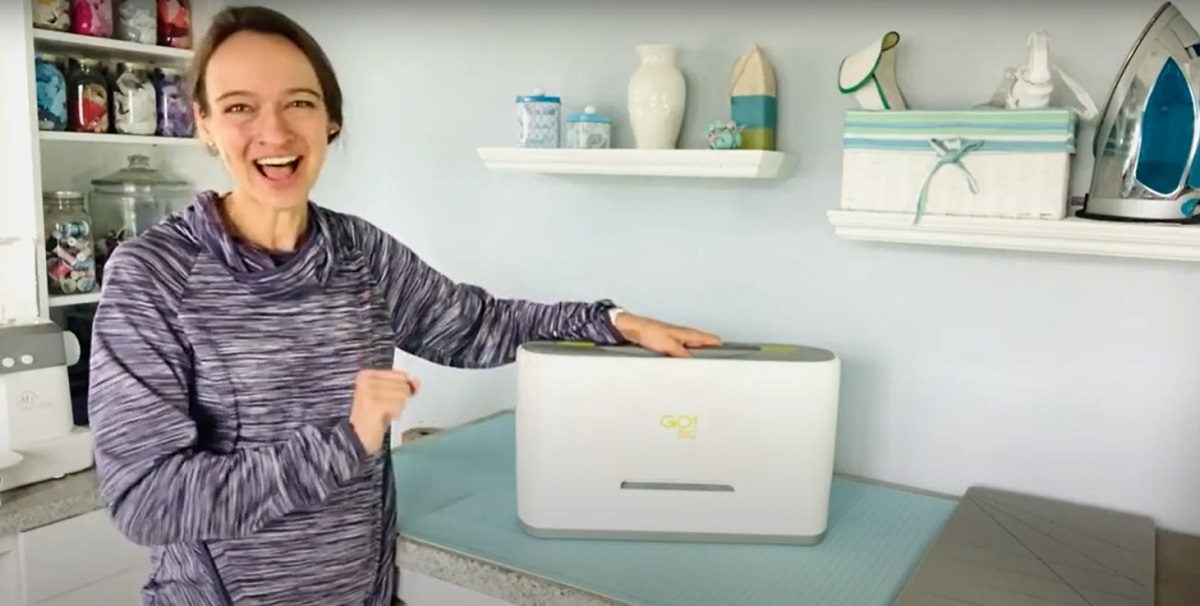
Today I thought we’d take a look at how to use the Accuquilt Go Big for strip piecing and binding – this was the first project I made on my Accuquilt Go Big, and it’s a great one to share with you.
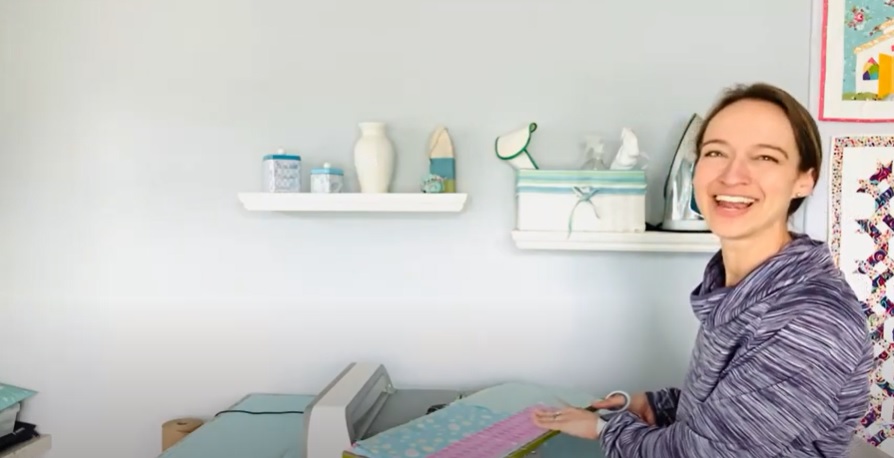
Photos are always fun, but I’ve (of course) made a little video introducing my new toy, the Accuquilt Go Big, as well as introducing you to time travel about 3/4 of the way into the video. Ha! Here’s to time warping!
So, let’s first talk about the Accuquilt cutter system. Accuquilts are designed to – with perfect precision – cut your fabrics *up to six layers at time* into an almost infinite number of shapes depending on your quilting project. The Accuquilt cutters come in various sizes, from the small Go Me to the XL Studio model, which means you have four choices (and counting) to find the model that is best for you.
I chose the Accuquilt Go Big model for three main reasons:
- I wanted an Accuquilt cutter that was automatic (didn’t have a hand crank) to help alleviate some physical work and repetitive motion strain
- I wanted to be able to use *all* the dies (you can put small dies in the larger cutters, but not the other way around)
- The Accuquilt Go Big has an amazing the starter pack: it comes with some of the most popular dies you’ll need to get started at a significant cost savings.
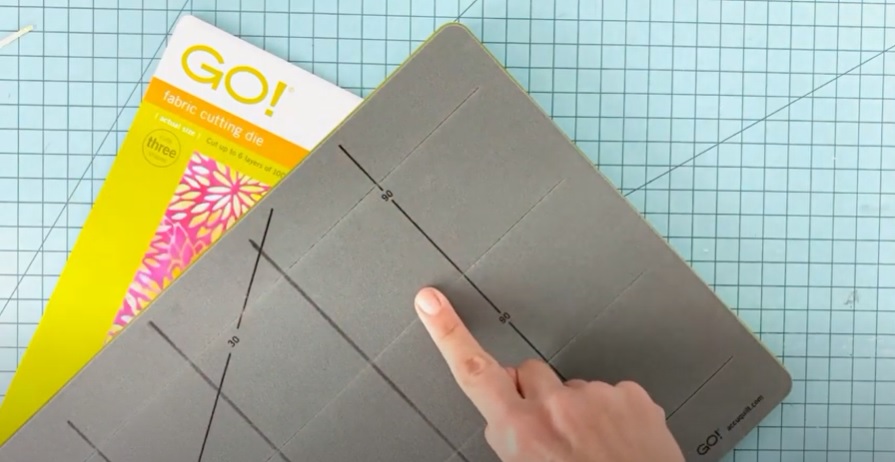
We’ll be paring the Accuquilt Go Big with the 2.5″ Strip Cutter Die; you guys, this was one of the main reasons I bought the Accuquilt. I’m forever cutting strips, it seems, be it for binding, sashing, or scrappy backs like the one we’re making today. This 2.5″ strip die perfectly creates 24″ strips that finish at 2″ wide. You’ll see in the photo below that the die is a foam panel with razor sharp blades nested safely inside the foam. When compressed, the foam sinks down and exposes the blades, which then cut your fabric.
So now that you love the Go Big and this versatile die as much as I do, let’s take a look at how to use it! Today we’ll be making a scrappy quilt back for a table runner. I have all these beautiful fabric scraps left from various projects throughout the years, and they all seem perfect for Easter, don’t you think? They were all inspired by a remnant from a fat quarter that has these lovely little blue and pink pastel Easter eggs on it. Just so so cute. Let’s get started! (…and thanks for excusing the slightly grainy photos. Most are snapshots taken directly from the video itself.)
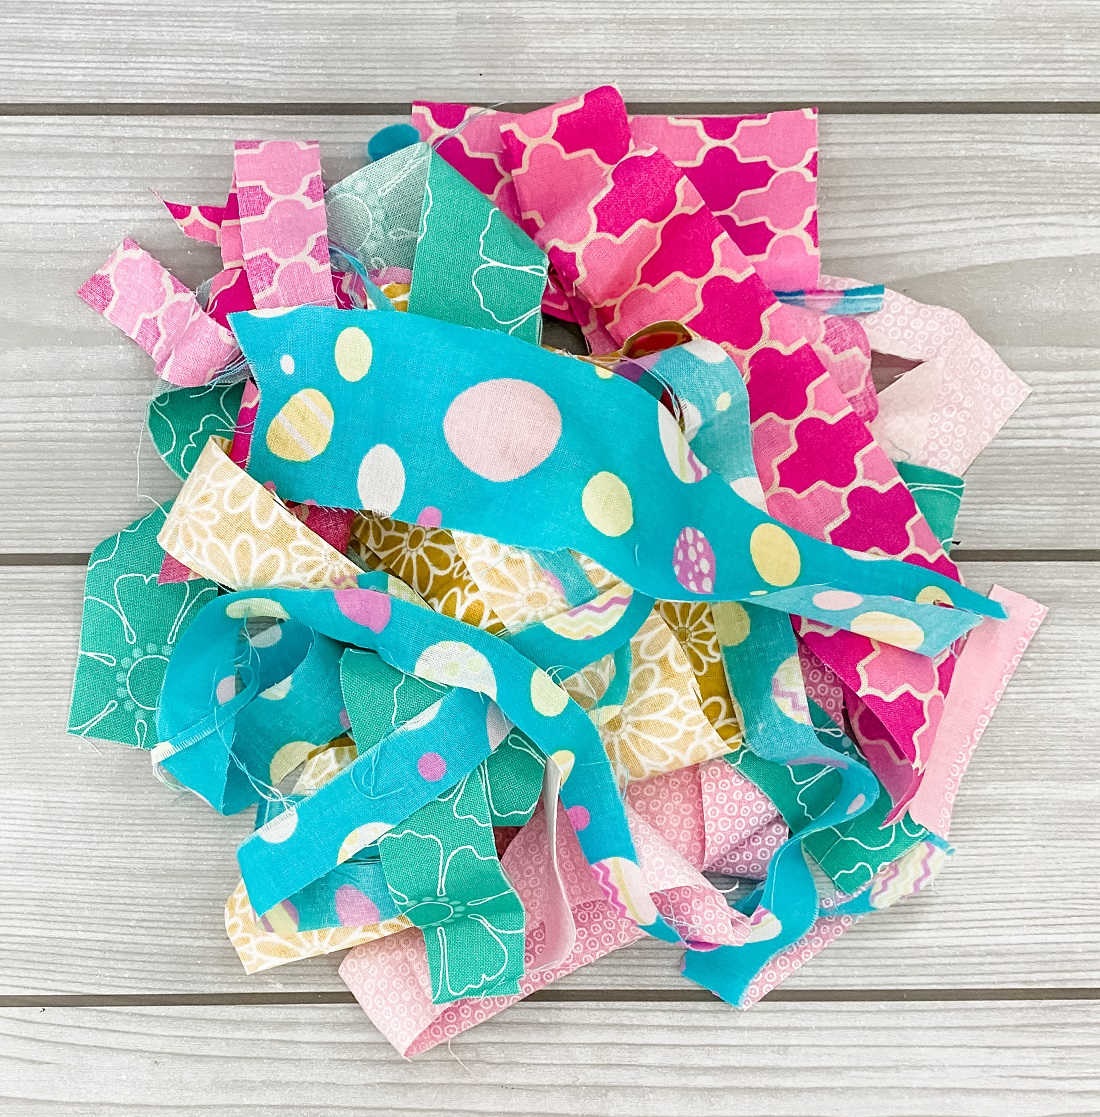
STEP 1: Press your fabrics. You’ll want nice smooth fabrics, not that messy bunch shown above no matter how pretty that scrappy pile may be 🙂
STEP 2: Trim your fabrics to fit your die. If they stick out a little over the edges, that’s ok (as long as your cutter is wide enough for them not to get jammed). You’ll see in the video that a few of my scraps have very messy edges from applique that was trimmed out – no problem at all. Just place these on the die so that they’ll be trimmed off, and you can toss them when done.
STEP 3: Place the cutting mat on top of the fabrics, and run through your machine! (This is where I really appreciate the Go Big – just hit a button, and PRESTO! It automatically cuts for you with no hand cranking needed.) Did I mention you can stack up to six layers at a time of fabric? That means with the press of a button, you’ll have 18 perfectly cut strips in just seconds.
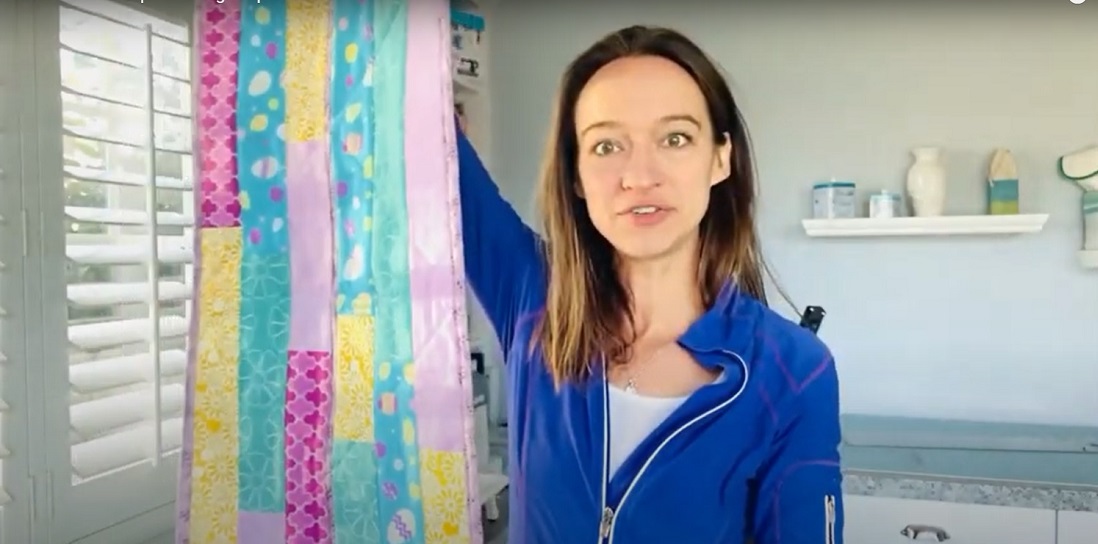
STEP 4: Remove the cutting mat, throw away any small trimmings, and ENJOY those new perfectly cut strips! I stitched all my little scrappy strips together to make the back of this quilt; didn’t it turn out perfect for Easter? A wonderful added bonus is that I used it a second time to create binding for this same quilt; I added a pink/purple fabric to the same 2.5″ die, fed it through the Accuquilt, and instantly had the perfectly cut binding. You guys…so so awesome.
I’d love to hear in the comments which your favorite dies are for your Accuquilt, as I’m looking to slowly grow my collection. The ease of this system not only saves me time and gives me *way* more accurate piecing than I could ever do on my own, but is easier on my joints, too (especially as I battle with fibromyalgia, which causes so much pain in my hands). Love it so much.
Leave a Reply