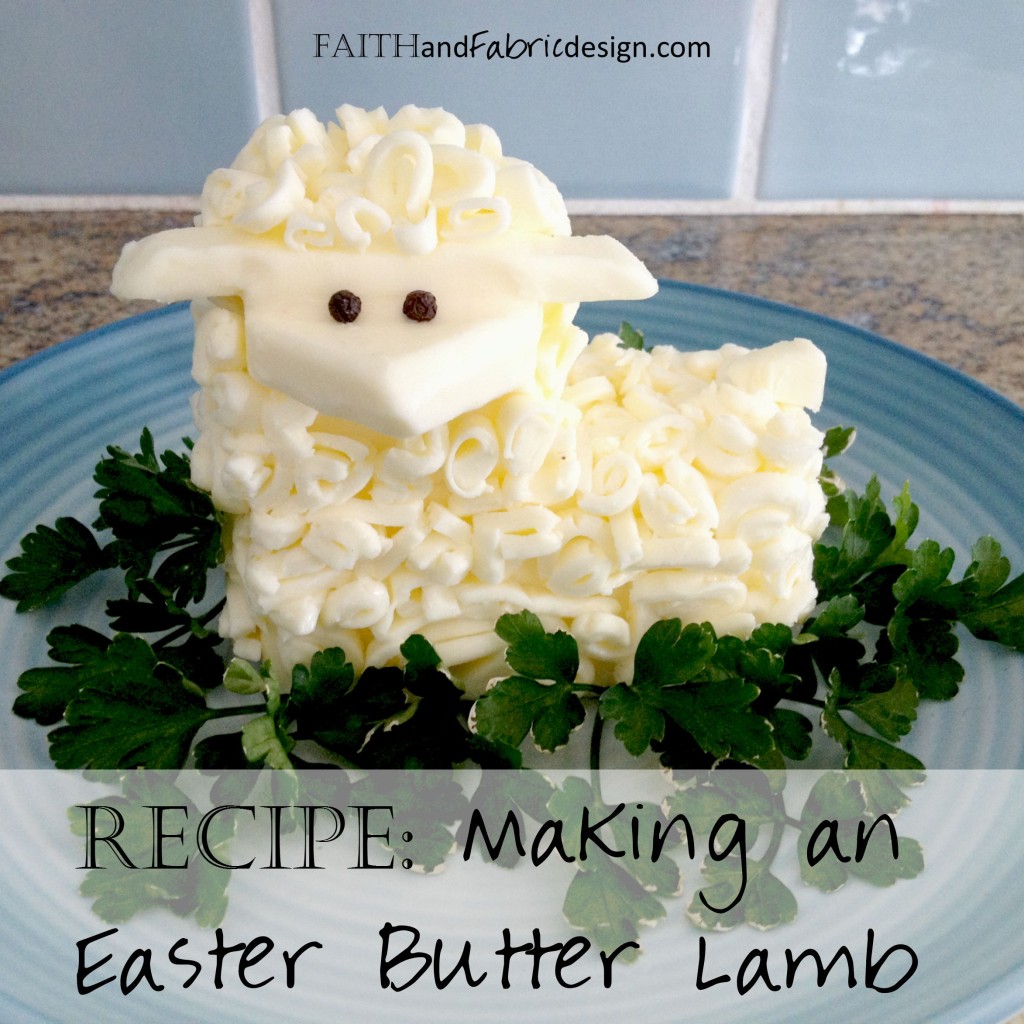
We’ve talked quite a bit about Jesus as the Paschal Lamb during our Holy Thursday dinner post, and that’s what this butter lamb represents…Christ as our Paschal Lamb. Our family will be making a lamb again this year and then taking it to our parish’s Easter Food Blessing (or Swieconka, if you’re Polish). I remember preparing our baskets of food and taking them to our grandparent’s church each Easter for a food blessing…such wonderful memories. This easy recipe for butter lamb will be a wonderful tradition for your family to start (or continue).
Watch our Facebook Live tutorial above, recorded 4/11/20.
WHAT YOU NEED
- two sticks of VERY COLD butter
- a tablespoon or so of slightly softer butter
- 2 peppercorns or two black pepper balls (unground)
- mixed greens, like parsley or arugula (for the bed)
- garlic press (optional…but really speeds up the process!)
- cold hands and a warm heart. Seriously, keep your hands cold.
HOW TO MAKE
 |
| 1: Making the Body |
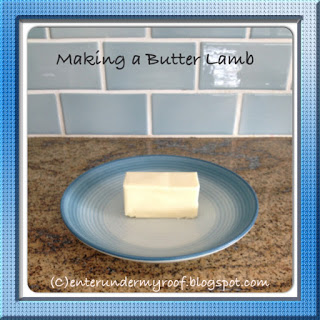
Making the body on your butter lamb: Unwrap one of the pieces of butter. Center it on a plate – make sure it’s the plate you want to serve it on, as you’re not going to move it. Give it a few twists to secure it to the plate.
 |
| 2: Making the head |
 |
| 3: Adding to the Head |
Making the head on your butter lamb: Using the extra butter, cut a piece off that’s about 1/4″ thick. Cut that diagonally so you have two triangles. Glue (using the softened butter) one of the triangles *just* below the top of your lamb’s head.
Making the ears on your butter lamb: Take the other half of the triangle and cut it in half so you have two smaller triangles. Using your fingers, smooth out the sharp lines of the small triangles and glue (using the softened butter) them to the sides of the head.
Now…depending on how long it took you to do these steps – and how warm your house is – you may want to refrigerate your lamb for about ten minutes.
 |
| 4: Making the Fur |
To make the fur on your butter lamb: Two options here, folks. Use the one that works best for you. I usually do a bit of both. One option for the fur is to press some of the cold leftover butter through a garlic press, and to curl it using a toothpick. This works great if you are able to get longer pieces out of your garlic press. The other option is to use a sharp thin knife and slice off VERY thin sections of butter right from a small “pat” of butter and curl them with your fingers (this is my personal favorite, but it takes longer). Both work well. The curls will stick to the lamb as they’re so thin, so just begin pressing them onto the lamb. Some like to work from the top down, others from the bottom up…just be consistent so your lamb doesn’t end up with bald patches.
Finishing the head on your butter lamb: Using the peppercorns or pepper balls, make two eyes as shown in the main photo above.
Garnish the plate with greens as you like! A tip: Be sure to keep your butter lamb in the fridge until you are ready to eat brunch/lunch/dinner. She can get a bit droopy in warm temperatures!

Seriously, this is so cute! I love being able to talk with Olivia about different faith symbols, so she would love this. 🙂
It's great because it's so easy, too. Olivia could definitely help make this project, and you're right – it *is* a new way to talk about different faith symbols.
Hi Jen,
Thanks for linking-up to Catholic Inspired! This butter lamb is a cute idea, and so are many of the other posts that you added! Thanks for sharing them. God Bless.
Jennifer, thanks for your sweet comments! Your site is wonderful – I'm a frequent visitor – and I so appreciate you giving the opportunity for us all to connect!
This looks so fun!! I might try to do it this year. 😉
Gina, give it a try! It’s much easier than you’d think. I’ve been doing them with my son for a few years now, and he really enjoys making them!