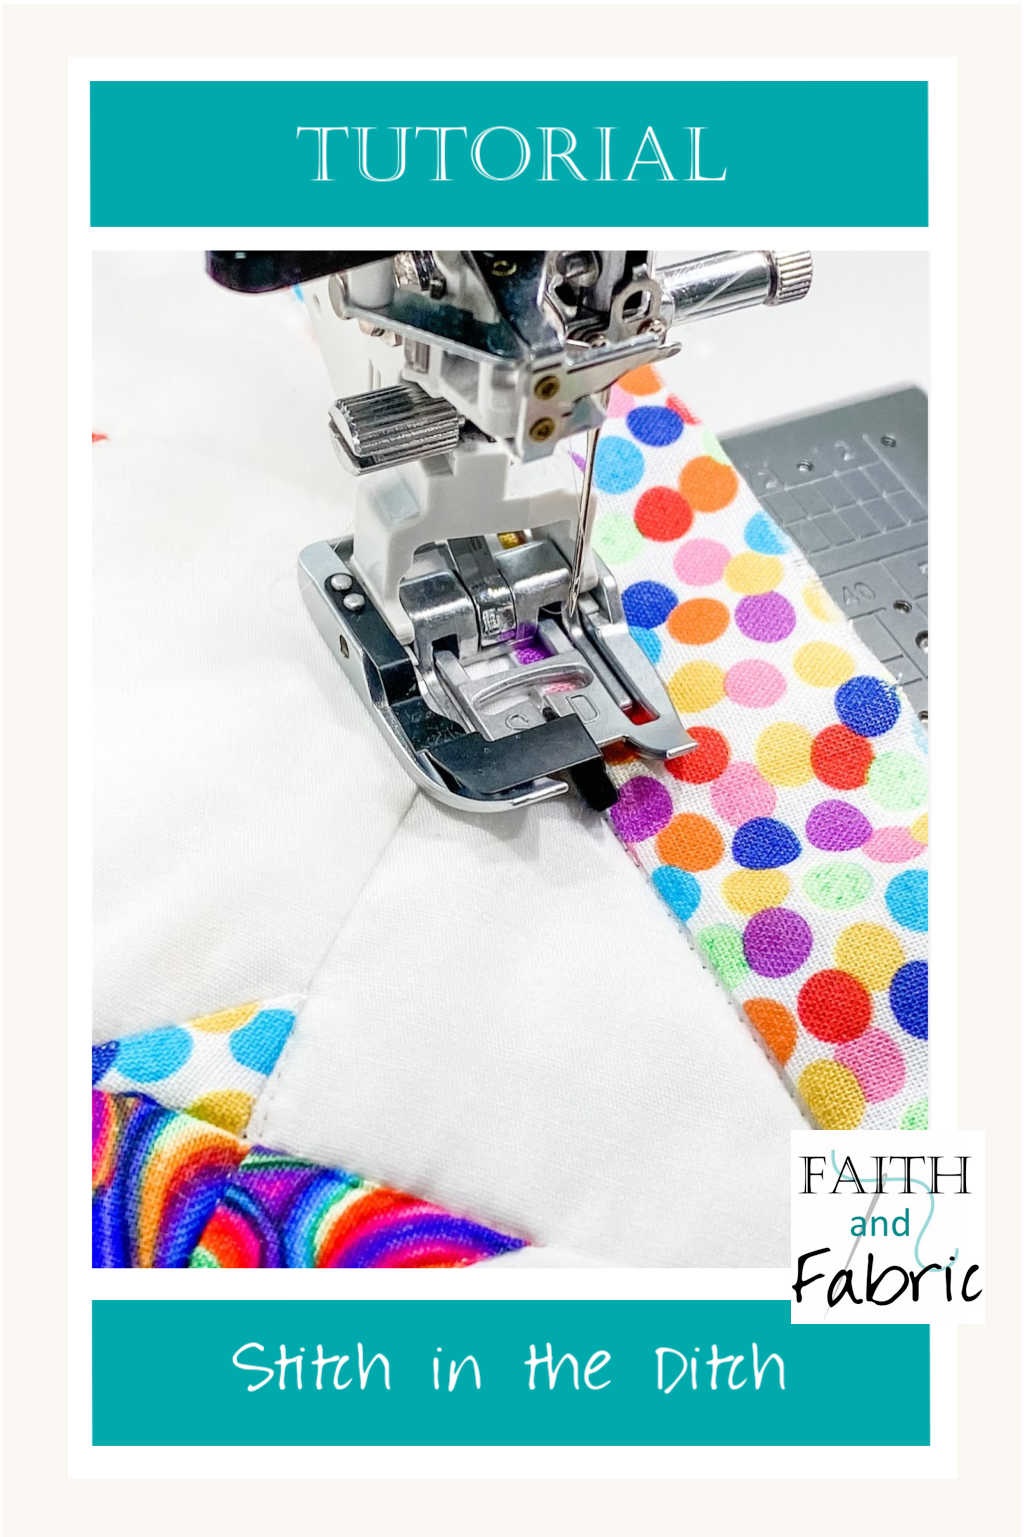
Have you ever wondered how to use a stitch in the ditch foot? Chances are, this particular sewing foot came with your machine and still sits in the original plastic bag, tucked between several other feet that haven’t been use yet either.
No problem: today, we’re going to look at three tips for how to use your stitch in the ditch foot! The video below contains a full tutorial on how to set up the foot on your machine, proper alignment, and a demo showing the foot in action. That’s where you’ll find the detailed info on how to use your stitch in the ditch foot 🙂
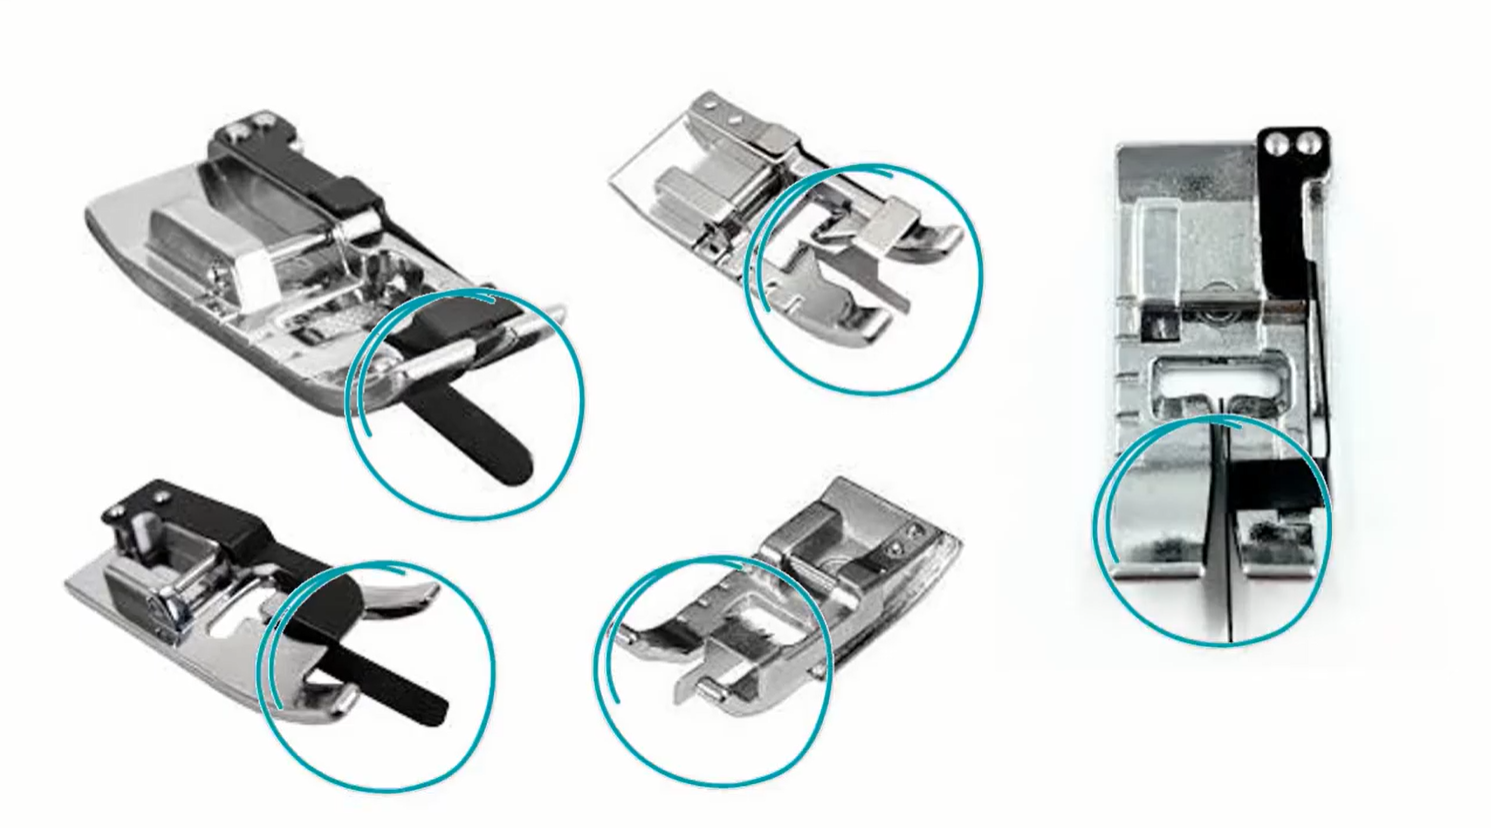
Let’s first talk about that stitch-in-the-ditch foot (SITD). The foot itself comes in a variety of sizes and shapes, depending on your machine as shown in the photo below. There are also generic SITD feet, too, which you can purchase for your machine. What all stitch in the ditch feet have, though, is a central blade that nests right into the seam of your fabric, which has been circled in blue:
When it comes to sewing with your foot, there are three key tips to keep in mind:
- Your seam is either flat (if you pressed your seams open) or has a valley with one fabric sitting slightly taller than the other (if you pressed your seams to the side). Once your stitch in the ditch foot is properly installed on your machine, drop the presser foot and align the center blade of the foot with the seam – it should drop right in.
- As you sew, make sure the blade doesn’t cross over onto your top fabric. There will be two situations when this gets tricky:
- Small Patchwork: if working with small patchwork, it might be a bit tougher if (a) your seams aren’t 100% lined up and (b) some seams are pressed one way and others in the other direction.
- Seam Joins: when you are stitching in the valley (the space where the two patchwork pieces connect), you’ll likely encounter some spots where multiple seams join together. Watch that your center blade doesn’t jump as you move over these thicker areas.
- Your job is to steer and maneuver the quilt sandwich, keeping light tension between the top fabric and the side of the center blade. Keeping that tension of the fabric pressed gently against the center blade of our stitch in the ditch foot will ensure smooth stitches that next and become near invisible!
Once you begin sewing with your stitch-in-the-ditch foot, you’ll truly appreciate how perfectly it drops the thread into the valley of your fabrics!

Leave a Reply