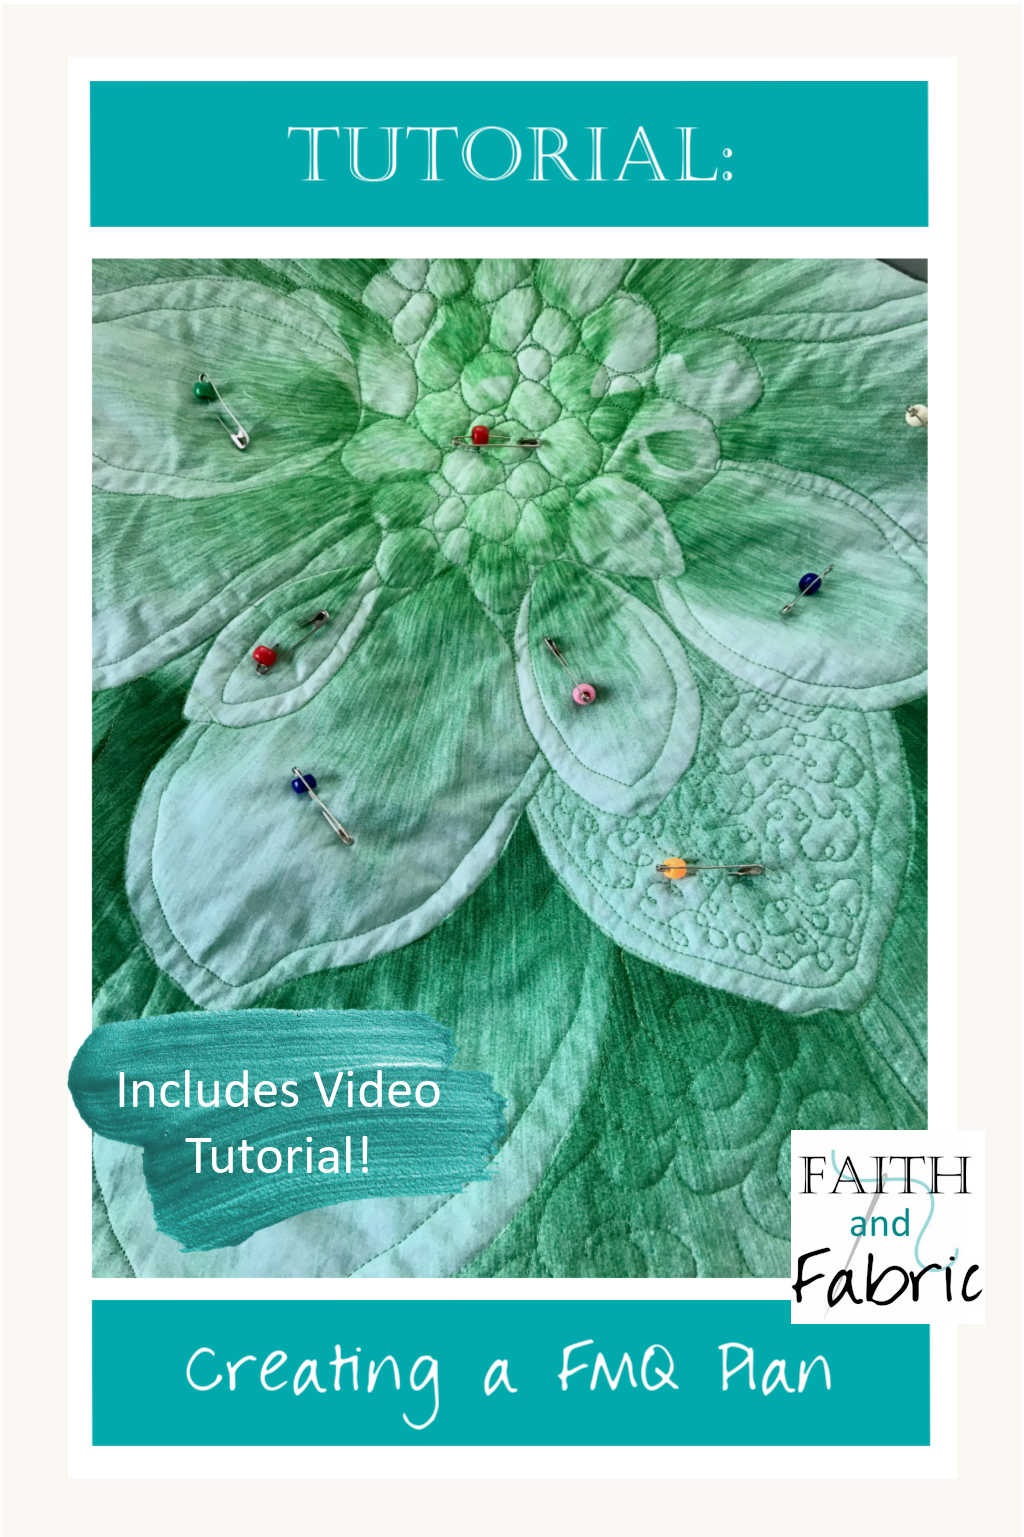
Ready to make a gorgeous quilt from your Dream Big fabric panel, but not sure where to start? No problem! Today we’re going to look at a really simple strategy for planning out your quilt top. So let’s talk about that wide open center space – that part that we all want to work on but aren’t sure how to plan out! It’s important to point out that this technique can be used on ANY panel you want to quilt…not just the one shown above.
Below are the steps to plan your journey, but I definitely recommend watching the video tutorial below as there are even more tips included there. Additionally, you can use the chapters in the video to navigate ahead or back as needed!
- Determine Your Needed Designs:
- There are *so* many free motion quilting designs, some we’ve covered in our Free Motion Fridays, and some are being covered as part of the Dream Big Quilt Along. Regardless of which designs you choose, you’ll want to determine:
- How many designs you want to put into your panel
- How many spaces you want to fill
- There are *so* many free motion quilting designs, some we’ve covered in our Free Motion Fridays, and some are being covered as part of the Dream Big Quilt Along. Regardless of which designs you choose, you’ll want to determine:
- Calculate How Many of Each Design You Need:
- From there, it’s basic math. I have eight designs that I want to use, and 56 spaces (in this case, petals) – so that comes out to seven spaces of each design.
- Create a Free Motion Quilting Key:
- Next you’ll want to create a color key. Looking at the colored beads you have, determine which bead will represent each design. Here’s an example of one of my free motion quilting keys:
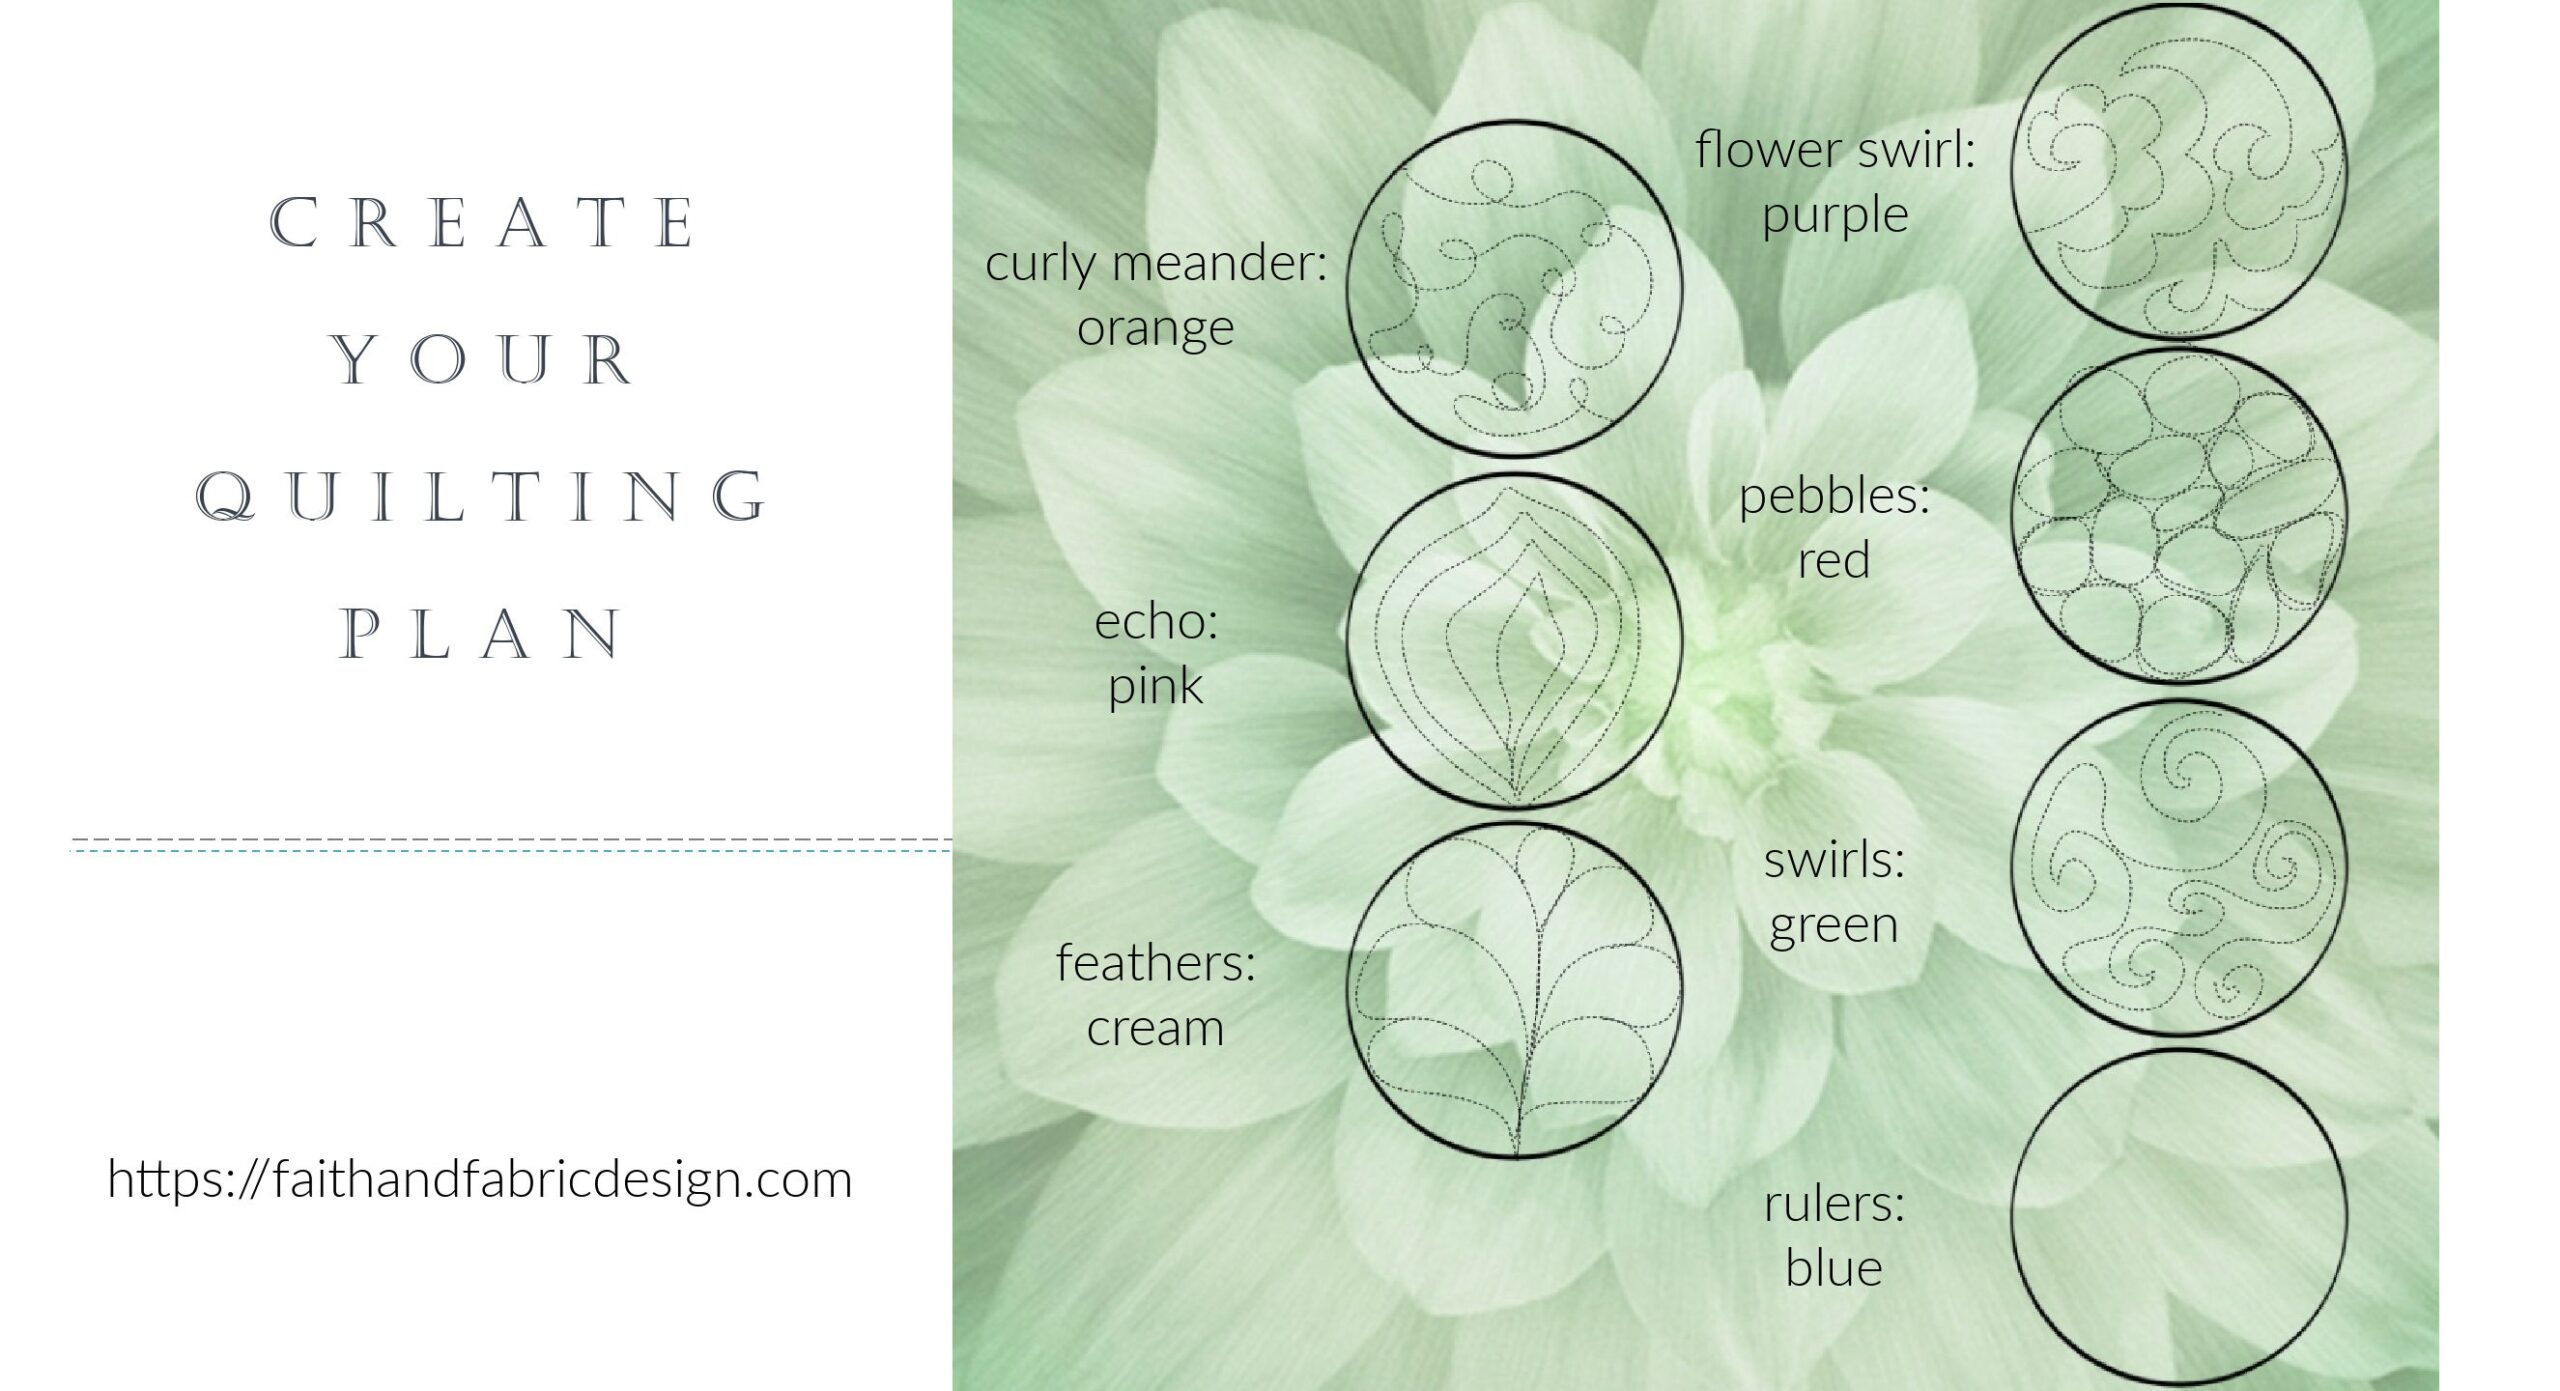
- Next you’ll want to create a color key. Looking at the colored beads you have, determine which bead will represent each design. Here’s an example of one of my free motion quilting keys:
- Add the Appropriate Number of Beads to Pins:
- Next, you’ll count out the number of pins you have and add a bead to each pin based on the number you determined in Step 2. For me, I ended up with seven pins of each color, for a total of 56 pins.
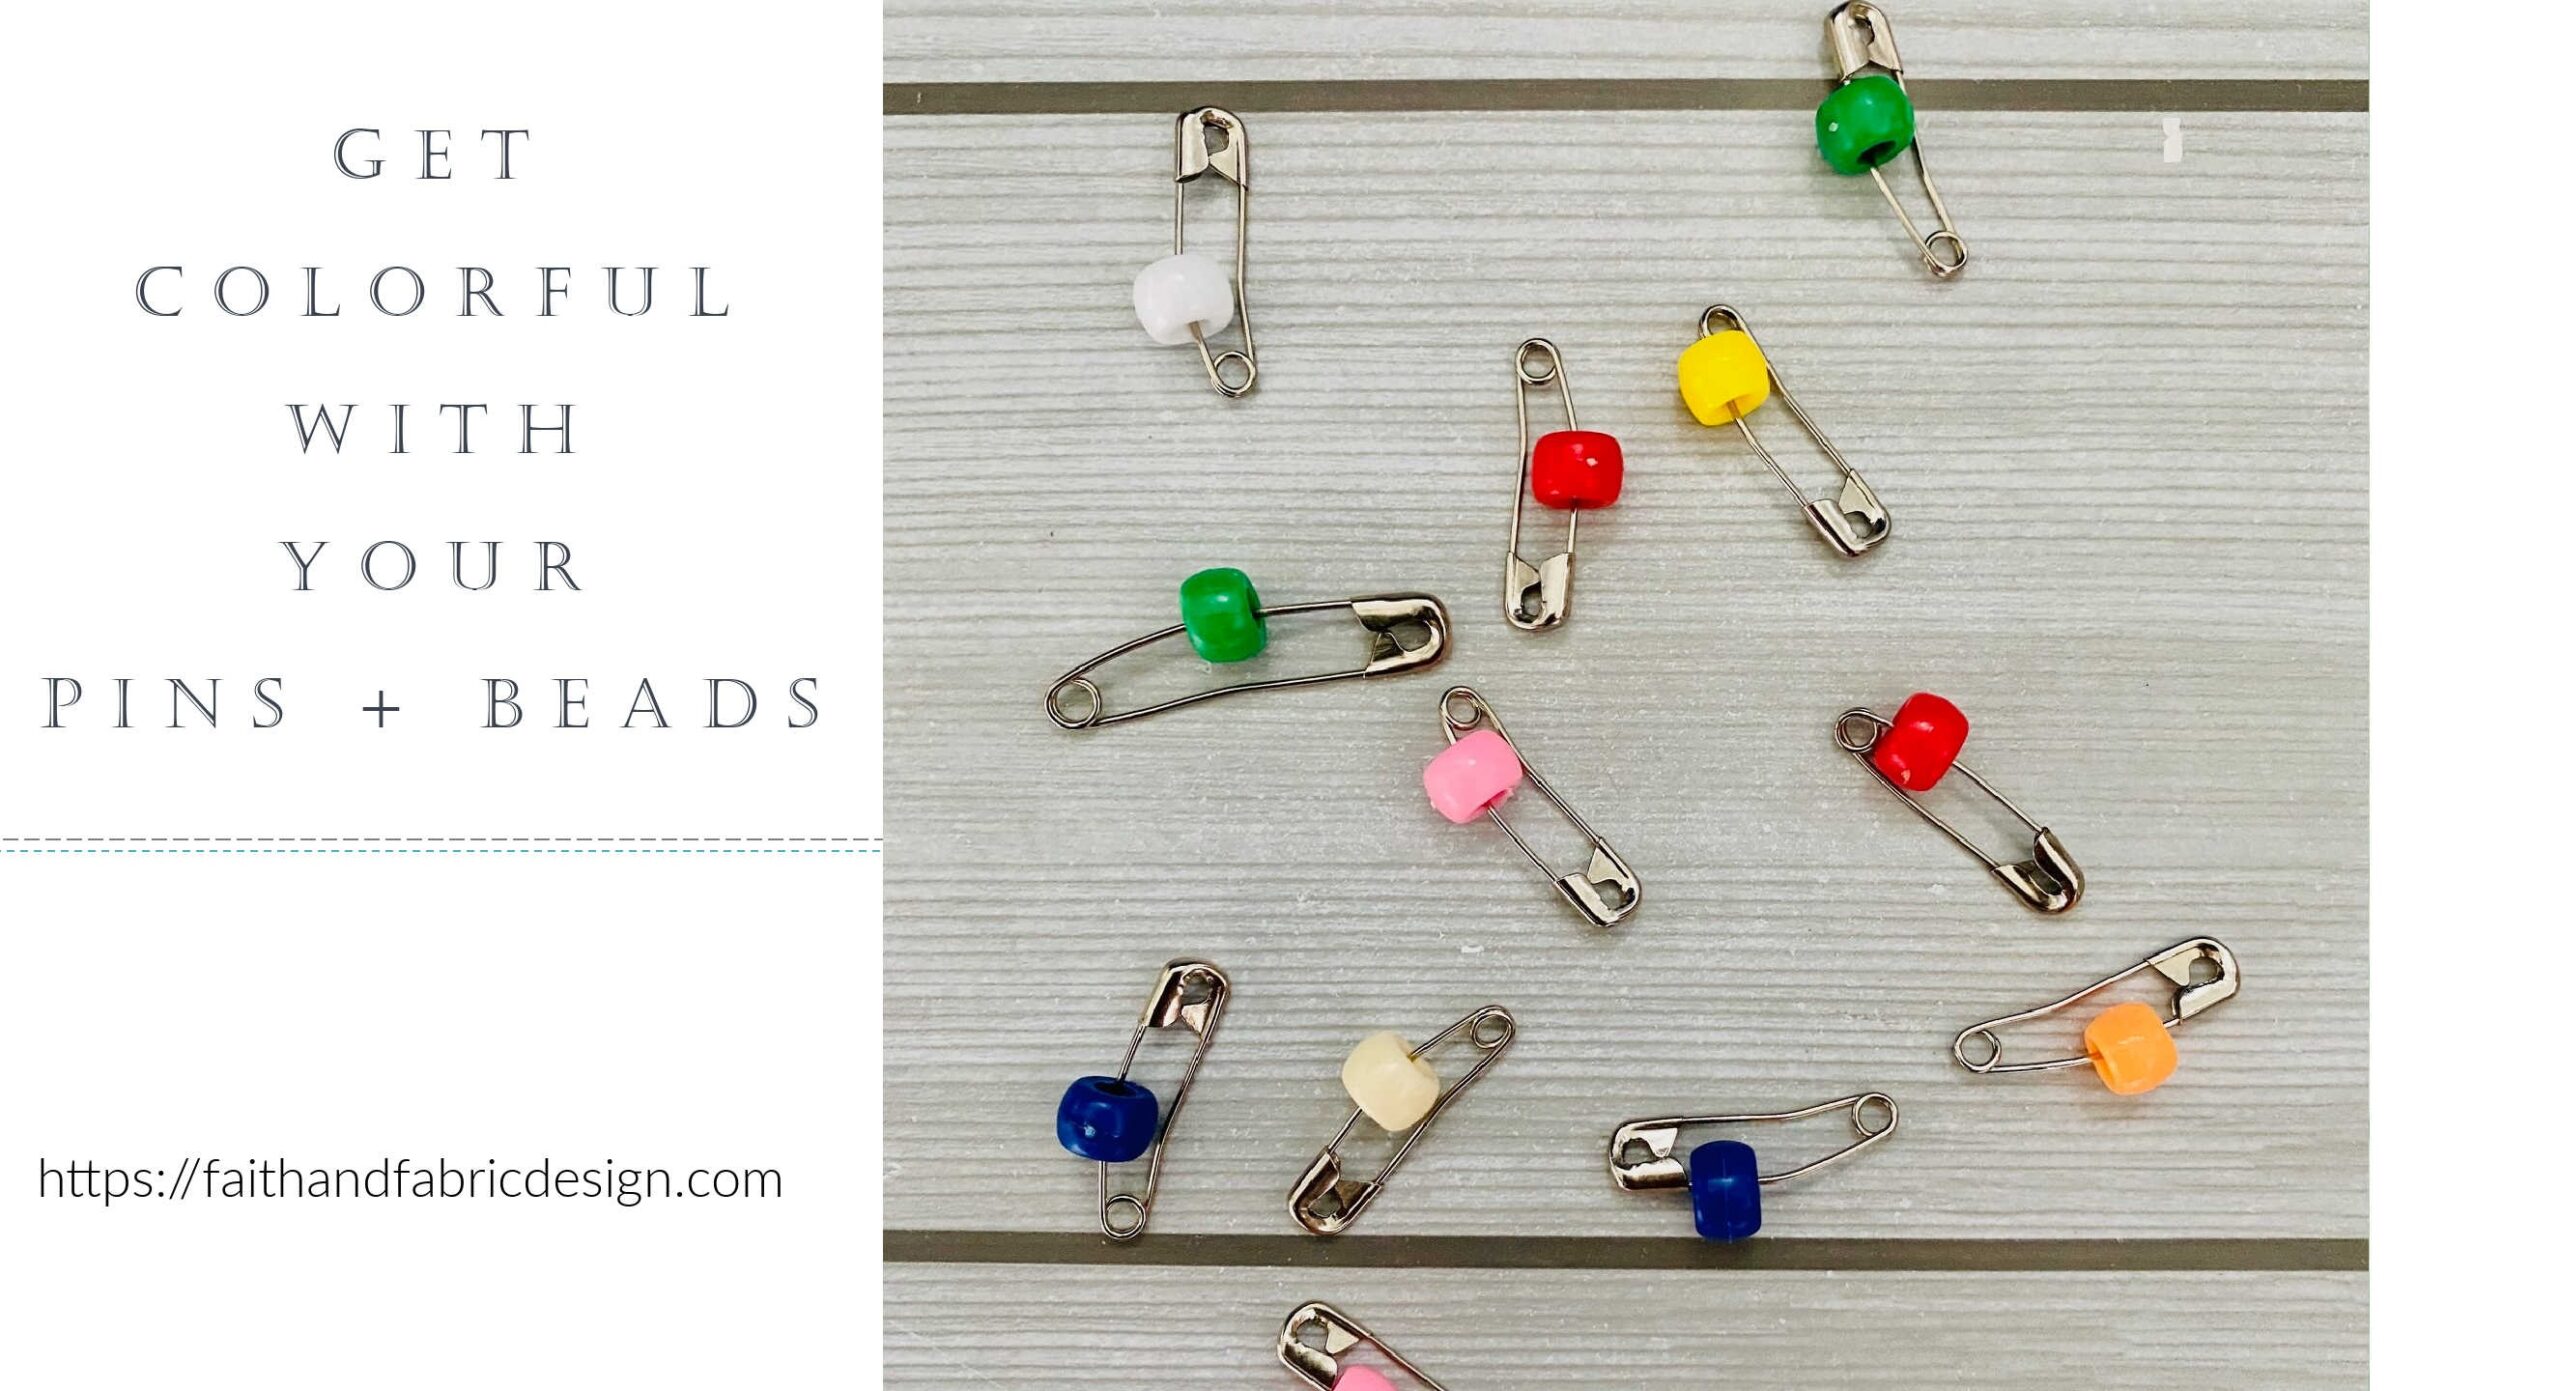
- Next, you’ll count out the number of pins you have and add a bead to each pin based on the number you determined in Step 2. For me, I ended up with seven pins of each color, for a total of 56 pins.
- Arrange Pins on Quilt:
- Once you’ve prepared your pins, your next step is to arrange them on your quilt based on where you want each design to appear. In setting up your design, there are two key points to keep in mind: the size of the space you need to fill, and the size of the free motion quilting design. If you have a small space to fill, you’ll want to use a design that is geared for a small space – like pebbles or a simple meander. Feathers, on the other hand, would work great in a larger space as would the floral swirls. These larger designs would be lost in a small space, and decrease the visual impact of the quilting.
- You’ll also want to make sure you don’t have two designs too close to each other, or designs that are too similar side by side. By using the color coded pins, you can quickly identify if you have designs that are running into either of these issues. Ideally, you want an even color spread of your pins across your space.
- Pin and Sew
- Voila! It’s time to pin your beaded pins to your quilt and head to the sewing machine.
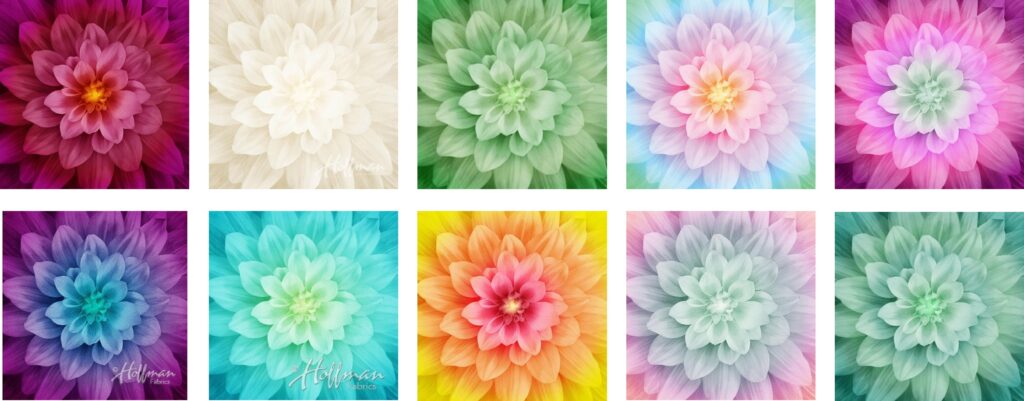
…while this technique can work with any fabric panel, I used mine on the Dream Big Panel from Hoffman Fabrics. Shown below are some of my favorites – The panel comes in a wide variety of colors as shown above, and is a generous 43″x43″ – it can be found on either Amazon or Etsy.
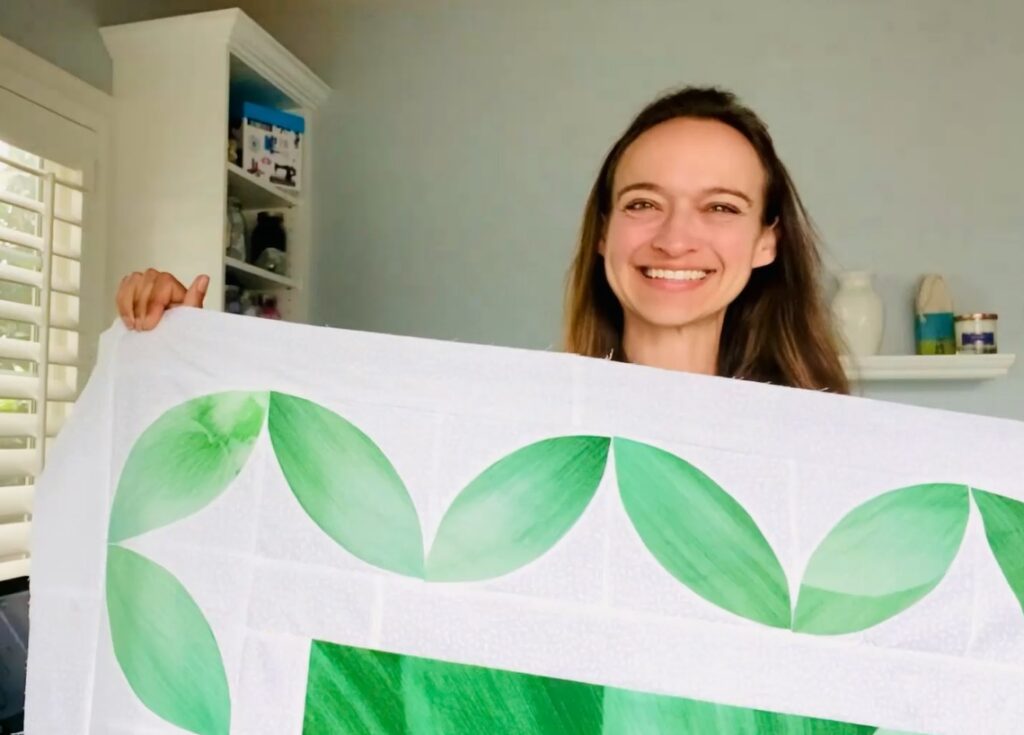
The panel traditionally comes in a 43″x43″ size, but I wanted to make mine larger so I created a soft curved edge as shown in the pattern below. Now, you don’t necessarily need to purchase a second panel to complete this pattern, but doesn’t the vertical design in the petals look *stunning* in the border? I couldn’t imagine a solid there, or even a print, as it would distract from the center panel. As the border is now literally made *from* the central panel, it results in such a beautiful complimentary design. I love how it softens the hard square center; the curves in the pattern really make a ribbon-like effect, and it truly reminds me of those postage stamps from a few years ago.
I look forward to seeing how you Dream Big and how your interpretation of this pattern goes!
