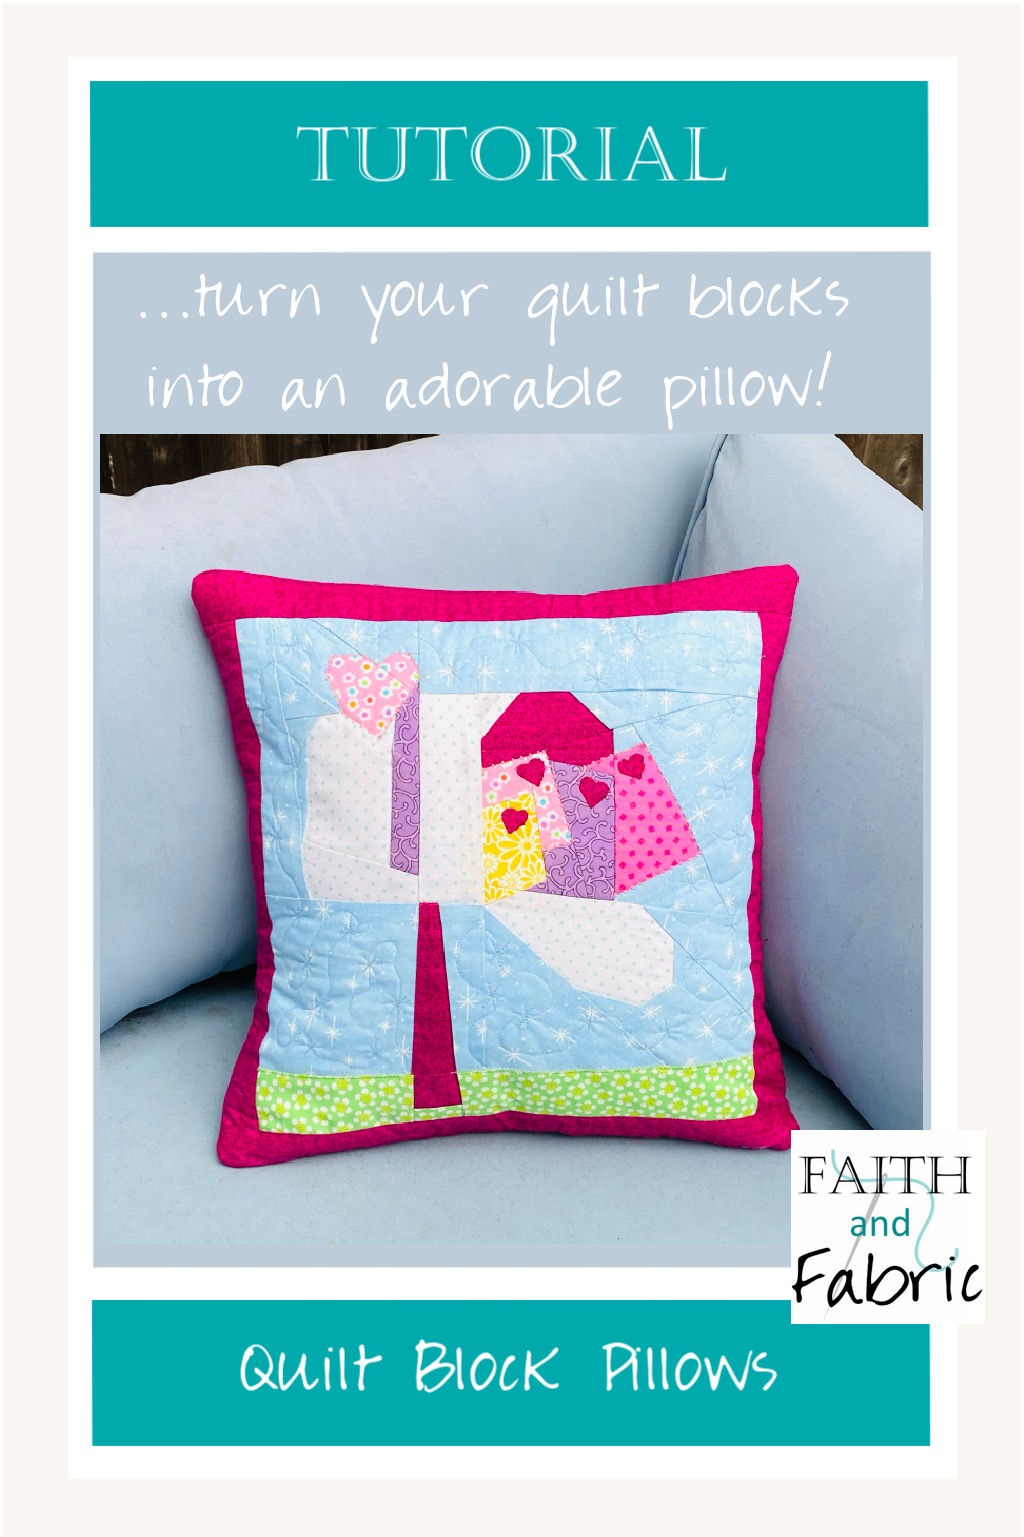
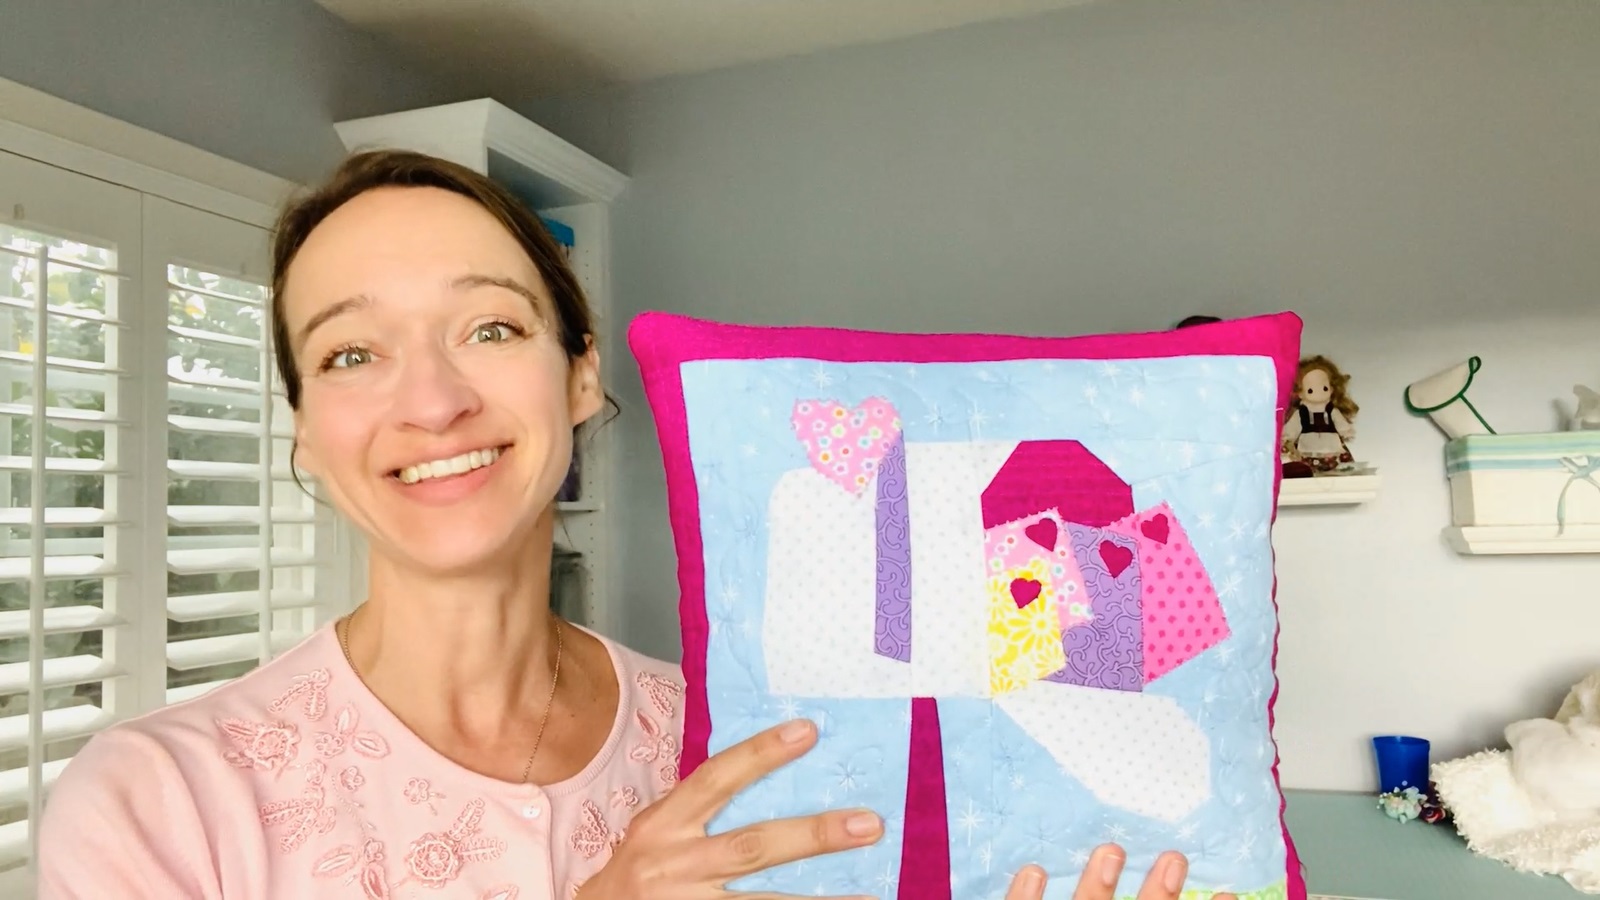
Do you have a lot of orphan quilt blocks laying around? Me, too. That’s why I’m going to show you an easy project on how to make a quilt bock into a pillow! Your quilt blocks make the perfect front for custom DIY pillows, already sized to the perfect square. Plus, by creating an envelope pillow, you’ll be able to change your quilt blocks pillow case covers as the season change for a fresh, updated look! Let’s get started.
Additionally, this is a great block to turn into a quilt pillow!
WHAT YOU NEED
- Quilt Block (here’s a link to the one used in this tutorial)
- cotton batting
- pillow inserts
- Sulky Cotton + Steel Thread
- Novelty Fabrics
- Janome M7 sewing machine
HOW TO MAKE
- First, you’re going to need to determine the size of the pillow you want to make. In this example, I want to make a roughly 15″ pillow into which a 16″ pillow form will fit. Once you determine the size of the pillow you want to make, cut borders that will increase the size of your quilt block to the desired size of your pillow. In this example, I have an unfinished 12″ quilt block. So, I am adding 2.5″ of trim to each side to achieve the desired length.
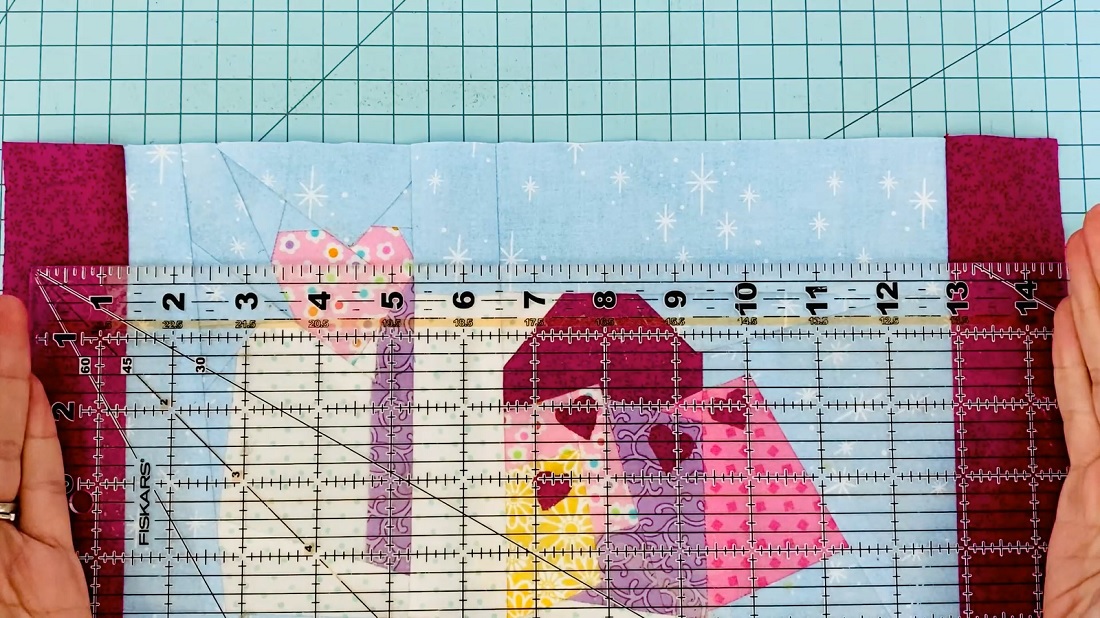
- Once the trim is added to your quilt block, it’s time to add a layer of batting. Cut your batting to be slightly larger than your quilt block, and either pin or spray baste in place.
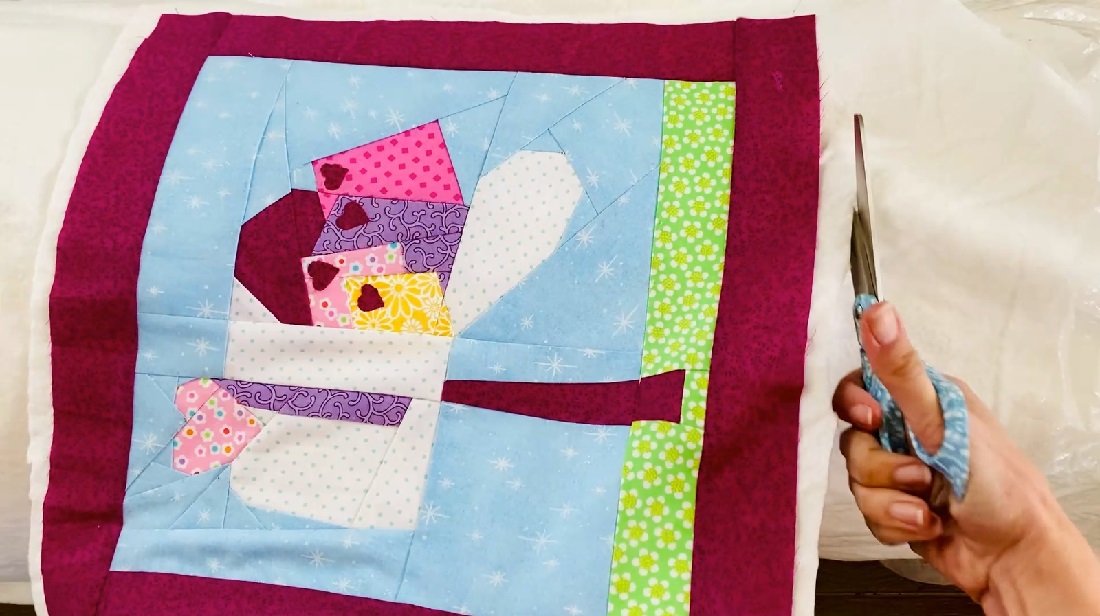
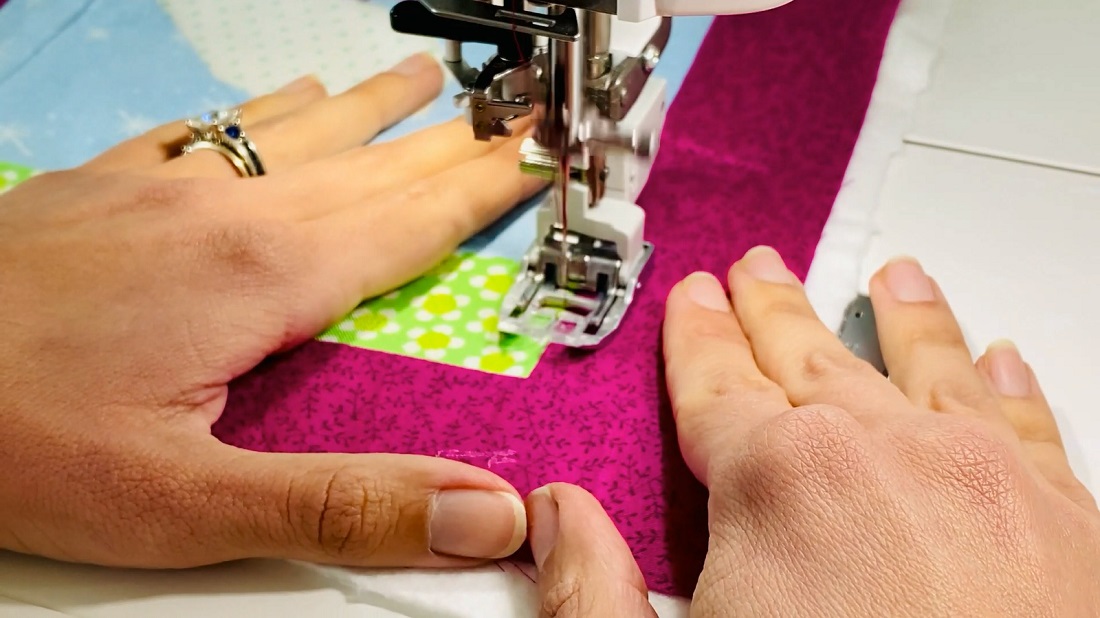
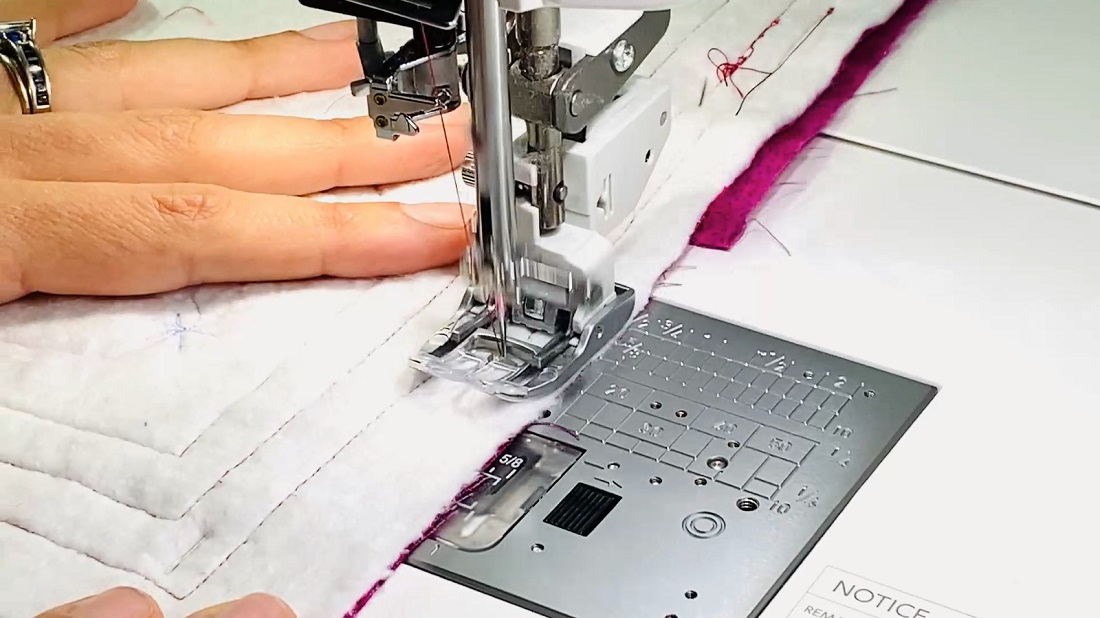
- Now comes the fun – it’s time to quilt your quilt block onto the batting! Add decorative stitches, background stitches, and border stitches to both add visual interest. You can also add applique if you’d like to further dress it up (see our video here).
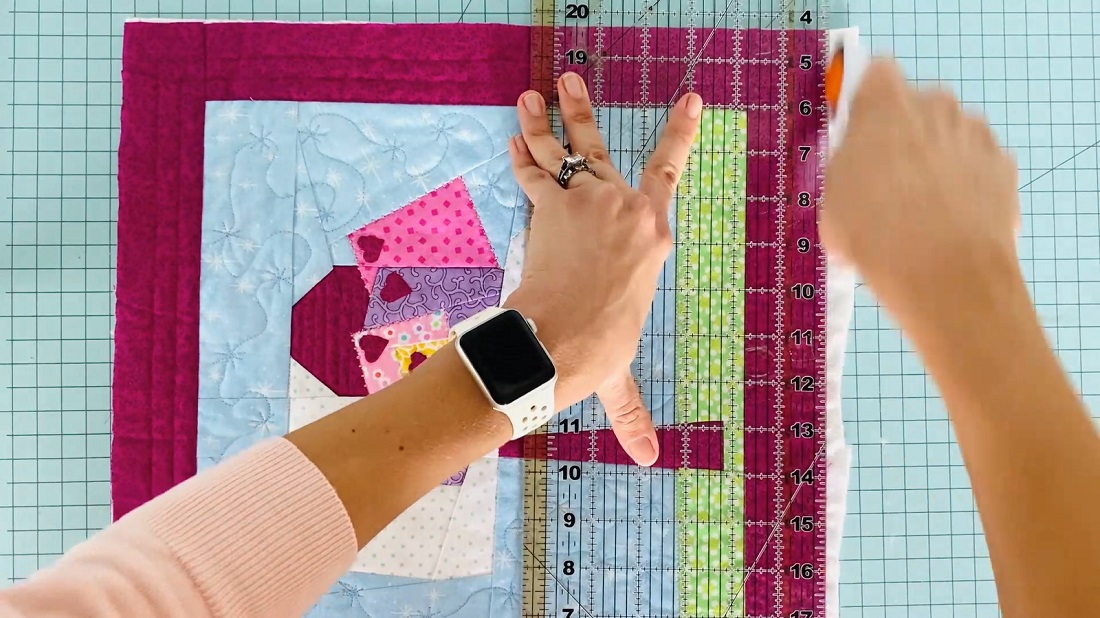
- Once you’ve added your stitching, trim off the excess batting.
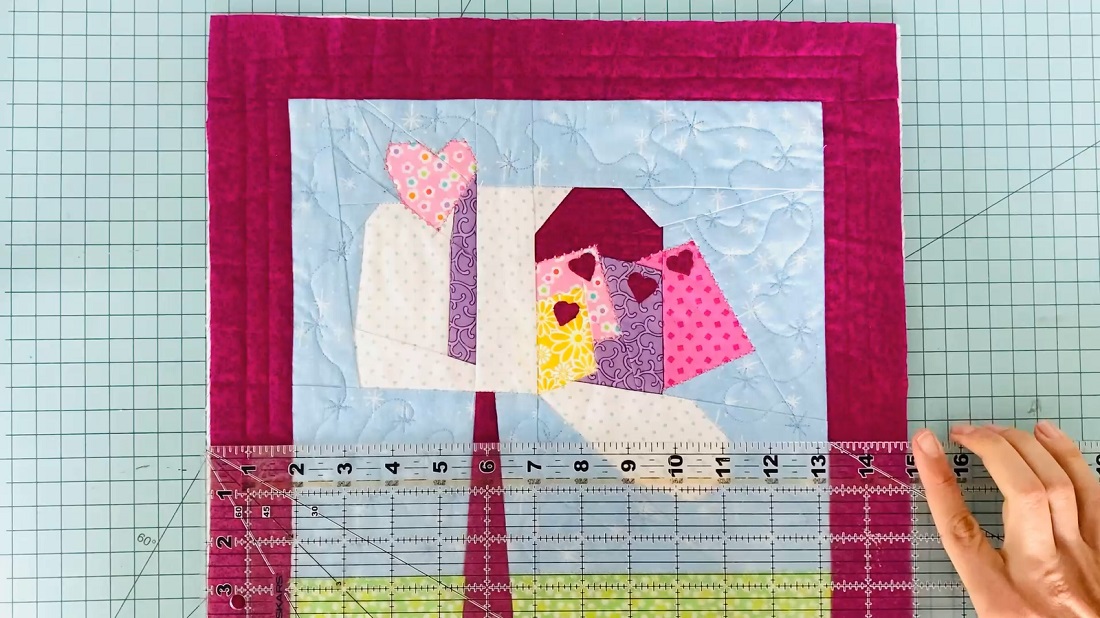
- Measure your quilt block to determine the width needed for your pillow envelope. In my example, the width is 15″
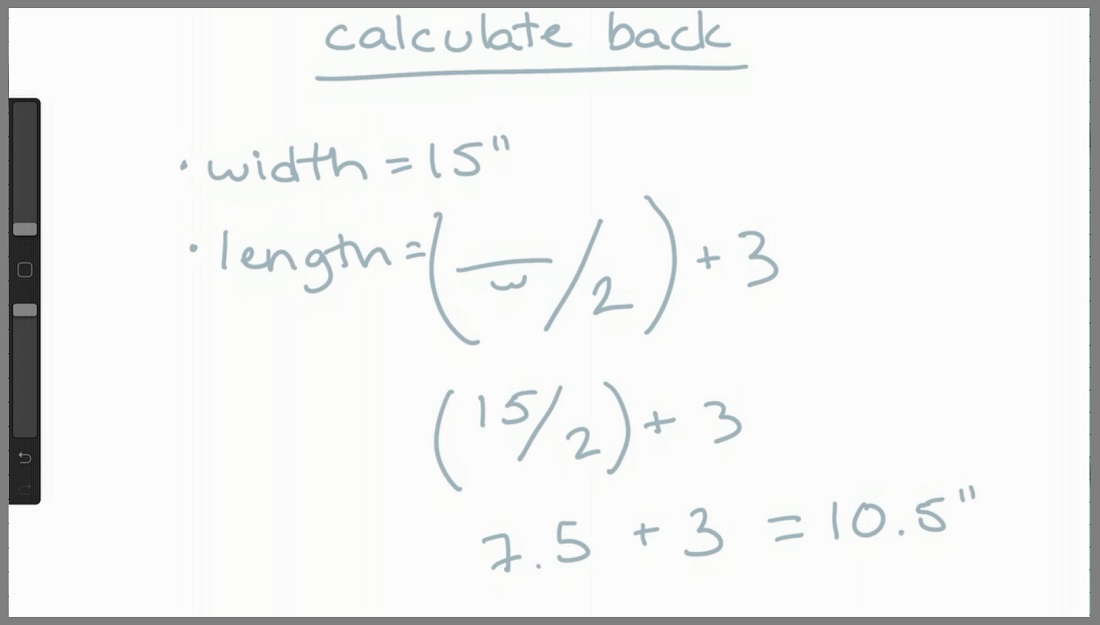
- Next, calculate the size of the envelope backing fabrics for your quilt block pillow. To determine the length needed size for your two envelope pieces, divide the width by two and then add 3″. In my example, my 15″ width / 2 = 7.5″ + 3 = 10.5″ in length.
- Measure and cut your fabrics based on these measurements; you’ll be cutting two panels. In my example, I’ll have two panels measuring 15″ wide and 10.5″ long.
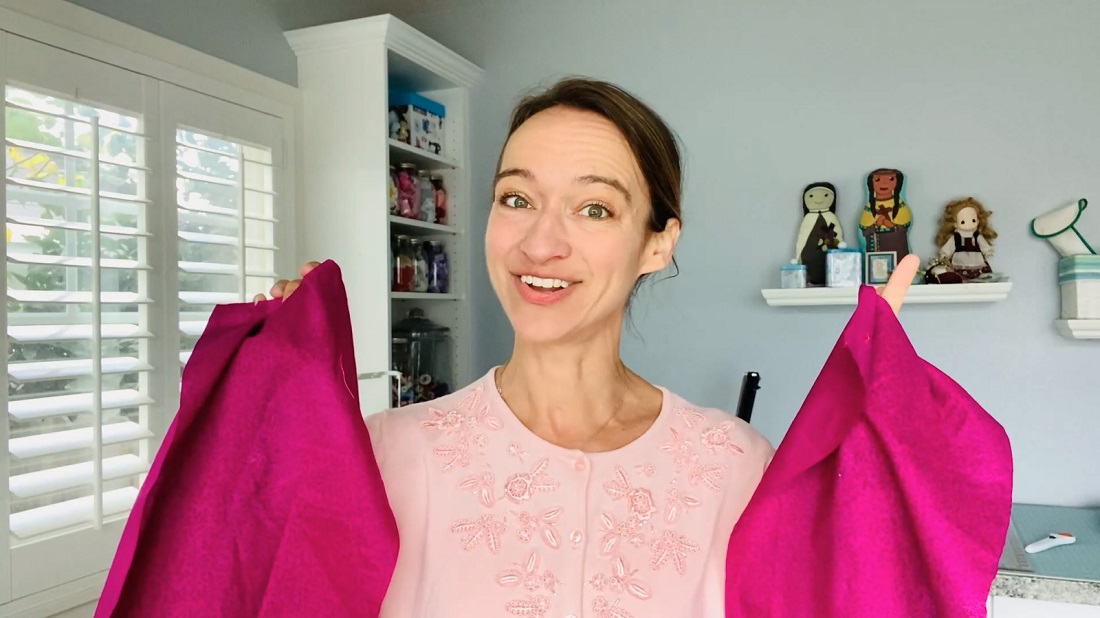
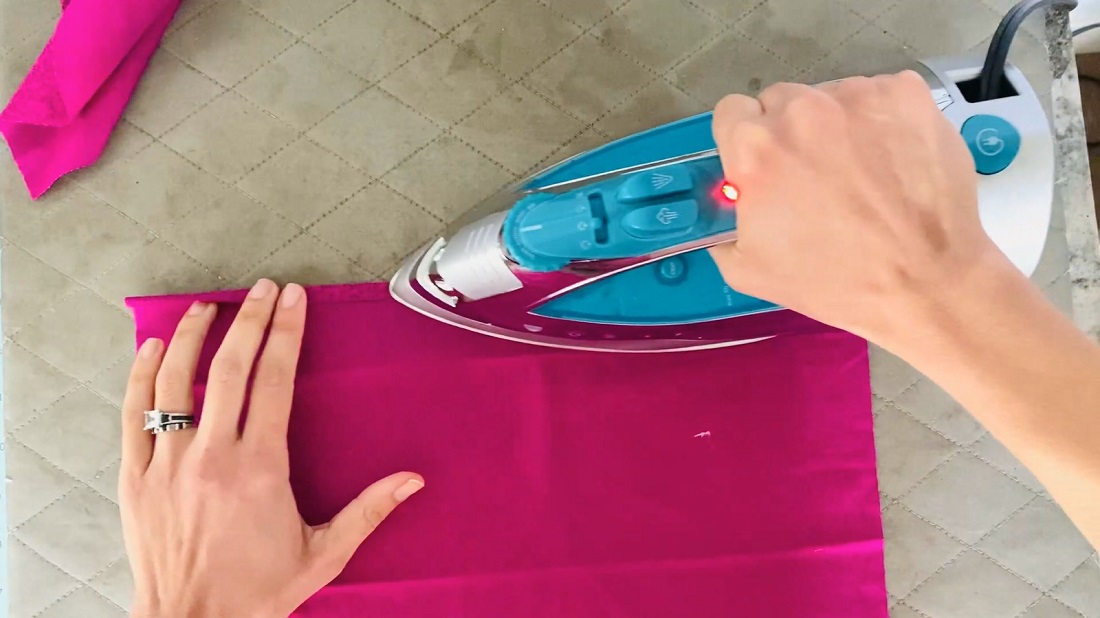
- On each of your two panels, press a folded seam. To make the folded seam, fold the width of your fabric down 1/4″ and press. Then, fold a second time and press again.
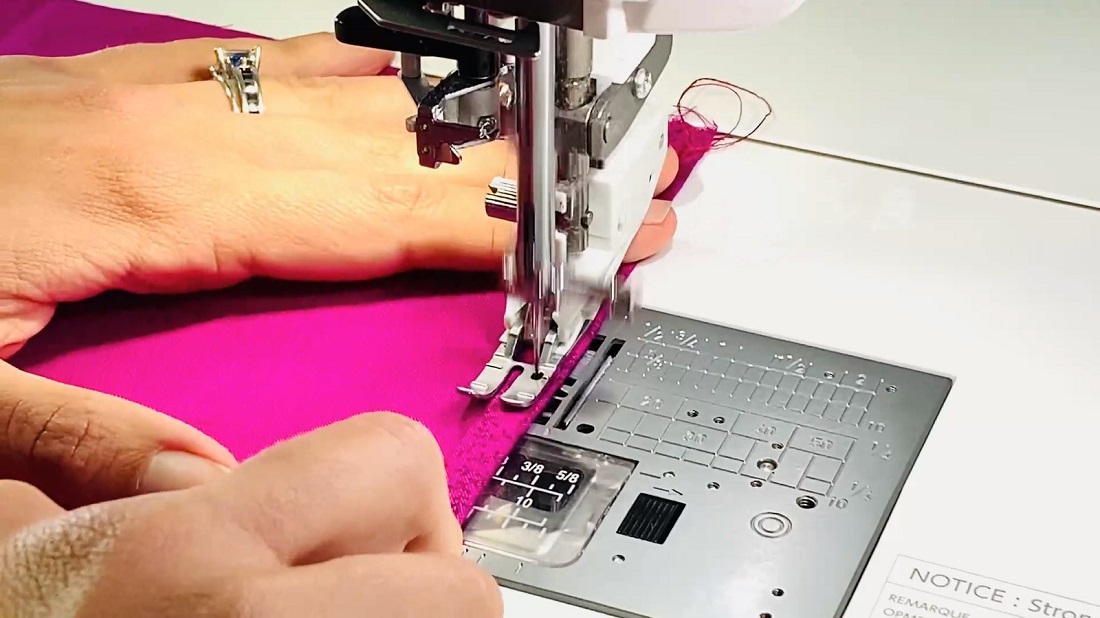
- Stitch your folded seam in place using a 1/8″ stitch.
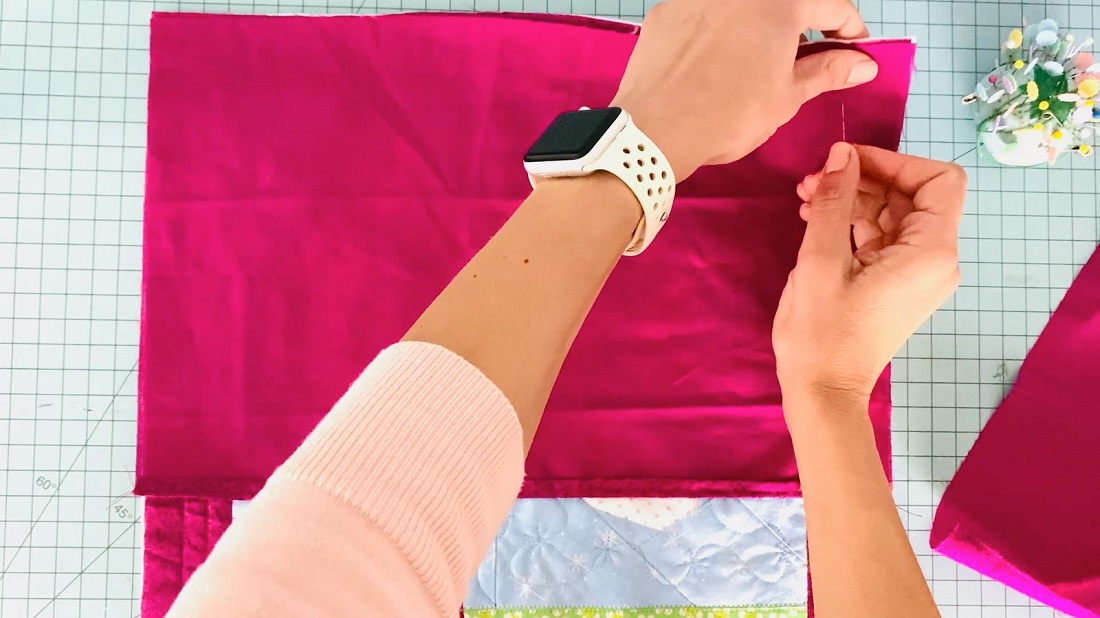
- With right sides together, place your first panel on the back aligned at the top with the seam facing down. Pin in place.
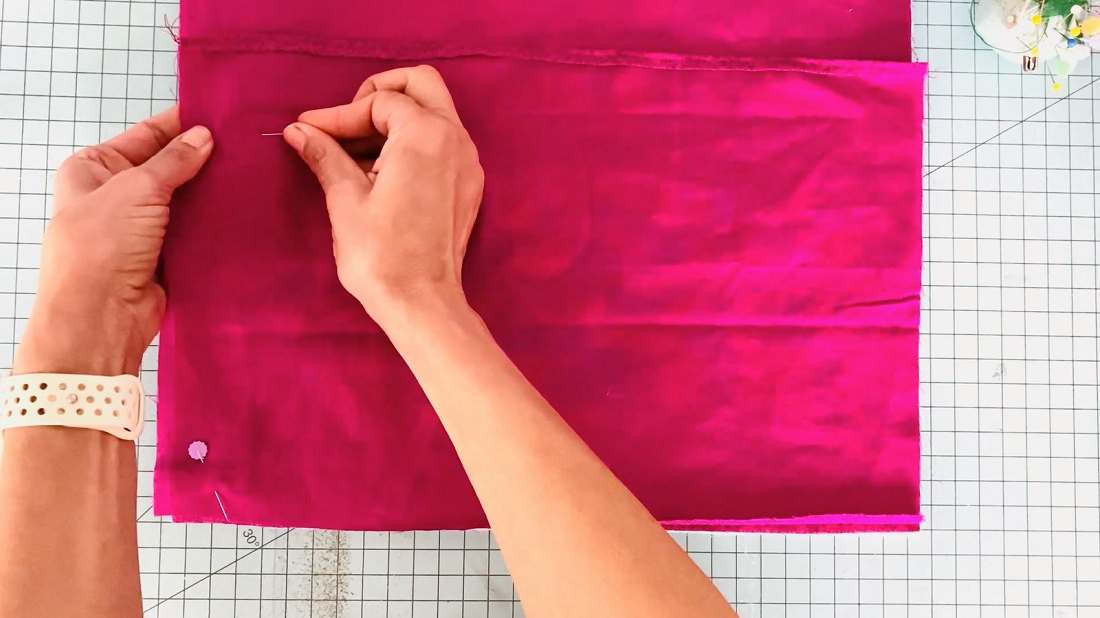
- Place the second panel aligned at the bottom with the seam facing up. Pin in place.
- Stitch around the entire quilt pad 1/2″ from the edge. Be sure to backstitch.
- Trim your corners, turn right-side out, and insert your pillow insert/form. Enjoy your new pillow!
(Visited 1,995 times, 4 visits today)