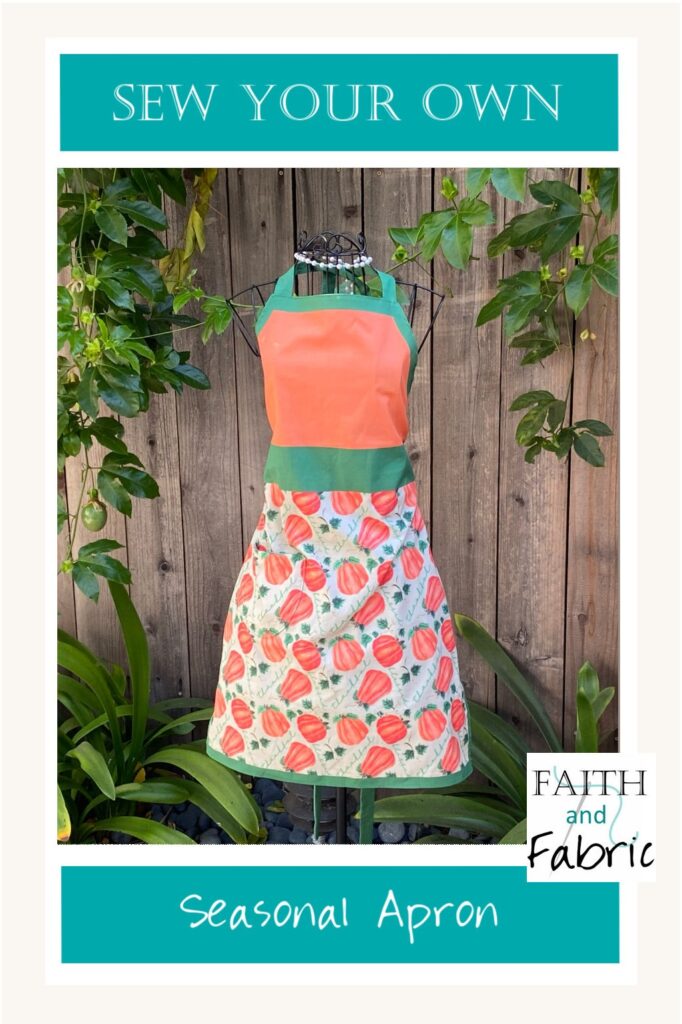
Welcome to our advanced beginner DIY sewing class on creating seasonal Christian aprons! We’re adding new prints below, so keep your eye out for the newest coming out next month.
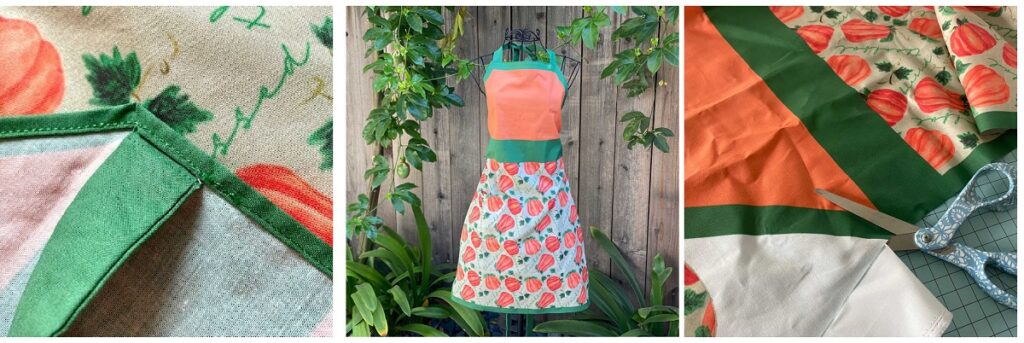
Is it any wonder that our best memories take place in the kitchen? I love to cook – let me rephrase that. I love cooking special feast day dinners, traditional foods, and special celebration meals. I abhor cooking dinner…it just looses it’s umph night after night, amIright?
Cooking became even more fun when my little man started cooking with me. Together, our time in the kitchen is by far some of our most special time. It’s a place where we can be silly as we create some new concoction, often modifying the recipes to suite our own experimental taste.
Cleanup is the only challenge – not only is the kitchen a mess, but so are we. It’s why I’m so excited to offer this new sewing class on custom Christian aprons! Whether you’re the chef in the house, or you’re looking to make a special hostess gift, these aprons are the *perfect* solution. As they’re 100% pre-shrunk cotton, they’ll last longer than the last slice of cake. Each is designed to focus on a specific season – right now, we have the Thanks and Praise Apron for the Fall and Thanksgiving, and the Bethlehem Apron for all your Christmas baking.
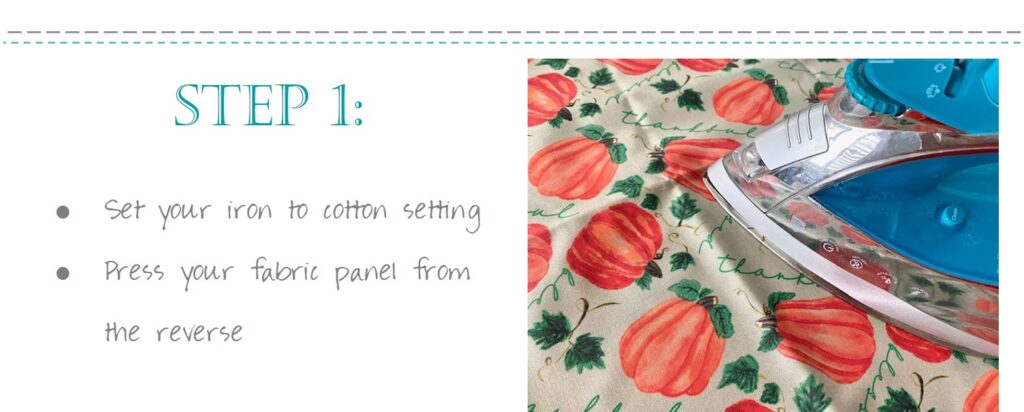
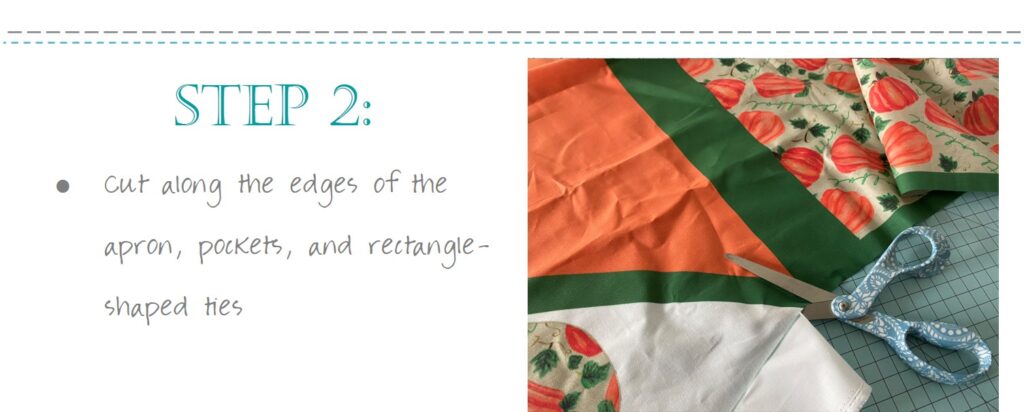
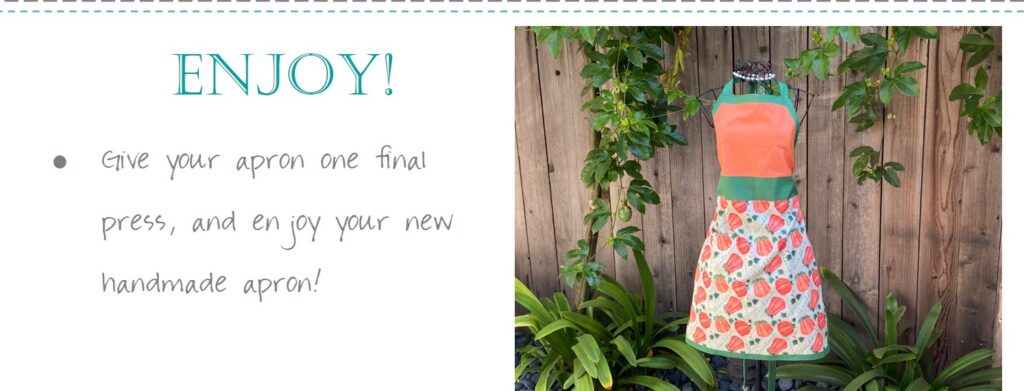
Today, we’re going to walk you through the step-by-step process to create this adorable project. Below, you’ll find step-by-step photos on how to make your DIY apron. I’ve also linked to many of the products shown in the photos, as I’ve tried several and these are my go-to items when it’s time to sew.
Happy sewing!
WHAT YOU NEED:
- your choice of apron fabric:
- Thanks and Praise (fall/autumn)
- Christmas Nativity (winter/Christmas)
- sewing machine
- iron
- fabric sheers
- fabric pins
- thread in coordinating color
HOW TO MAKE:
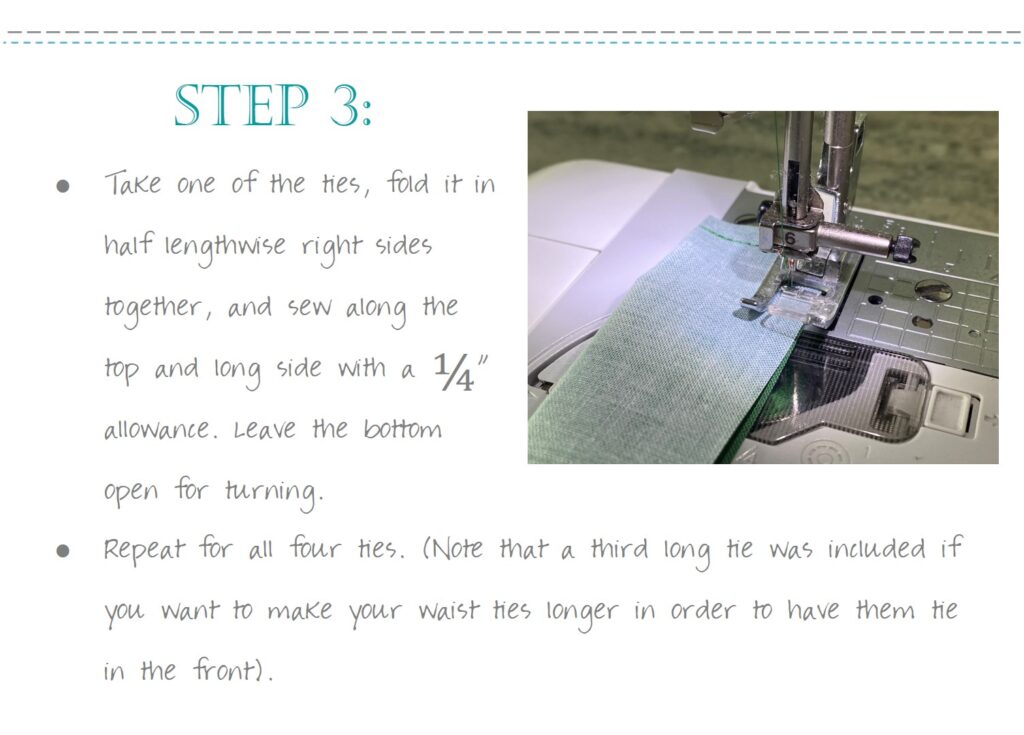
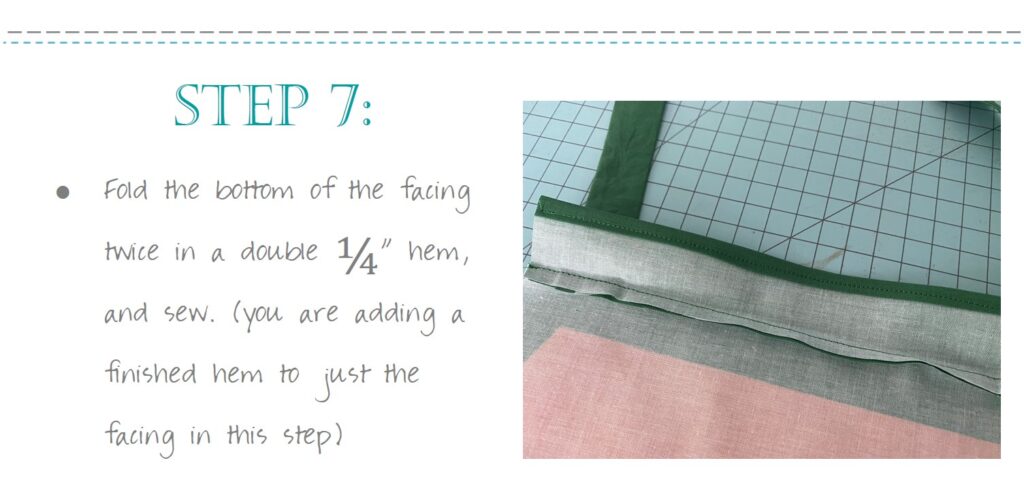
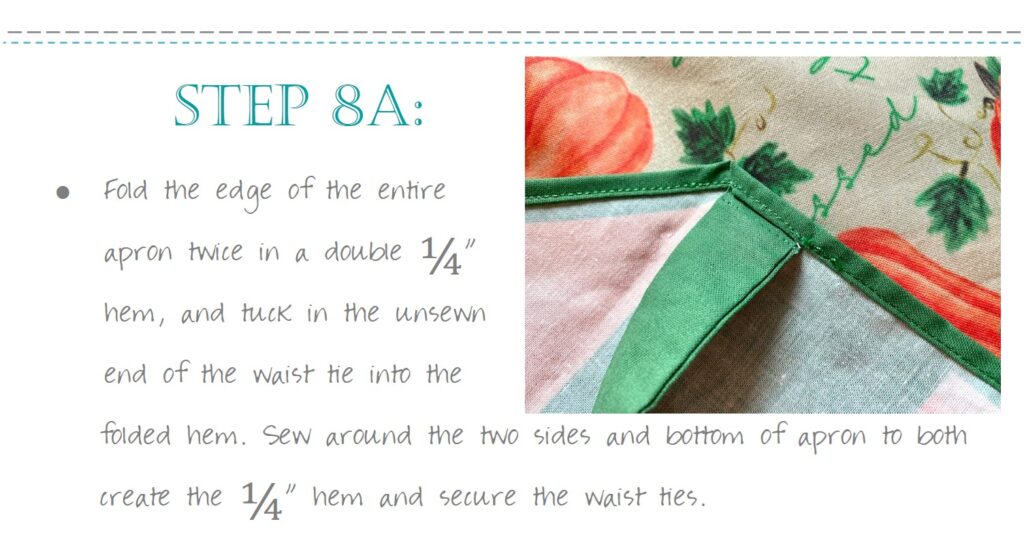
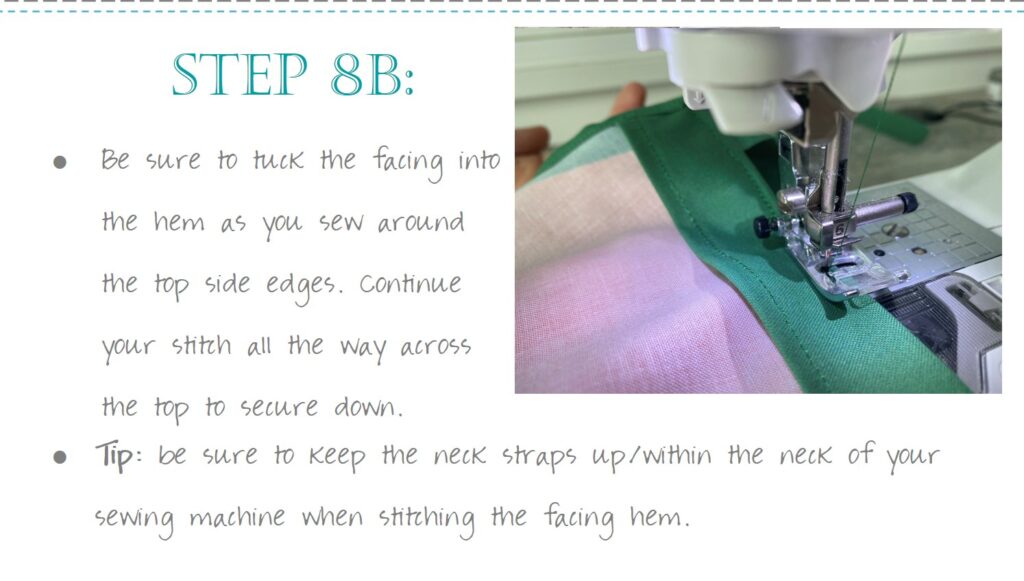
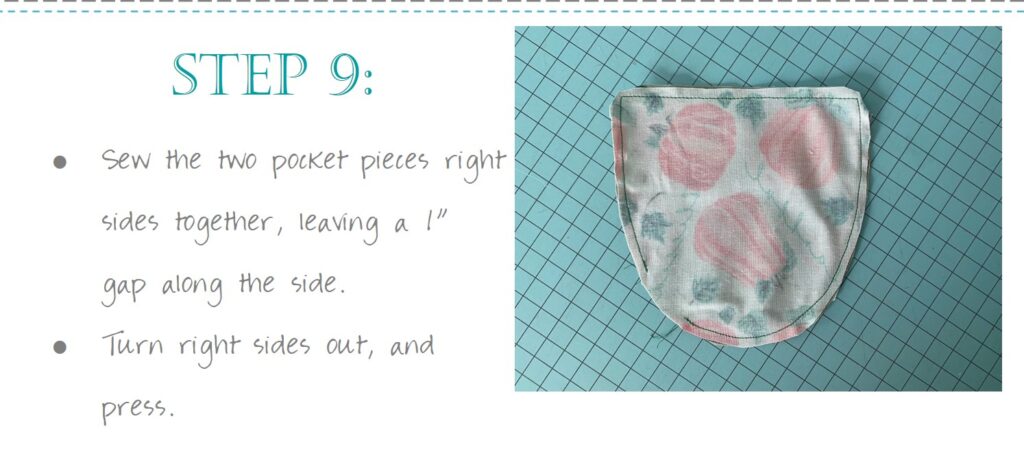
- NOTE: all seams are stitched with 1/4″ allowance unless otherwise noted
Did you enjoy this sewing class? View all our sewing classes here!
