Are you new to foundation paper piecing? Need a quick refresher because it’s been a while? No problem! I’ve created this page as a simple place to get started on your FPP journey.
First, let’s get you set up with some basic tools. There’s not much you need to get started, but there *are* a few tools that will set you up for success. Here’s a list of the items I both recommend and personally use each time I foundation paper piece: thin (easy tear) printer paper for printing your designs, wall safe tape for connecting the pages (it’s less-sticky quality won’t gum up your machine), quarter-inch ruler with rotary cutter and small mat for trimmings right next to your machine as you piece, pencil/chalk combo for markings as you go, and open-toe foot for maximum visibility while sewing on those lines!

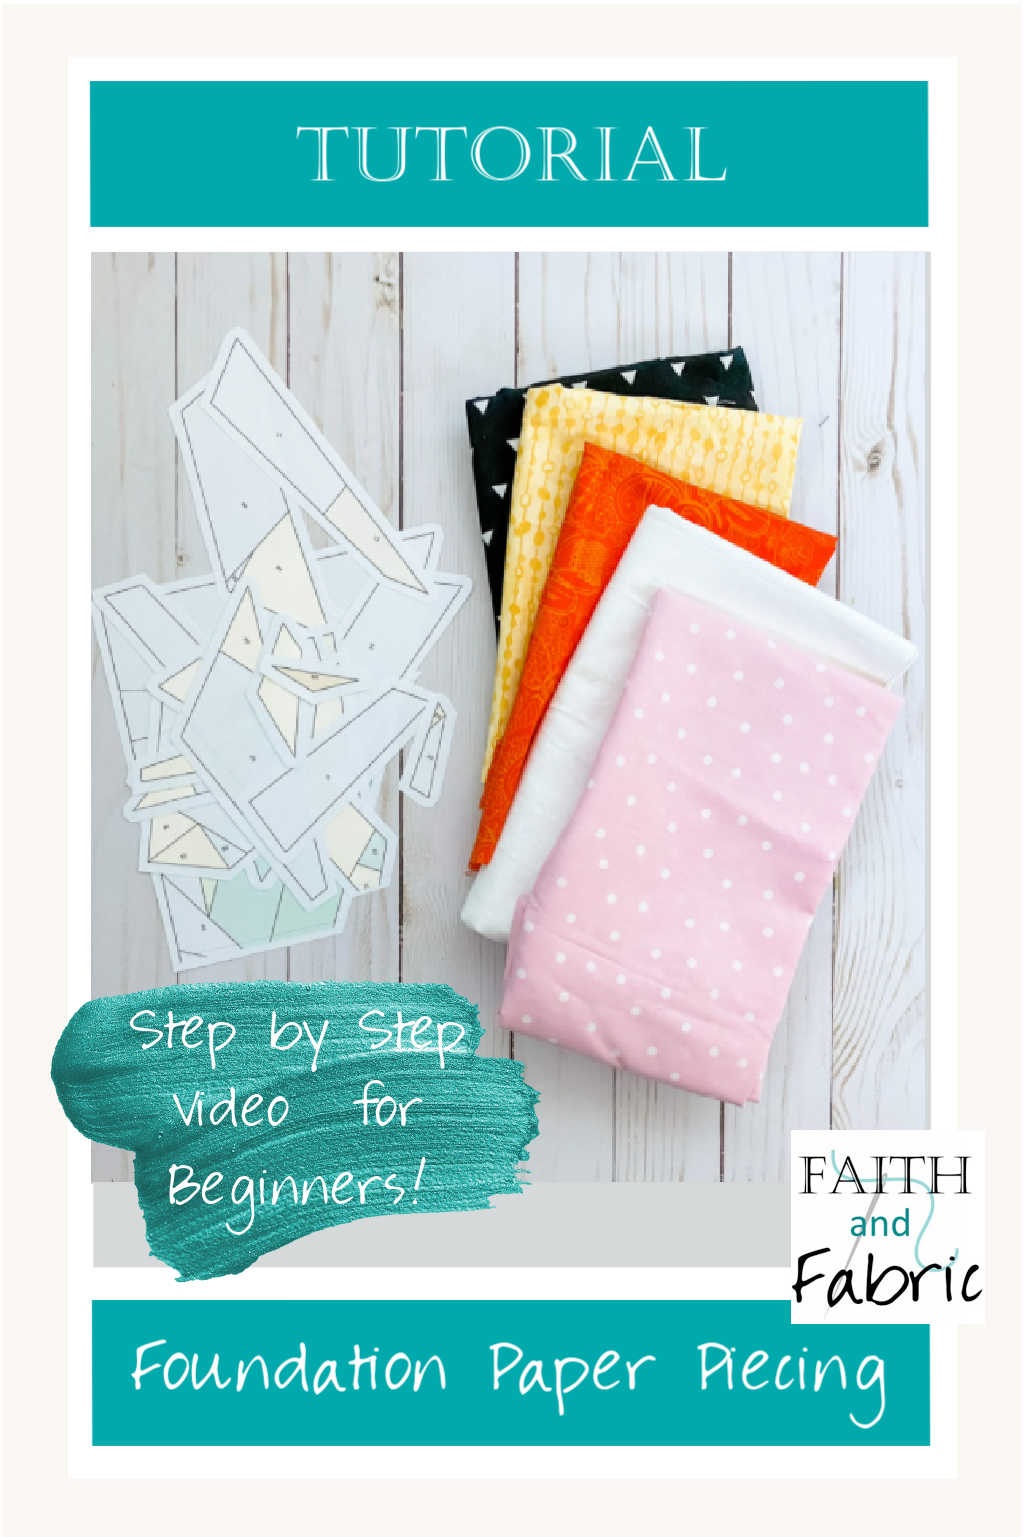
Second, I’ve prepared a few foundation paper piecing videos below for several of our products. While the patterns vary slightly in design, the process is the same – so don’t worry if you don’t see a video for the product you purchased. The same technique will work for each FPP pattern. The first video, showcasing the Easter Chick pattern, is the most detailed – dare I say it will help you come out of your shell? 😉 This step-by-step foundation paper piecing video tutorial will take you from start to finish, covering everything from how to cut your pattern out, which types of fabrics work best, tips for piece alignment, and even a bit of time warp pressing! You’ll walk away feeling confident in your foundation paper piecing skills.