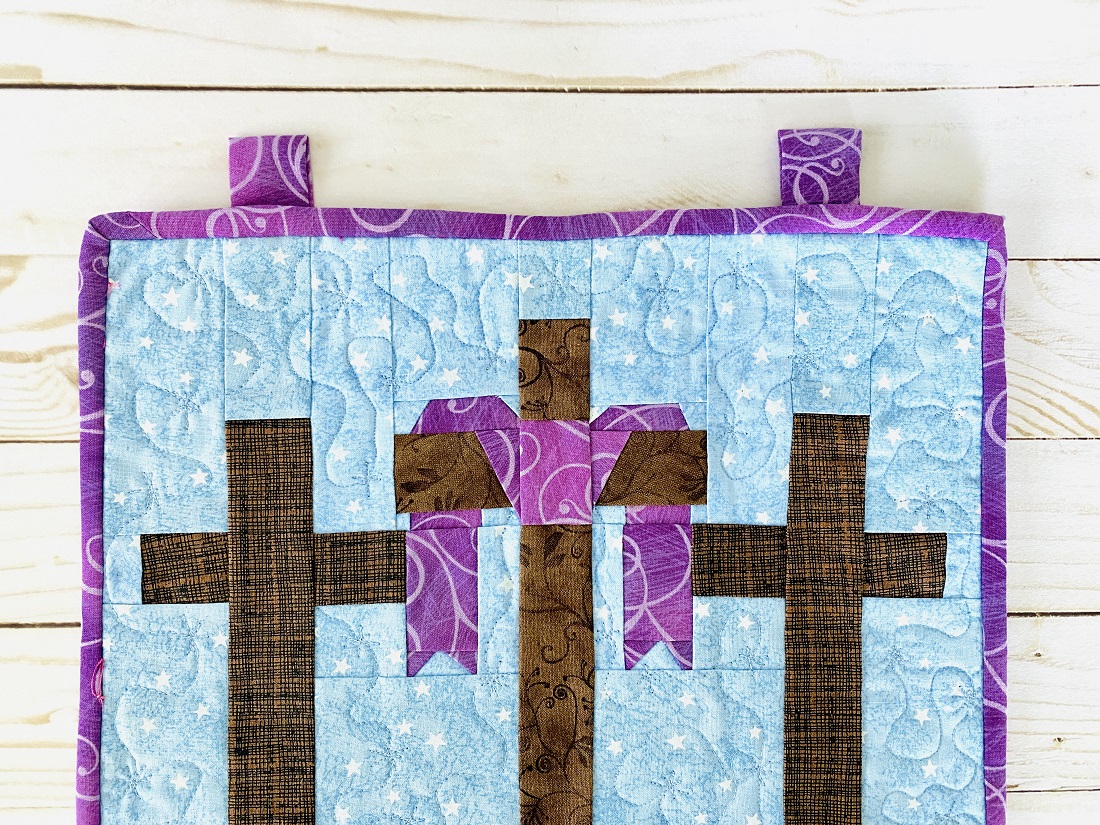
Do you ever create a quilt top and realize it’s perfect for your wall, but aren’t sure how to hang it? Today, we’re going to talk about how to add hanging tabs to your quilt by adding two sets of hanging tabs directly into the binding. It’s a cinch, and you’ll love the way your quilt hangs on the wall from the coordinating hanging tabs you added once you’re all done! The sample below uses the Good Friday quilt block pattern if you’d like to make one for yourself.
I’ve created the following video to walk you through, step by step, the way to make hanging tabs using fabrics you already have on hand from sewing the quilt top:
Prefer photos? No problem. Let’s get started…but know you can refer to the video anytime for even more detail.
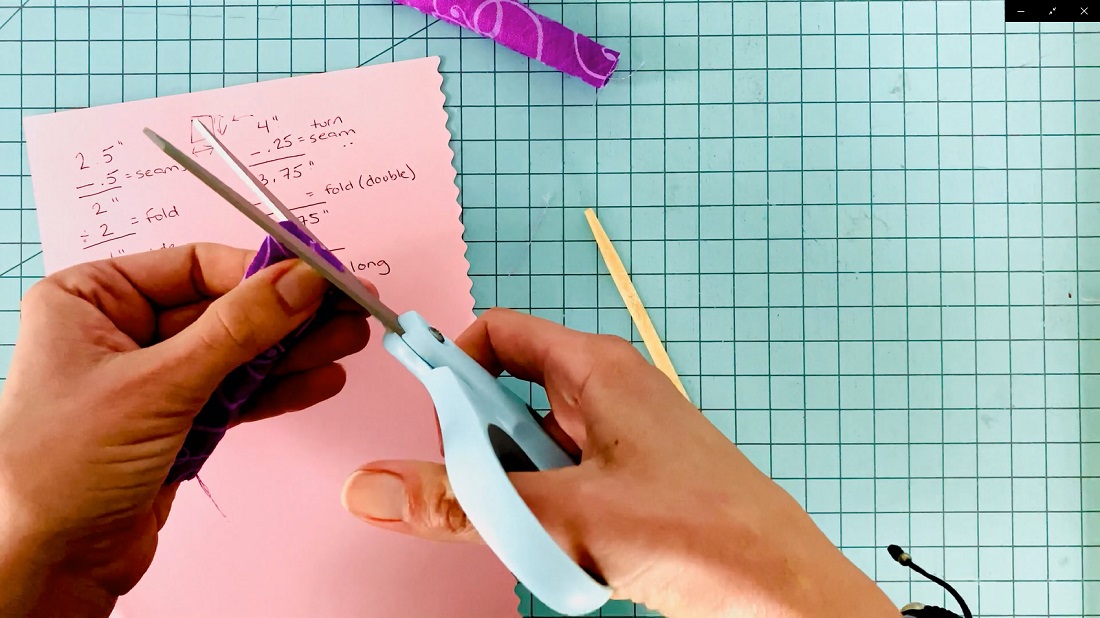
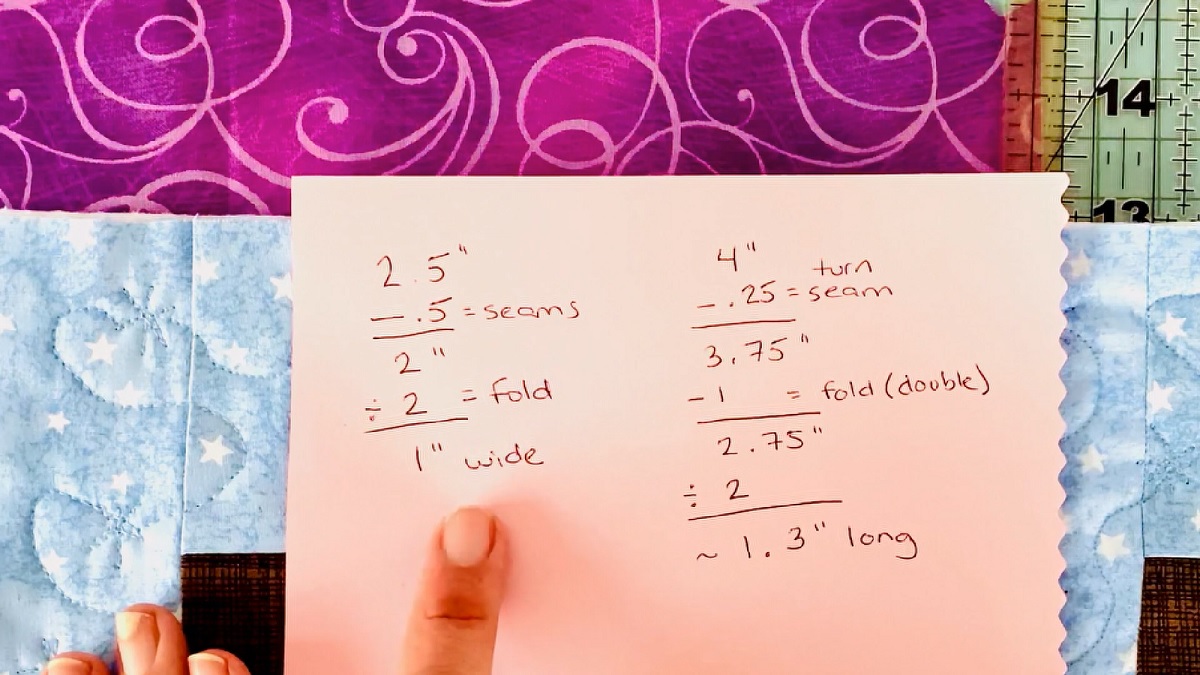
- First, determine the size of the hanging tabs for your quilt. As shown in the image below, you’ll need to determine two different measurements: the final width of the hanging tabs as well as the final length of the hanging tabs.
- Begin first by determining the width. In the image below, you’ll see that my goal is the 1″ wide tab as noted in the bottom left. To get there, I started with a 2.5″ wide piece, knowing that I would lose 1/2″ in the seam allowance. Because this piece gets folded in half, I divided the 2″ by 2 and ended up with 1″…my final width.
- Next, determine the length of your hanging tab. Again, as noted in the image below, you’ll see that my goal is slightly over an inch in length – this gives me enough room to easily slide a thin dowel through to hang the quilt. To arrive at this number, I knew I needed four inches in length. Just like in the width, I subtracted out .25″ for a seam (we’re making a thinner seam that will get cut). I next subtracted out 1″ for the portion that will be sewn into the binding; one-quarter inch will be sewn in, and the next quarter-inch will be folded up along the back. Doubled for both pieces, this gives us the 1″ total. Lastly, I divided it in half since we’re folding it in half, which brings me to the approximately 1-1/3″ size.
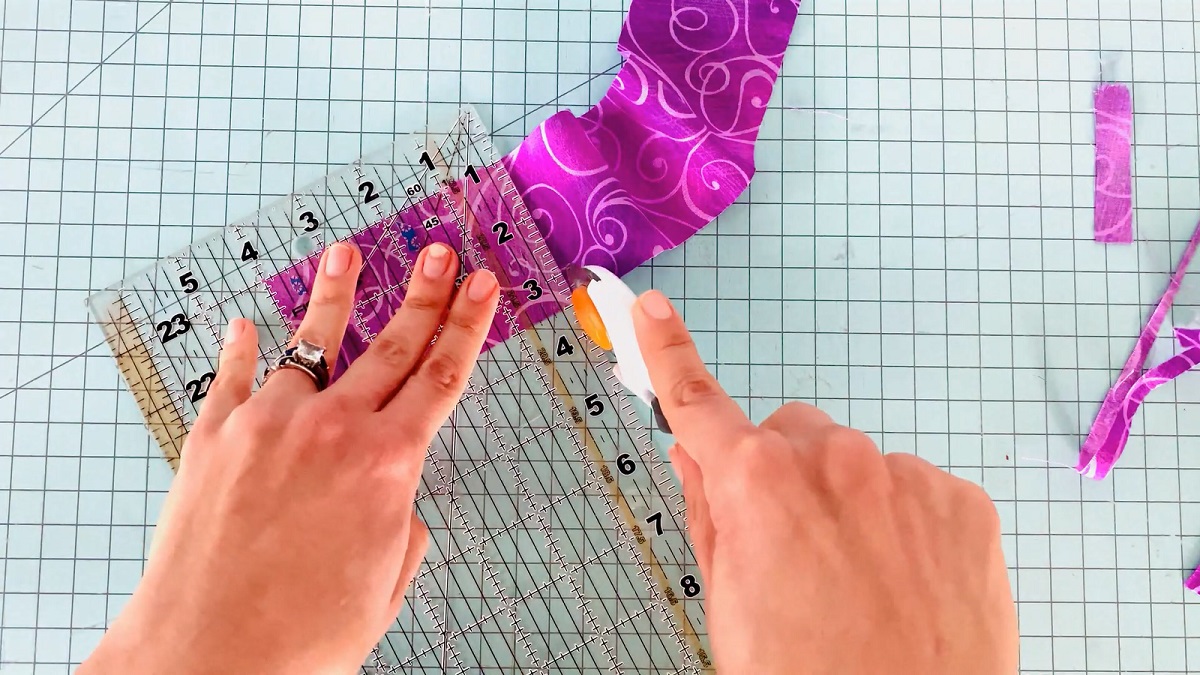
- Next, you’ll want to cut your hanging tabs from the same color fabric as your quilt binding based on your measurements. In this case, I am cutting two pieces measuring 2″ wide by 4″ tall. Remember to cut two! Depending on the size and weight of your quilt, you may even need more than two – I made a quilt that had eight, and they’re each spaced about 8″ apart. So, make as many hanging tabs as needed based on your preference, again taking into account the width and weight of your quilt. Once you cut out the hanging tabs, give each a gentle press before heading to your machine.
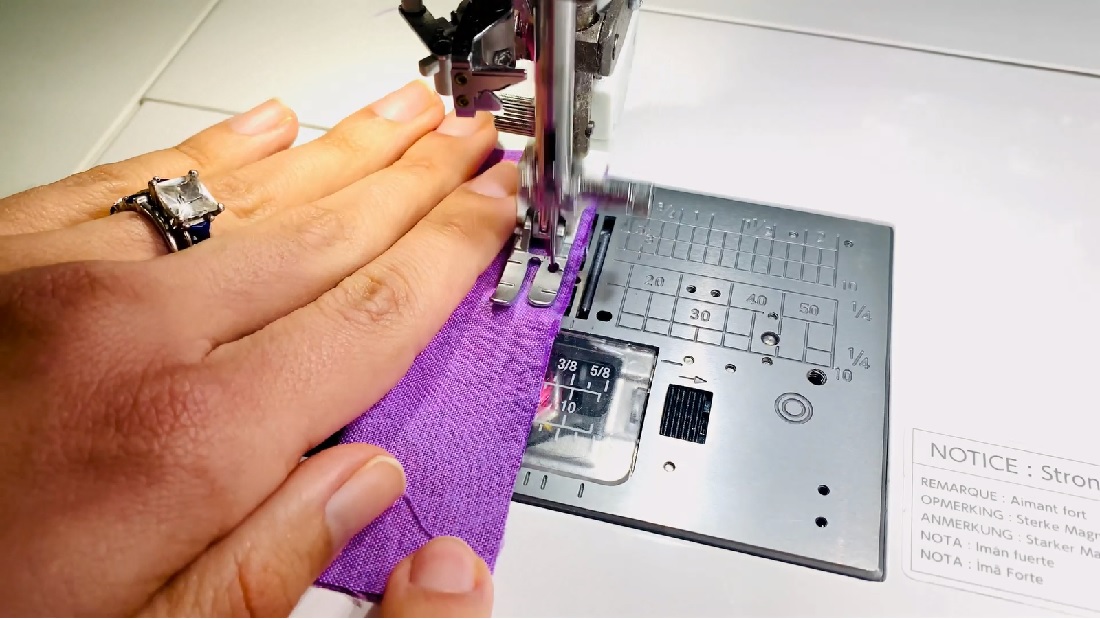
- Let’s get to sewing! First, fold your hanging tab in half, right sides together, along the length like a hot dog (not along the width like a hamburger!). Beginning in the corner at the fold, backstitch and sew a seam between 1/8 and 1/4″. Turn your fabric 90-degrees once you arrive at the corner, and continue down the length. Leave the bottom of the hanging tab open so you can turn your fabric. Repeat for any remaining quilt hanging tabs as needed.
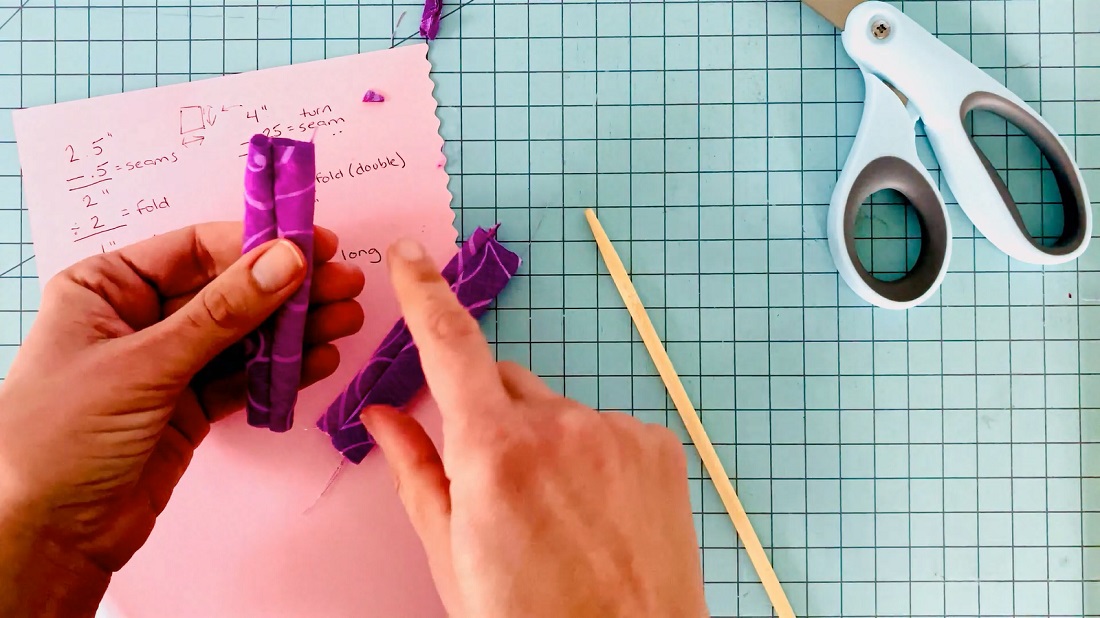
- Once both (or more) are sewn, turn the fabric right sides out. I love using this turning tool! Once turned, cut the seam at the top of each hanging tab so you have a tube as shown in the photo below. Repeat for the other hanging tab. You’re almost done making your hanging tabs for your quilt!
- Turn the tubes so that the seam in your quilt hanging tabs are centered, and press with your iron.
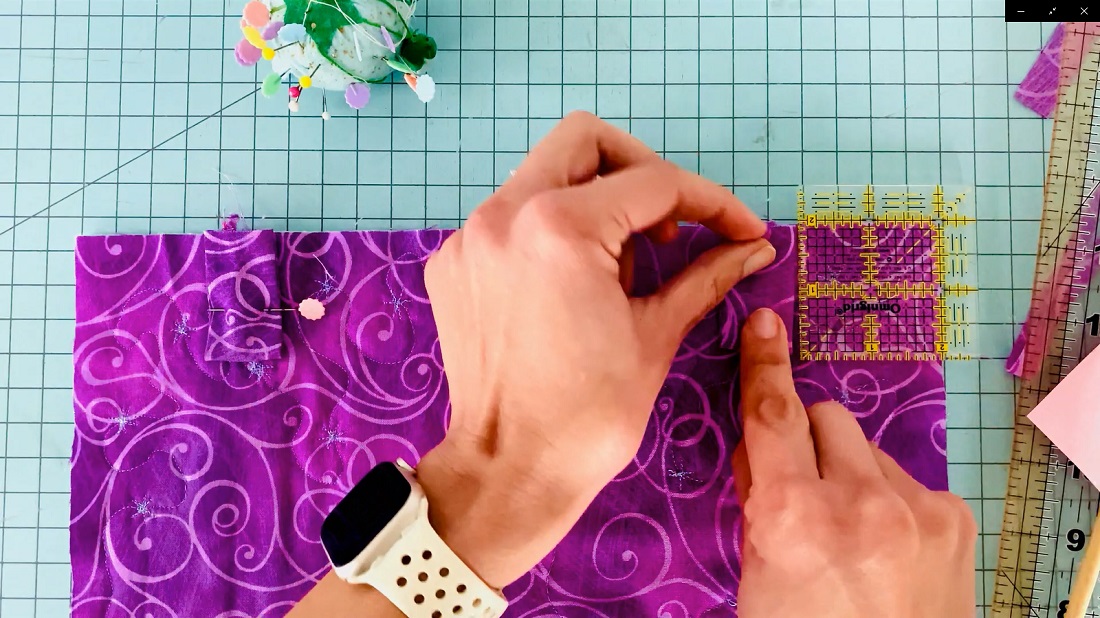
- Time to determine how far from each corner you want your tabs! At minimum, they should be at least 1/2″ AT MINIMUM as you’ll need room for the corners of your binding. That said, I wouldn’t put them that close to the edges as it’s likely going to result in a sagging center of your quilt. For this 12″ quilt block, I’m spacing my tabs 2″ from each corner using this 2.5″ square (another of my most used rulers!). Fold your tabs in half, with the seam centered in the fold, and pin in place as shown in the photo below.
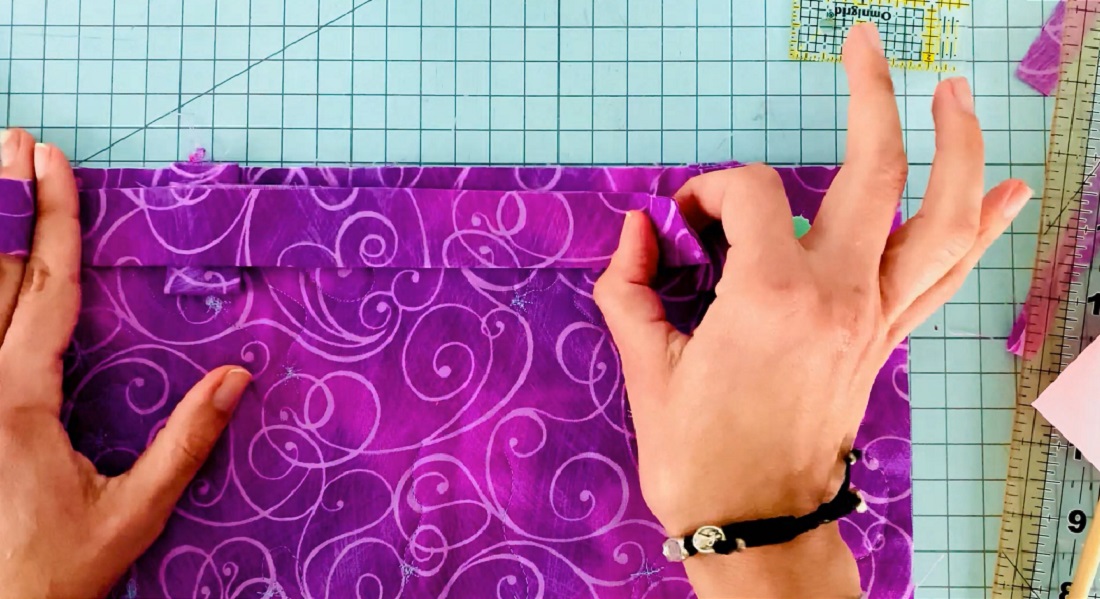
- Time to sew! Add your binding along the back of your quilt just as you normally would, picking up the tabs as if the were part of the backing fabric. Check out the videos for even more details on how to finish off the binding. Note that the image below shows the binding as if you were attaching it from the back, but I recommend – and the video shows – the binding being attached on the front.
- Voila! You’re done…or you will be once you hand stitch that binding. Your quilt tabs can be pressed, using your iron, into the “up” position if you like. Insert a dowel and hang your beautiful new quilt from the wall from it’s beautifully matching hanging tabs and enjoy!
